One of the key features of Nectus is ability receive SNMP traps. This allows the operator to quickly detect physical (links failures, flaps) or logical (adjacencies failures, flaps) changes in the network followed by restoration procedures or root cause analysis.
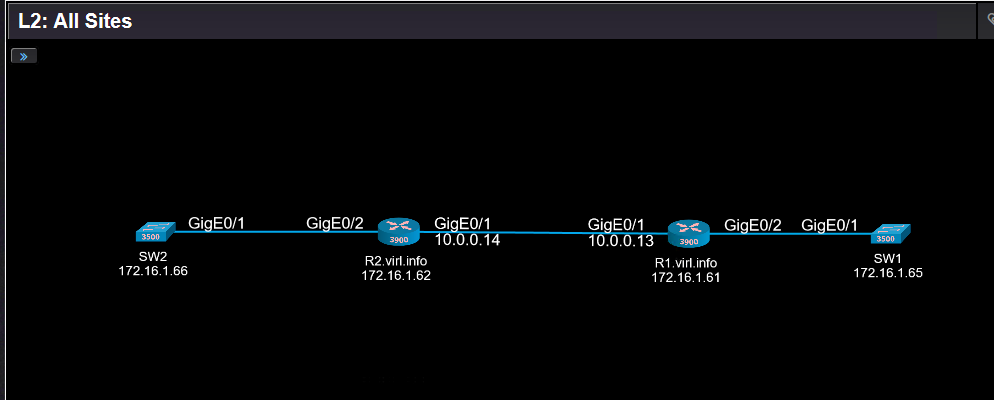
Let’s see how does it work on example of this Layer 2 diagram:
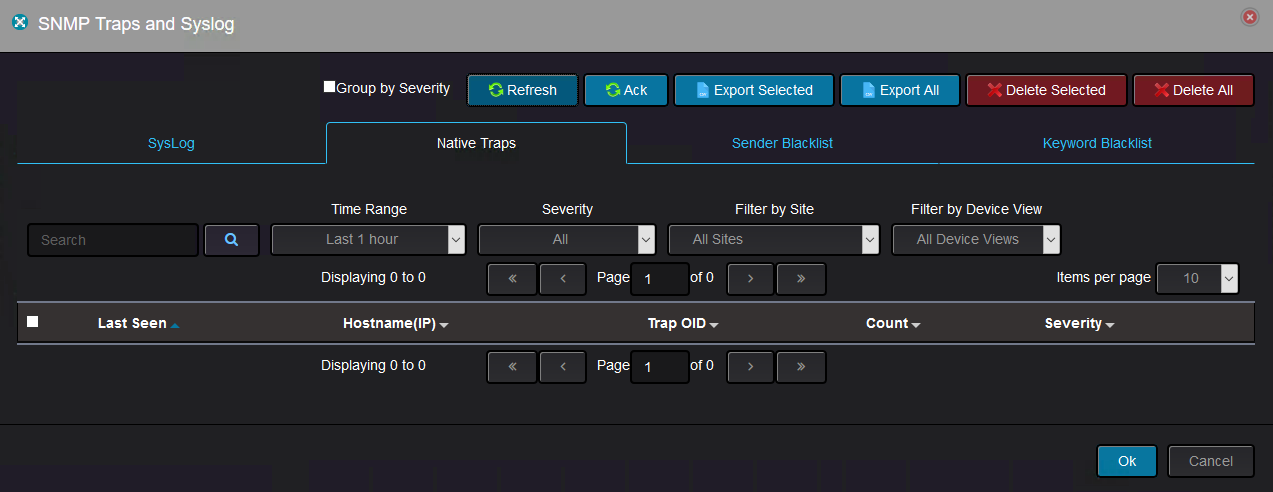
The SNMP traps are located in top menu “Logs” -> “SNMP traps and Syslog”.
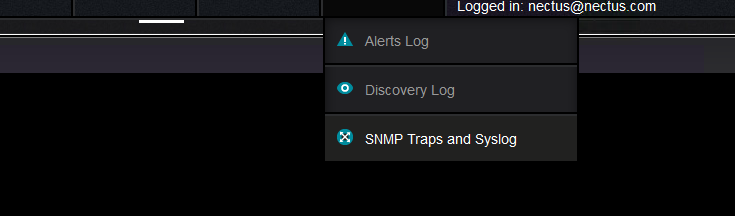
More exactly here:
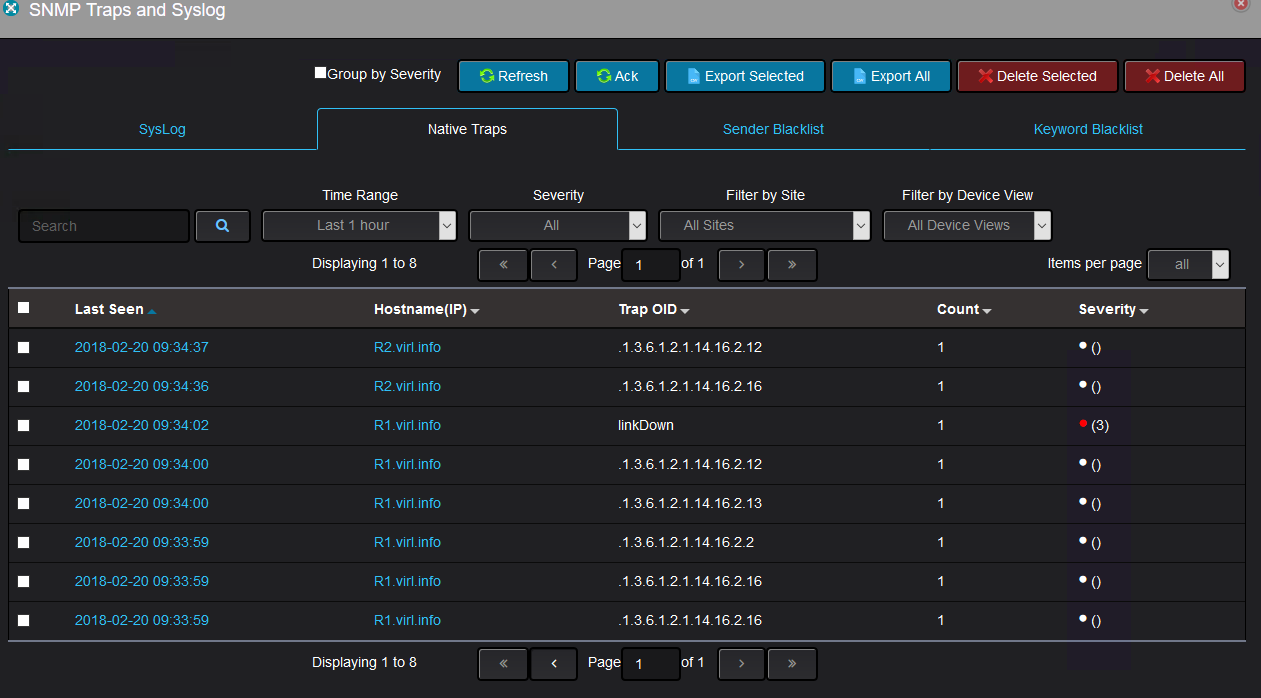
Once the devices starts sending SNMP traps, they appears withing 2-3 minutes in Nectus:
At the time of the writing, the new SNMP traps decoding is added manually by the Nectus support team, but in the future the operator will have the ability to add the traps decoding with no external assistance.
All these traps were sent by R1 and R2 when GigabitEthernet0/1 on R1 was shut down. Because OSPF was running between R1 and R2, disabling the interface lead to OSPF adjacency between the two routers to go down.
As you can see, some OIDs are represented their original format, whereas some OIDs are represented in a more human readable format.
The details of a trap might look like this:
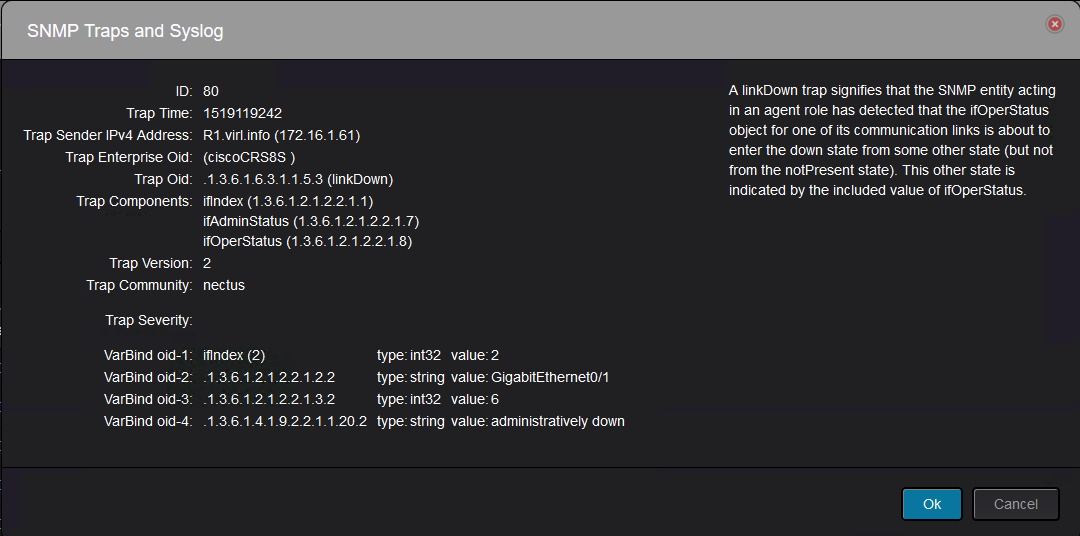
With the above trap details, you can tell that this is “link down” trap.
However, with other traps, you might need additional knowledge to figure what they represent.
Let’s take another example of detailed trap:
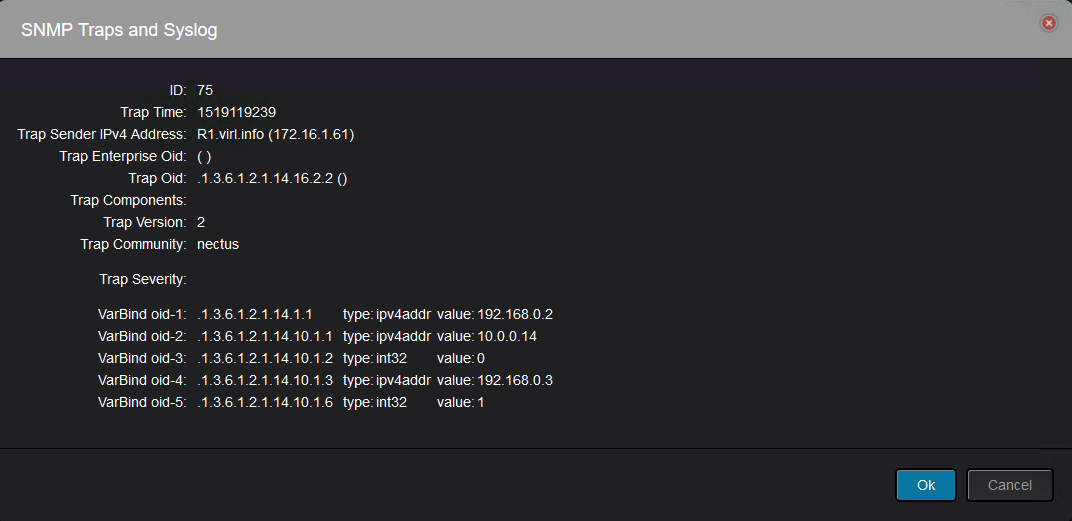
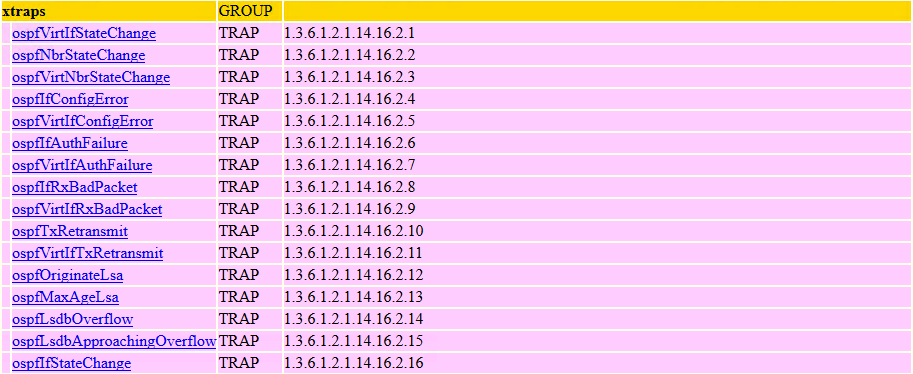
This trap was sent by R1 and it is a neighbor state change(.1.3.6.1.2.1.14.16.2.2):
And it can be read like this: Router-ID 192.168.0.2(.1.3.6.1.2.1.14.1.1) declared neighbor 192.168.0.3(.1.3.6.1.2.1.14.10.1.3) with IP address on the interface 10.0.0.14(.1.3.6.1.2.1.14.10.1.1) as Down(.1.3.6.1.2.1.14.10.1.6 with value of 1).
Obviously this is not very intuitive and Nectus should do all the the decoding so that the operator will not go through all the effort to find what each OID means.
In the future releases user will have an option to add the decoding for new or unknown SNMP traps via GUI.