In this chapter, you’ll learn how to implement User Group based Device Access Restrictions with the help of Device Views. By assigning one of these Views to a User Group, you control which Devices the Users in that Group can see.
Implementing Device View restrictions allows members of User Groups to focus on only those devices that are relevant to their work. For example, if your company has three facilities, you might create one View for each facility, showing only the servers that are physically located at that facility.
The specific topics we will cover in this chapter are:
- Creating a Device View
- Creating a User Group
- Applying the Device View to the User Group
- Creating a User Account and Assigning it to the User Group
- Viewing the Results of Applying Access Restrictions
1. Creating a Device View
To create a Device View go to the Nectus Home Screen and select Inventory -> Views -> SNMP Device Views.
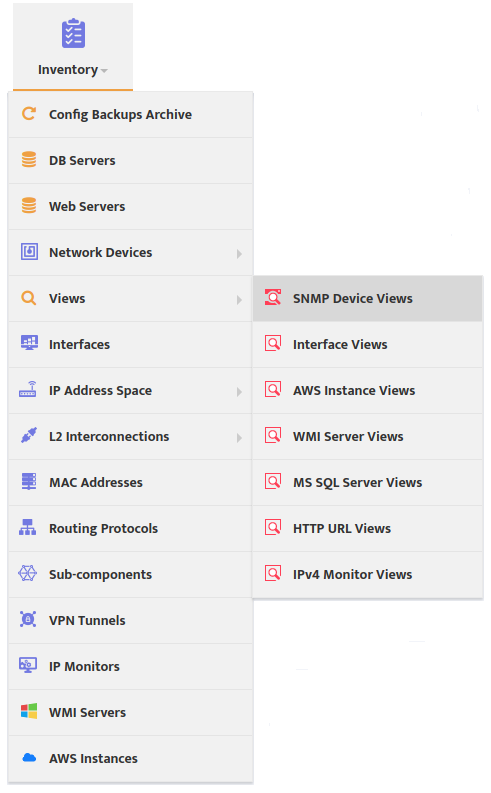
This opens the “SNMP Devices Views” dialog box.
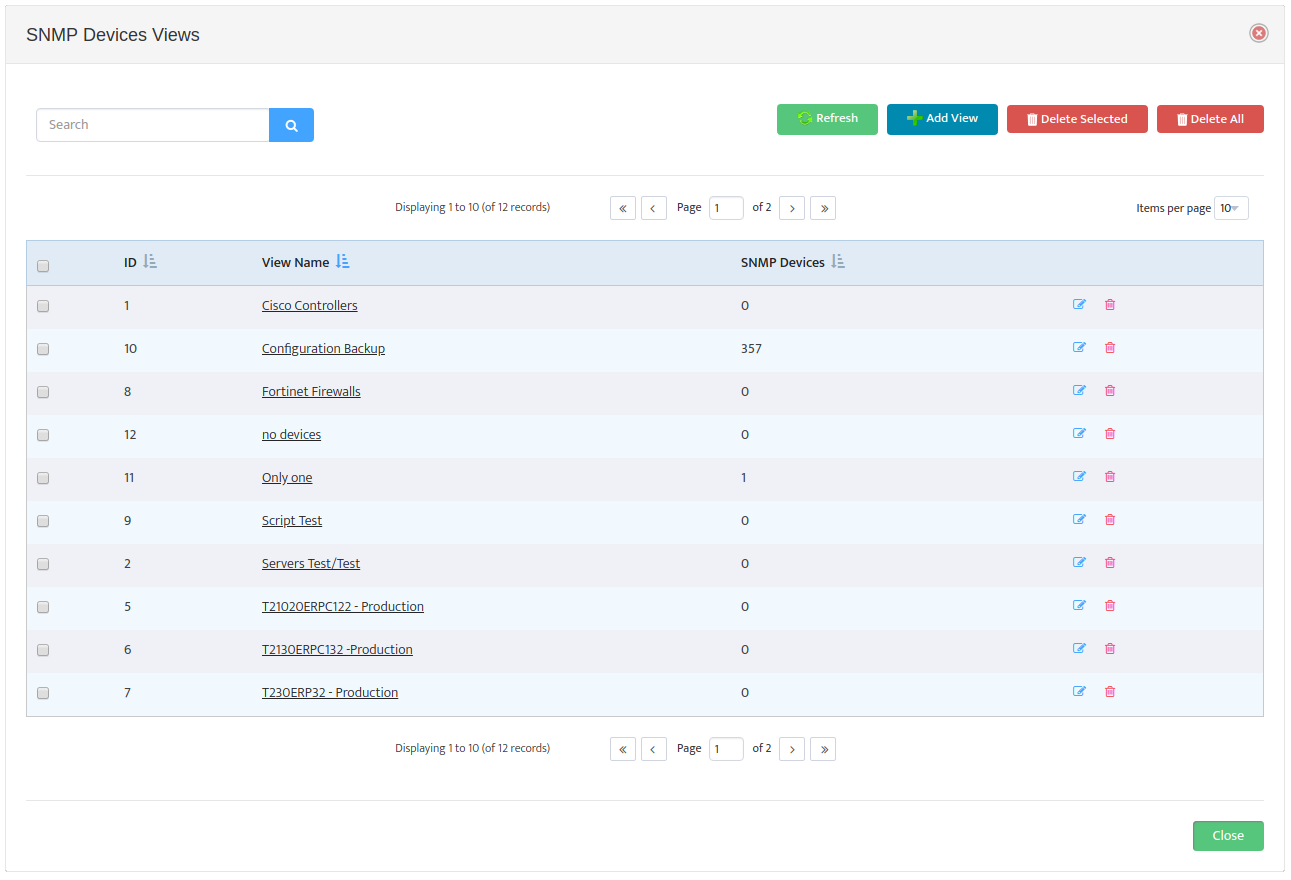
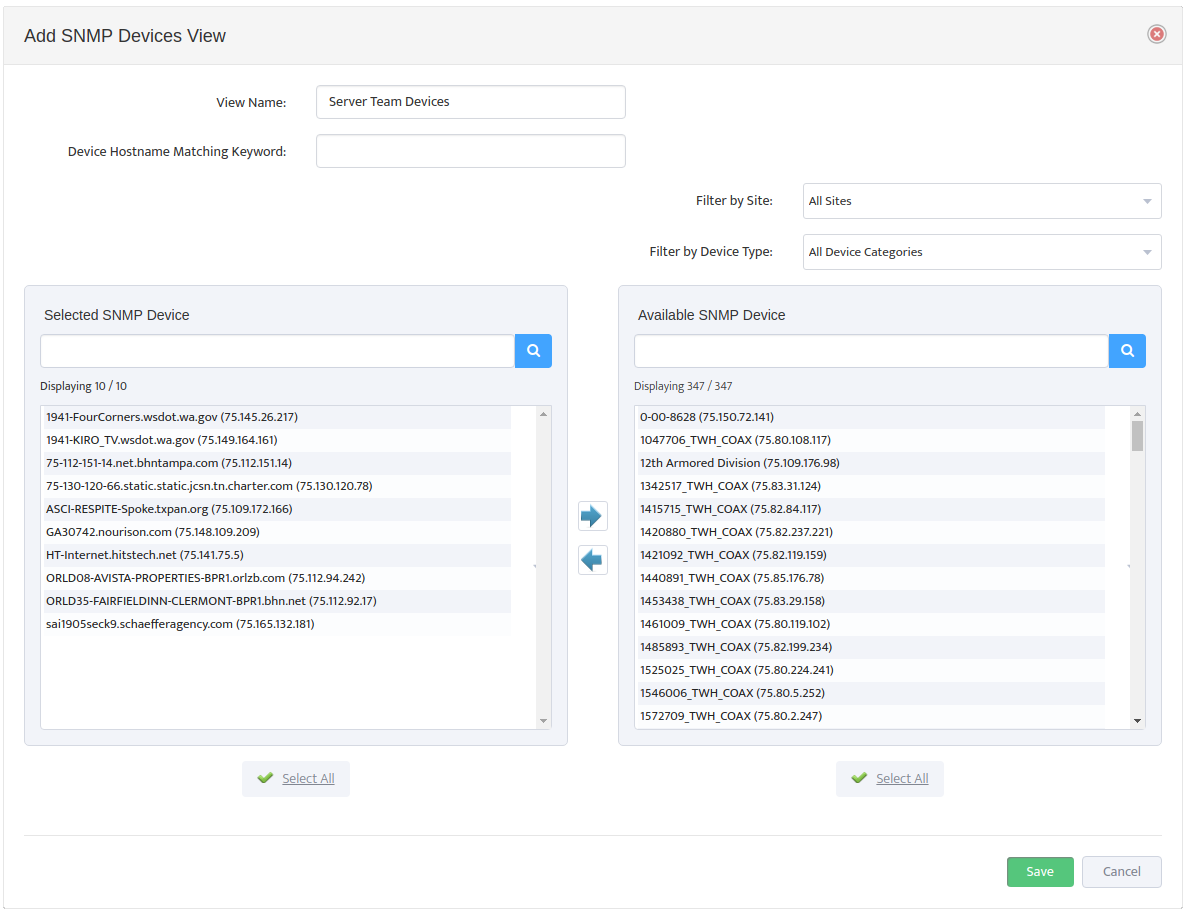
Click the Add View button to open the “Add SNMP Devices View” dialog box. Create the new View by entering a View Name and adding Devices to the “Selected SNMP Device” list.
2. Creating a User Group
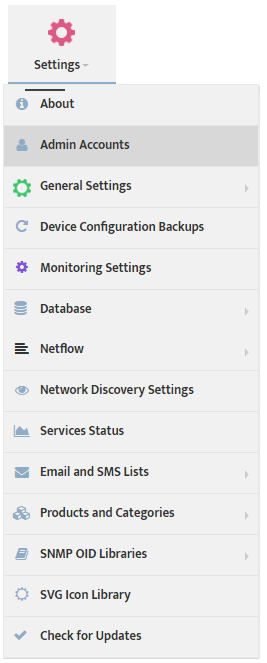
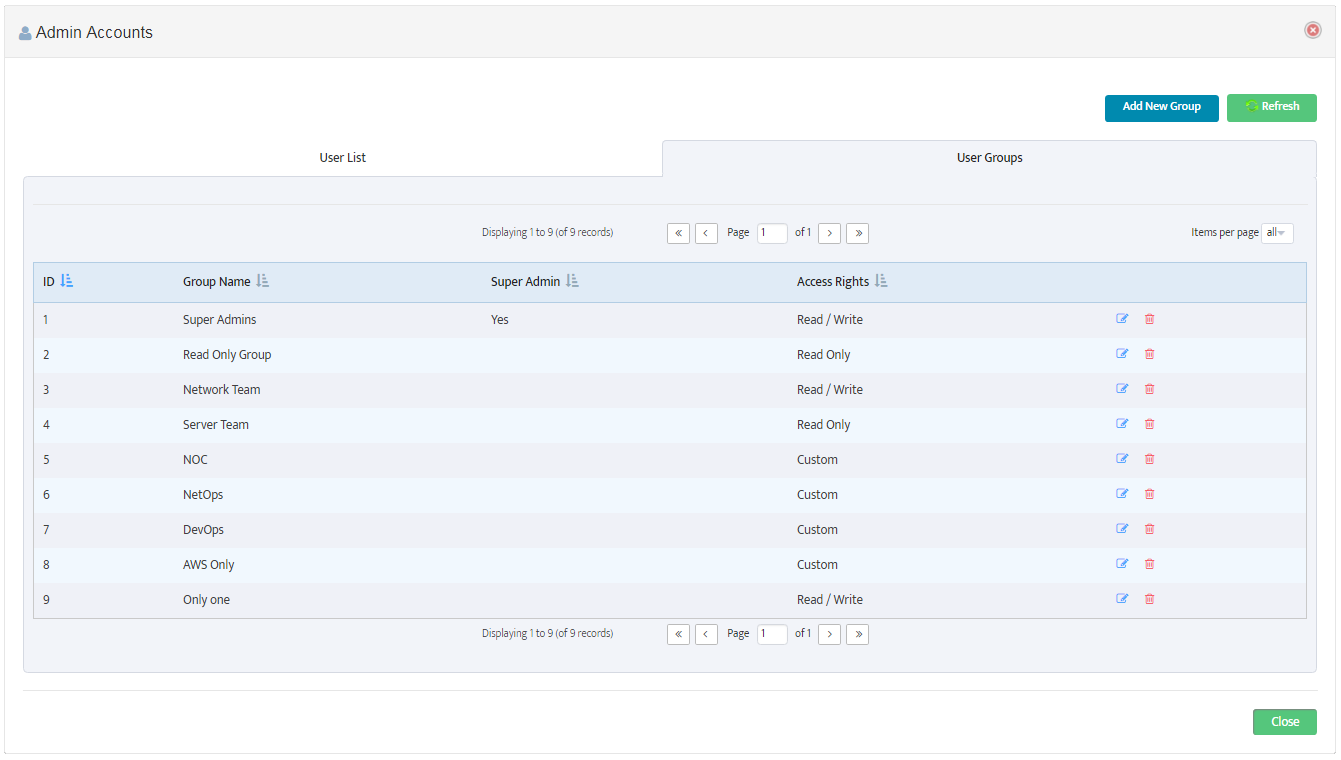
To create a new User Group go to the Nectus Home Screen and select Settings -> Admin Accounts.

This opens the “Admin Accounts” dialog box. Select the User Groups tab.
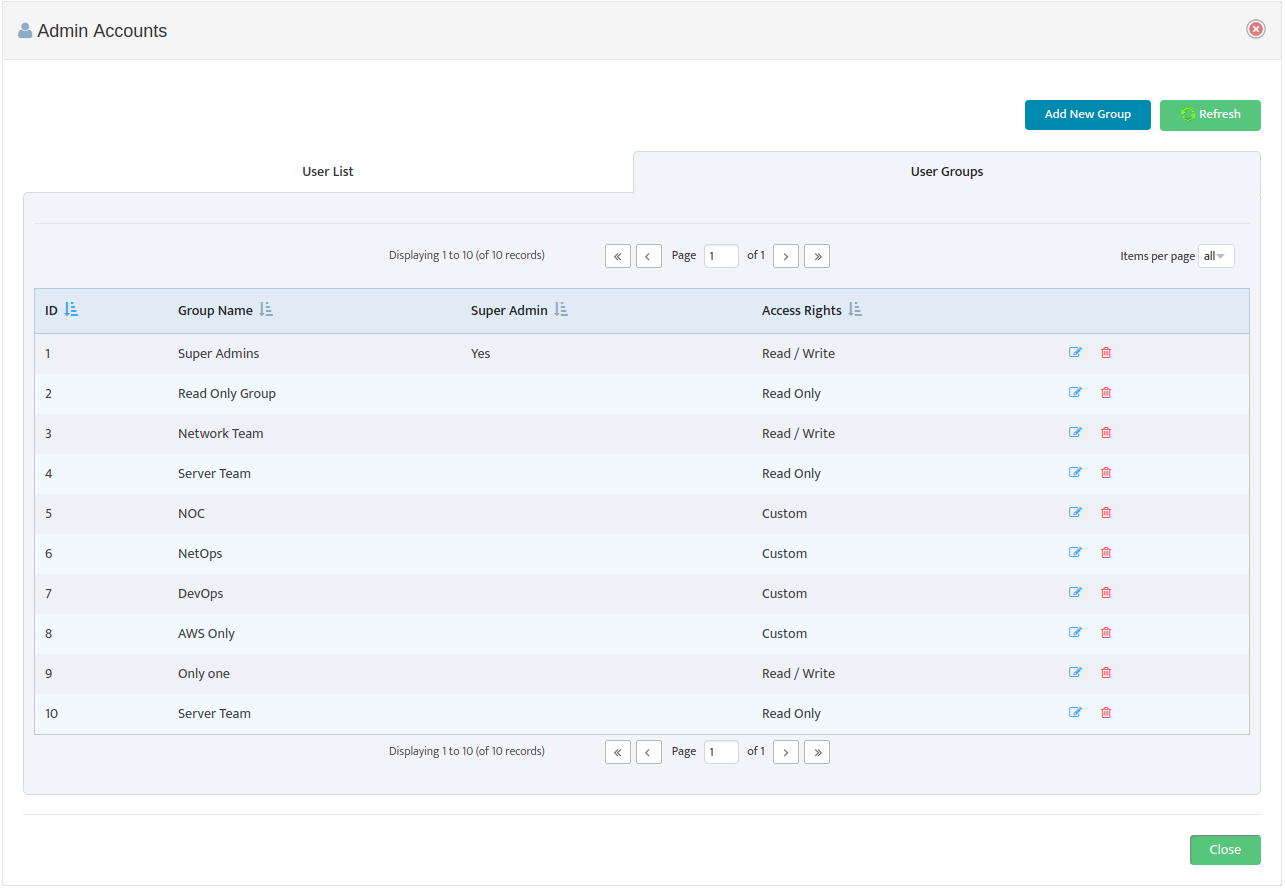
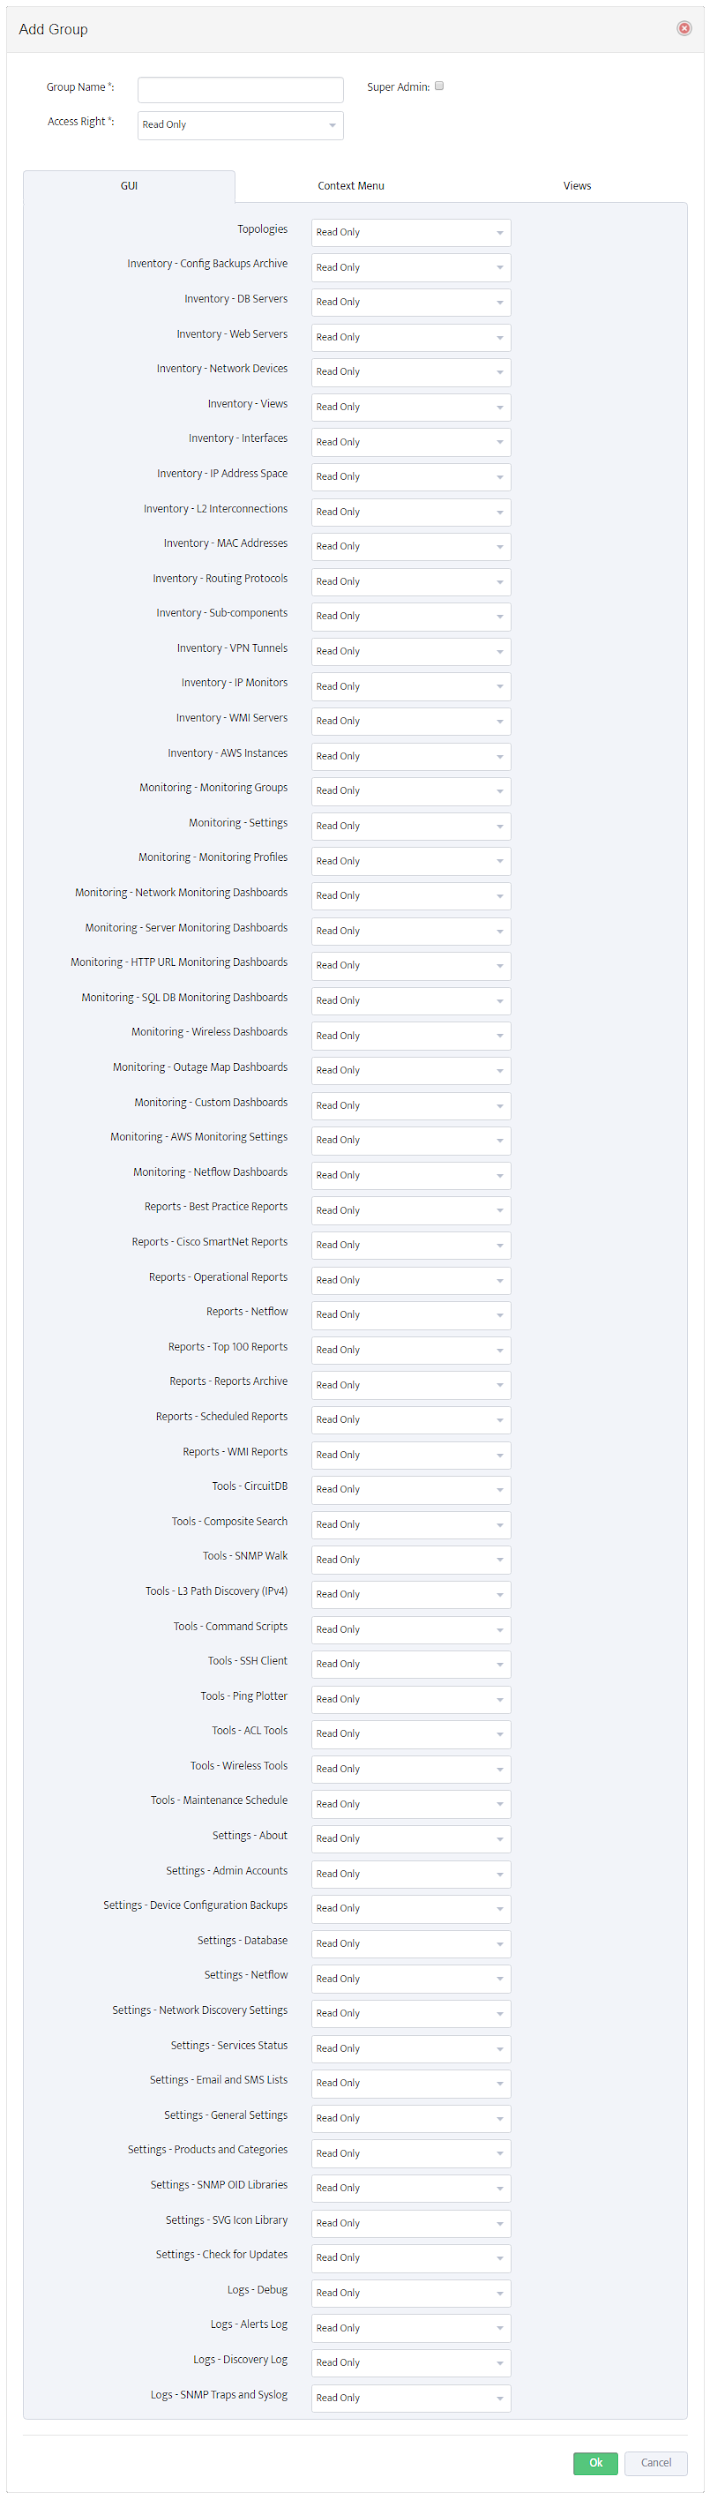
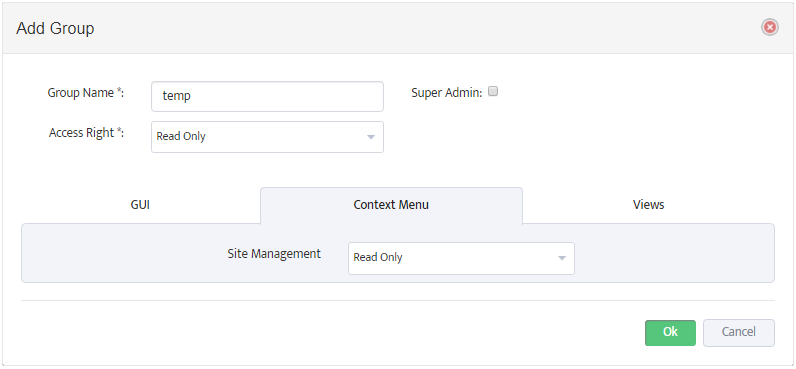
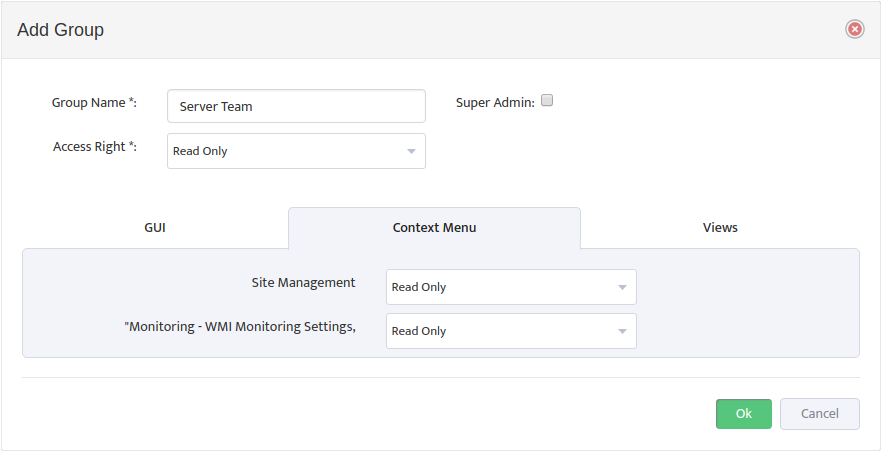
Click Add New Group to open the “Add Group” dialog box. Enter the Group Name and make any changes necessary for the GUI and Context Menu tabs.
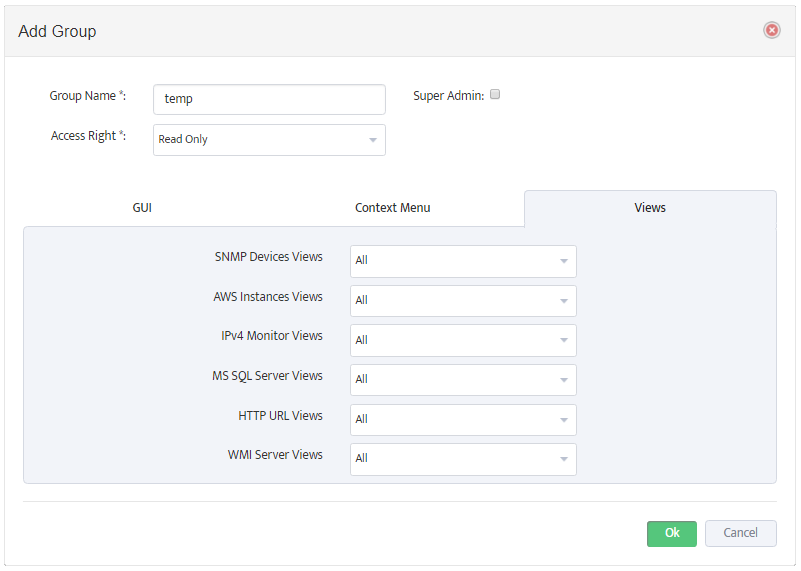
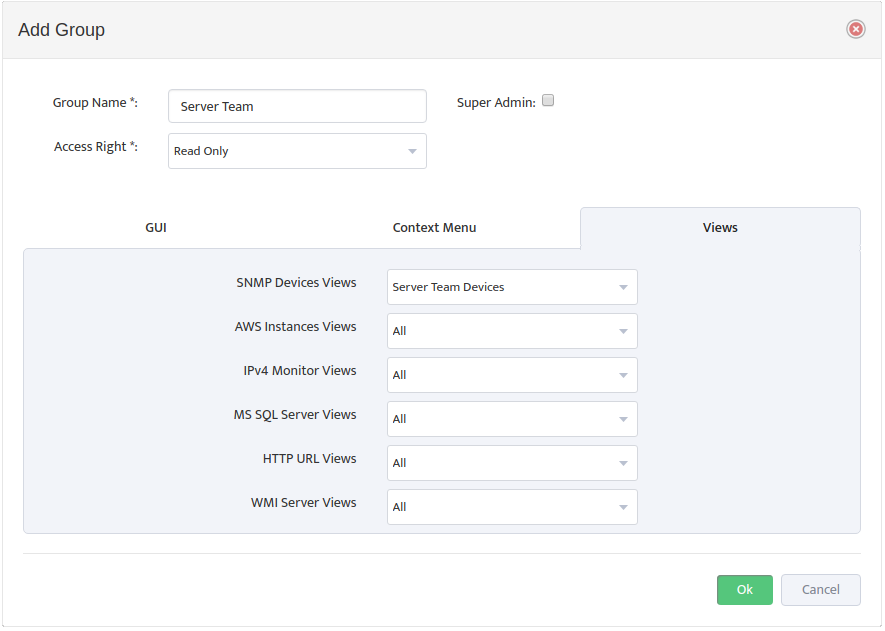
3. Applying the Device View to the User Group
Select the Views tab. Select the Device View in the “SNMP Devices Views” drop-down list.
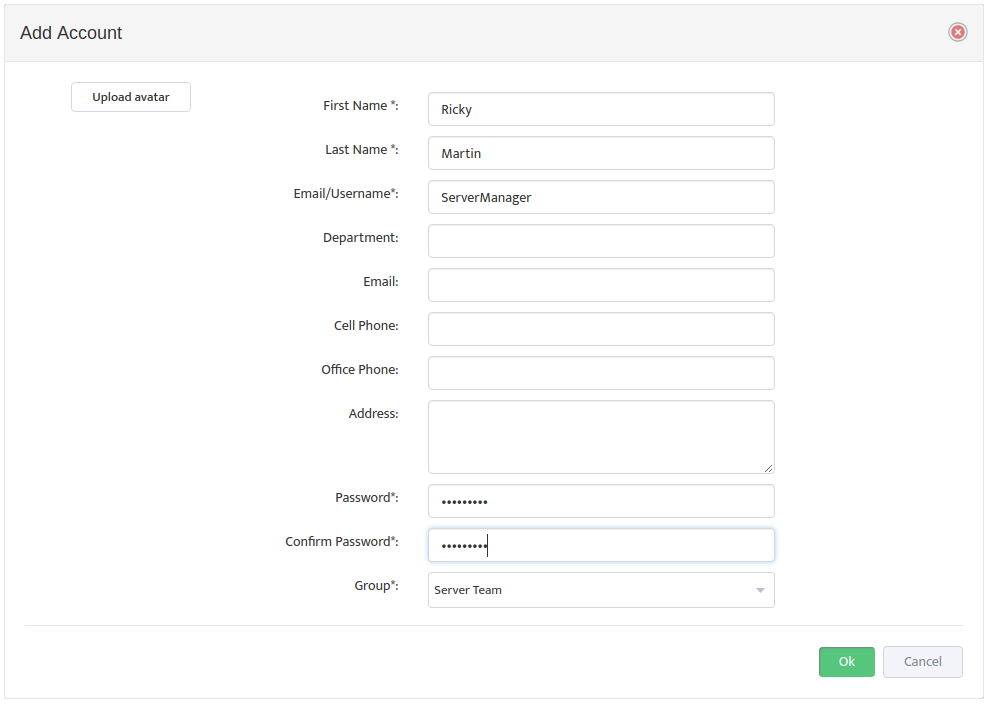
4. Creating a User Account and Assigning it to the User Group
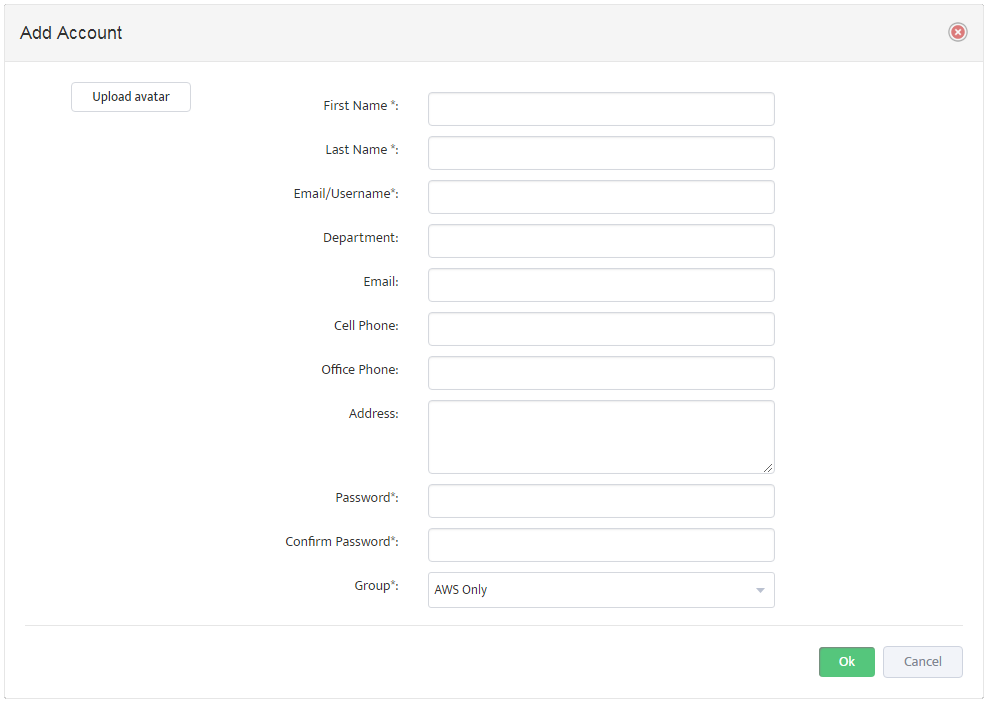
Return to the “Admin Accounts” dialog box. Select the User List tab.

Click Add New Account to open the “Add Account” dialog box. Enter the required information for the User and select the User Group in the “Group” drop-down list.
5. Results of Applying the Access Restrictions
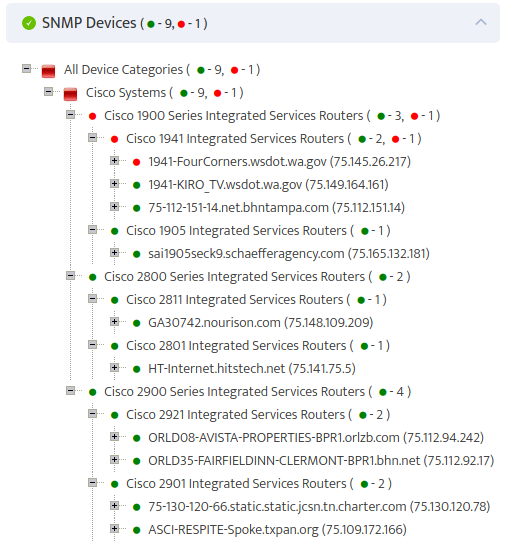
Applying the Device View to the User Group results in Access Restrictions for the Users in that Group.
When a User from that group views the SNMP Devices Pane on the Nectus Home Screen, he can only see the Devices that were included in the Device View.
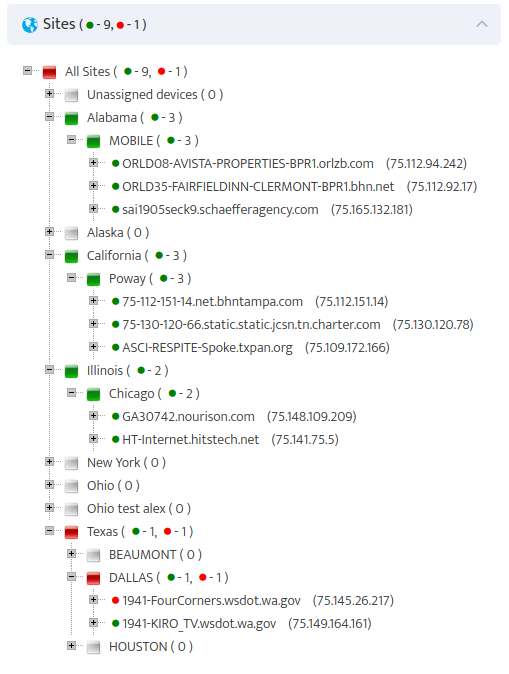
When the User views the Sites pane, he can only see the Sites that contain Devices included in the Device View.