How to Control Access Rights to Network Devices in Nectus

, ,

In this article, we will show how to control the access rights to specific network devices visible in Nectus.

We will create a user group “Texas Admins” that have access only to specific subset of SNMP devices “Texas Network Devices” in Nectus database.

Step 1.  Create a custom SNMP device view “Texas Network Devices” in Inventory -> Views -> SNMP Device Views

Step 2. The SNMP Devices Views window opens. Click on Create.

Step 3. The Add SNMP Devices View window opens. Give the view a name “Texas Network Devices”.

Select desired devices in the window on the right (Available SNMP devices).

When all are selected, click on the Left Arrow key to move the selected devices from the Available window to the Selected window.

We selected nine devices.

Step 4. Selected devices move into the Selected SNMP Devices window. Click Save.


Step 5. Looking in the SNMP Devices Views window, we see that the view “Texas Network Devices” has been created and has nine devices.


Step 6. Create Admin User group “Texas Admins”  in Settings->  Admin Accounts


.


Step 7. Navigate to Settings Admin Accounts.


Step 8. The Admin Accounts window opens. Select User Groups, and click Create.


Step 9. The Add Users Group window opens. Enter the Group Name (Texas Admins), select the Access Right (Read Only), click Views.


Step 10. Select desired View “Texas Network Devices” that members  of this Admin group can see.


Step 11. Click OK.

Step 12.  Create User in “Texas Admins” Group.

Step 13. In the Admin Accounts window, click on User List and click Create.

Step 14. The Add User Account window opens.

Fill in the fields (First Name, Last Name, Email/Username).

Create and confirm password. Assign to group (Texas Admins). Click OK.


Step 15. In Admin Accounts window, verify that new user (Mike Fletcher) now appears with Group Texas Admins.


Step 16. In the Admin Accounts window, click User Groups and click on Texas Admins.

Verify the assigned view for SNMP Devices Views is Texas Network Devices.


Step 17. Logout and log back in as Mike Fletcher.


In the Inventory window under SNMP Devices you should only see the 9 devices assigned to “Texas Network Devices”.


Configuring AD LDAP Integration for User Authentication

,

Configuring AD/LDAP Integration for User Authentication

In this chapter, you’ll learn how to configure Nectus to work with Microsoft Active Directory and the LDAP protocol for user authentication.

The specific topics we will cover in this chapter are:

  1. What are AD and LDAP?
  2. Why Configure Nectus Integration with AD/LDAP?
  3. How Nectus Authenticates Users
  4. Connecting Nectus to an LDAP Server
  5. Mapping AD/LDAP Groups to Local User Groups
  6. Mapping AD/LDAP Users to Local User Groups

1. What are AD and LDAP?

AD stands for Active Directory Domain Services. It is a Microsoft service that provides authentication and other services to devices on a network. It is an LDAP compliant database of users, groups, and other objects.

LDAP stands for Lightweight Directory Access Protocol. It is an Internet standard for accessing distributed directory services. Nectus uses LDAP to communicate with AD.

2. Why Configure Nectus Integration with AD/LDAP?

Configuring Nectus to integrate with AD/LDAP simplifies user management for large organizations. Like most applications, Nectus has its own local user authentication database. But when a organization has many applications maintaining separate user accounts for each application isn’t practical.

The solution is to maintain user accounts in AD. Using LDAP, each application can query the AD database for the user authentication information it needs. This greatly simplifies user account maintenance.

3. How Nectus Authenticates Users

Nectus is designed to function on its own or integrated with AD/LDAP. Security settings are based on Local User Groups whether the User Account is stored locally, or in AD.

When a user logs in Nectus first checks to see if the active user has a Local User Account. If so, Nectus uses this account for the login.

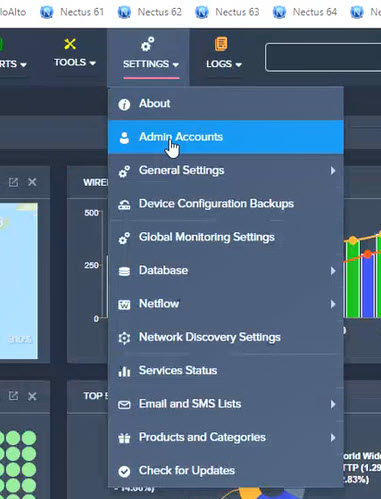
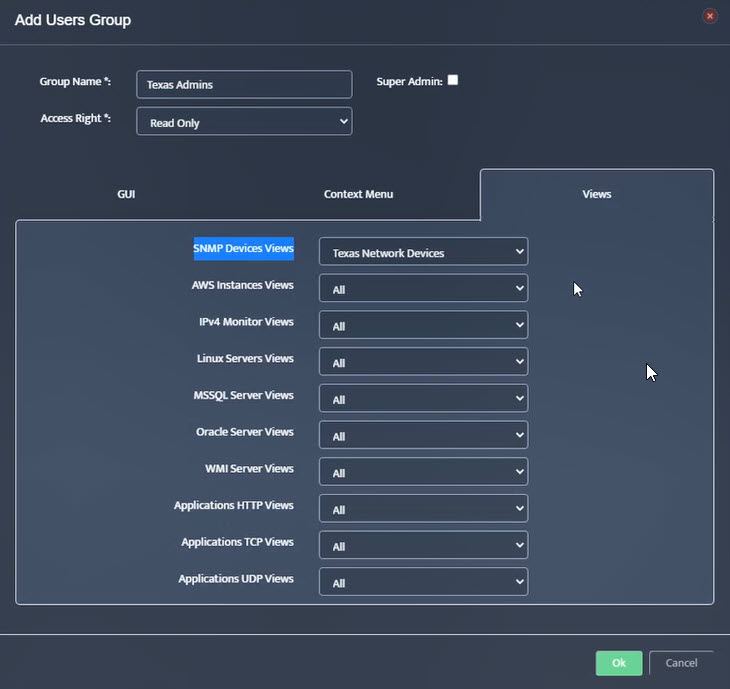
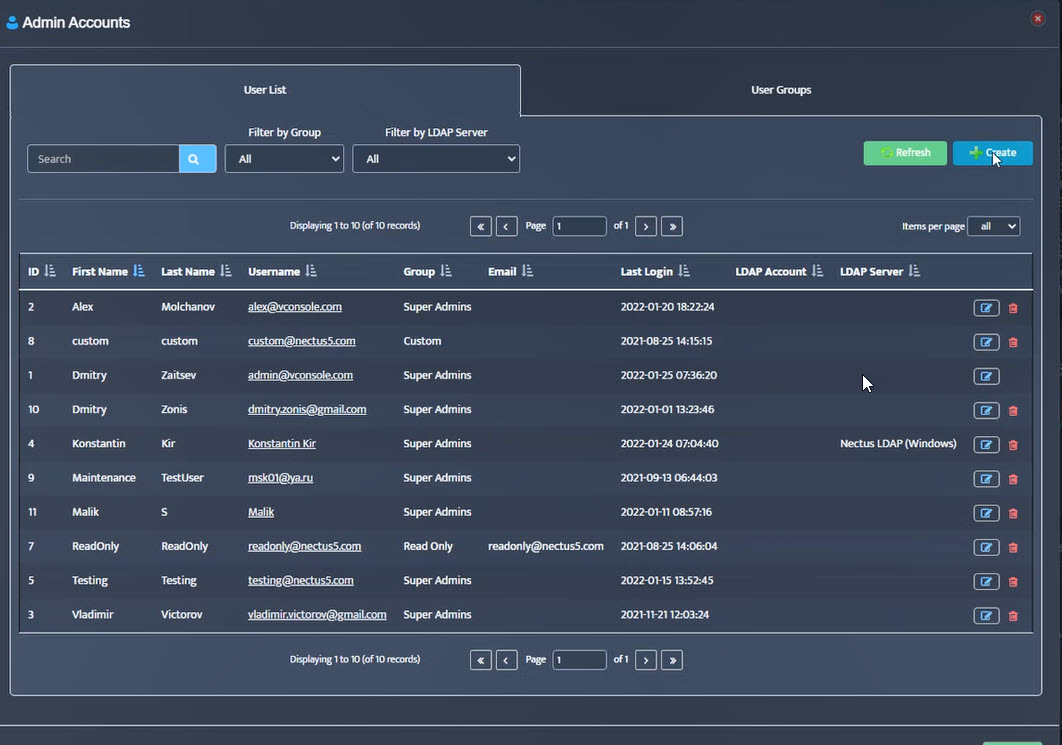
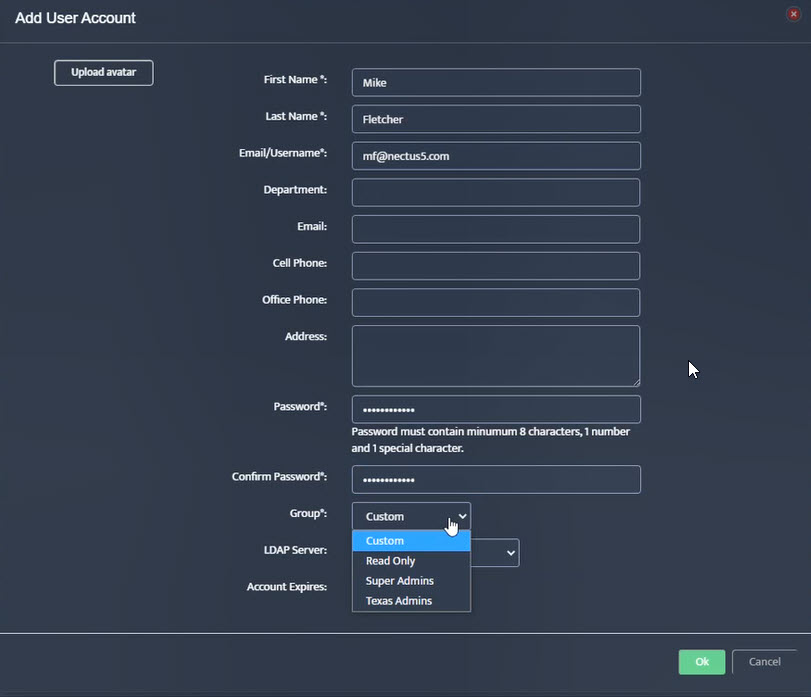
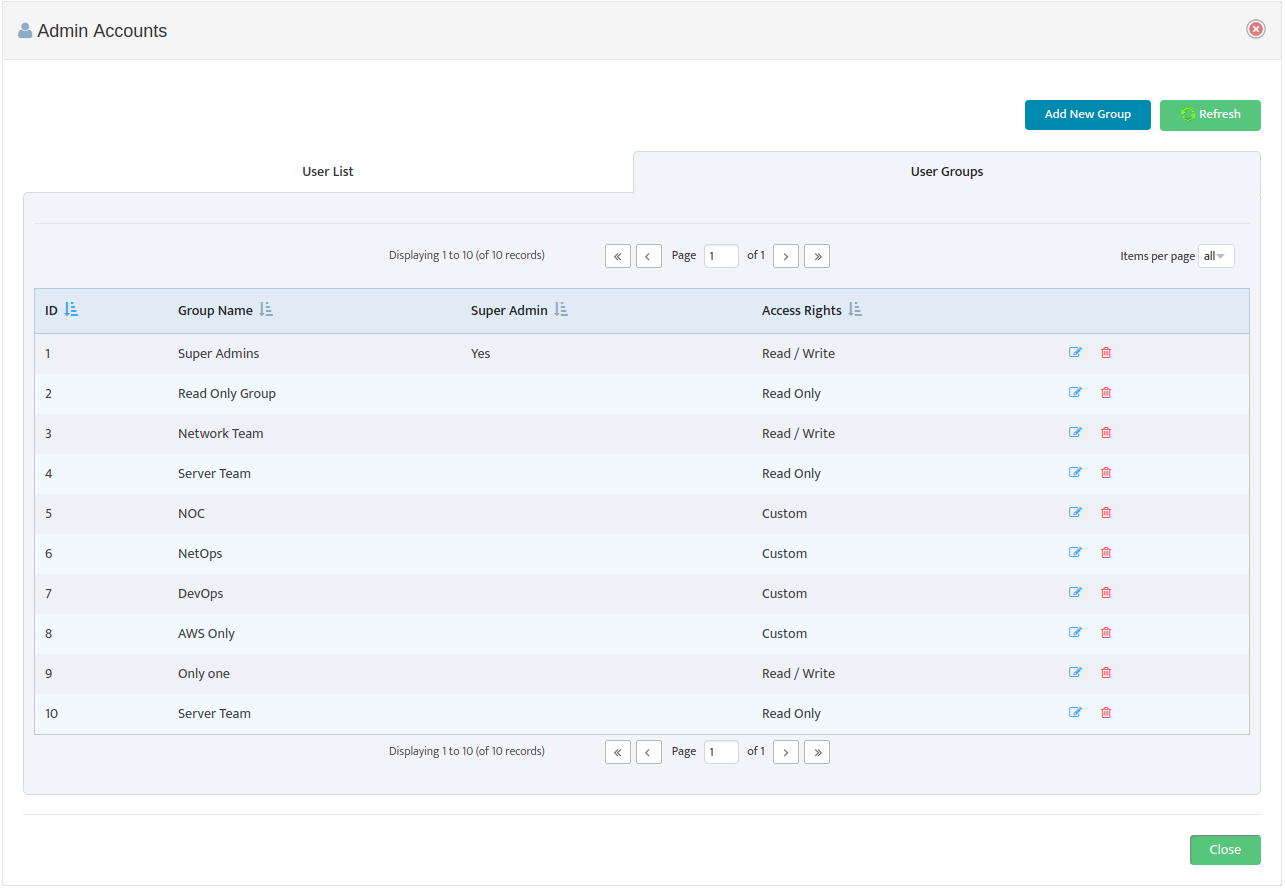
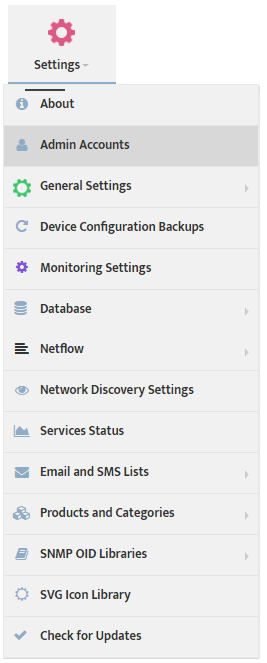
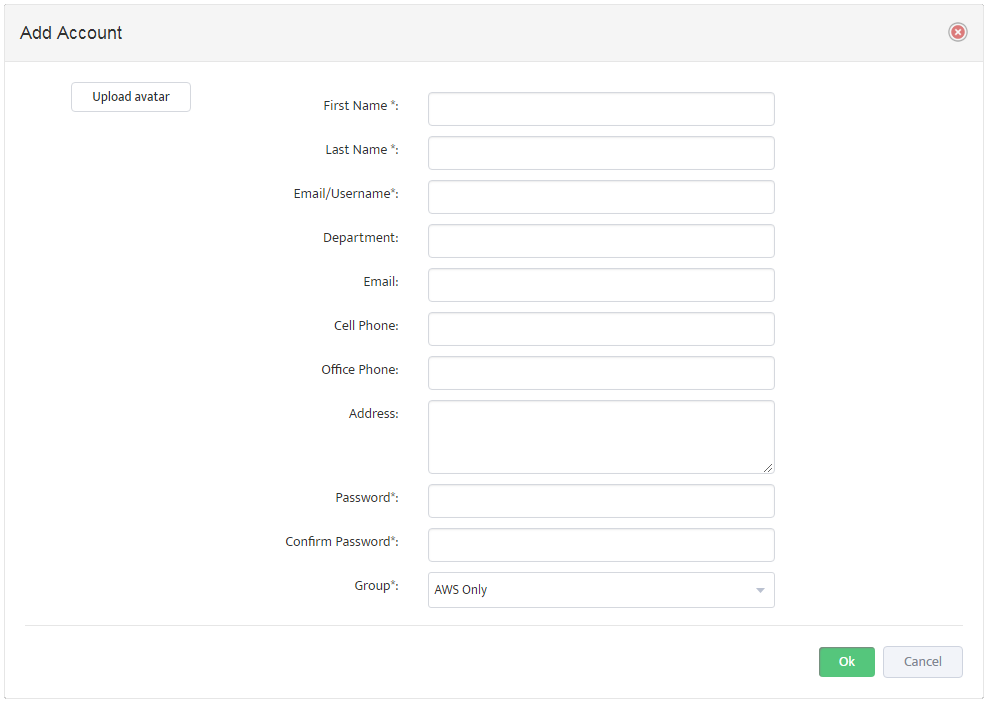
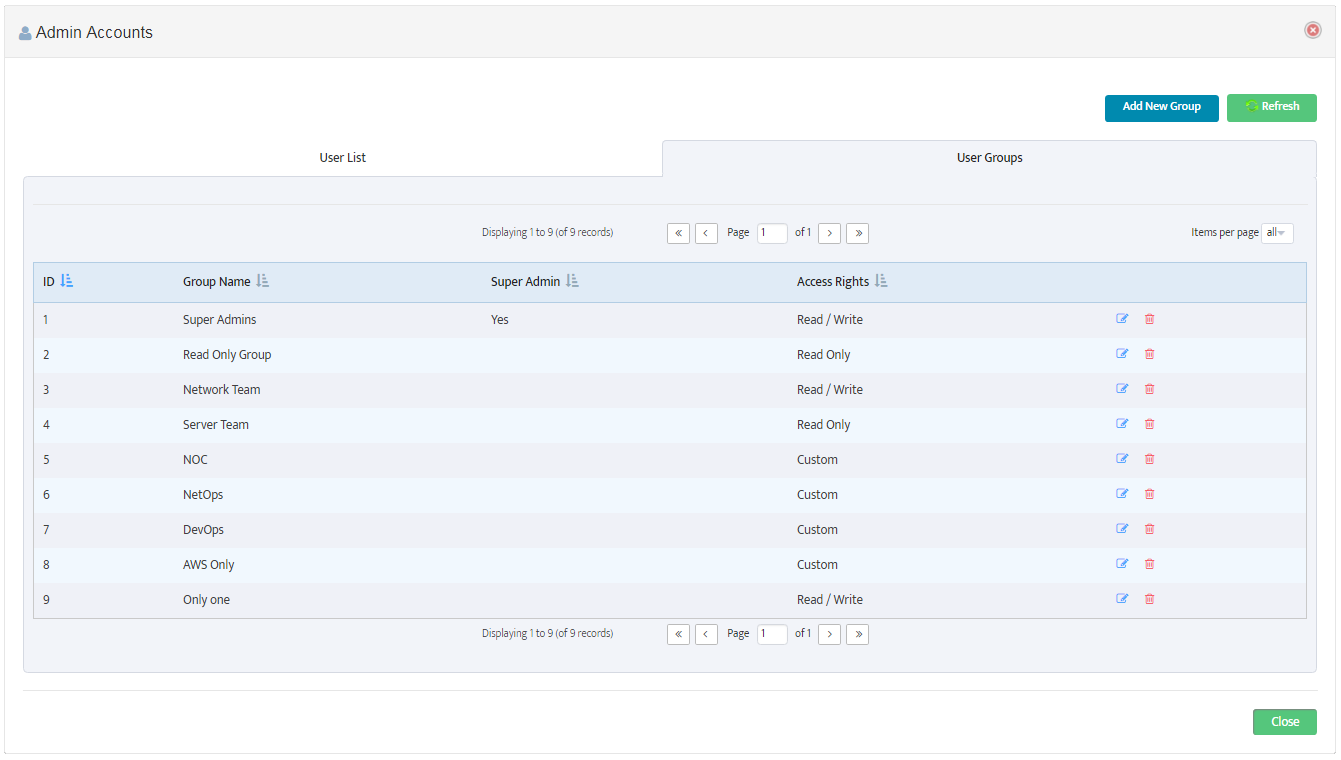
Note: To manage the Nectus Local User Accounts and the Local User Groups go to the Nectus Home Screen and select Settings -> Admin Accounts. This opens the “Admin Accounts” dialog box. See the article, “Creating User Accounts and User Groups” for details.

If the active user does not have a Local User Account, Nectus checks to see if Active Directory integration is configured. If so, it checks to see if the active user has an account in AD.

If the user has an account in AD, and the user’s LDAP Group Name is mapped to a Local User Group, Nectus uses the Local User Group settings.

If there is no mapping to a Local User Group, Nectus checks to see if the active user’s LDAP Account Username is mapped to a Local User Group and uses those settings.

If none of the above is true, Nectus denies the user access.

Important: We recommend that you always maintain at least one Local User Account in Nectus to ensure access even if the AD/LDAP connection is down.

4. Connecting Nectus to an LDAP Server

To integrate Nectus with AD you need to configure the LDAP Server settings and enable LDAP.

To configure the LDAP Server settings and enable LDAP go to the Nectus Home Screen and select Settings -> LDAP Integration.

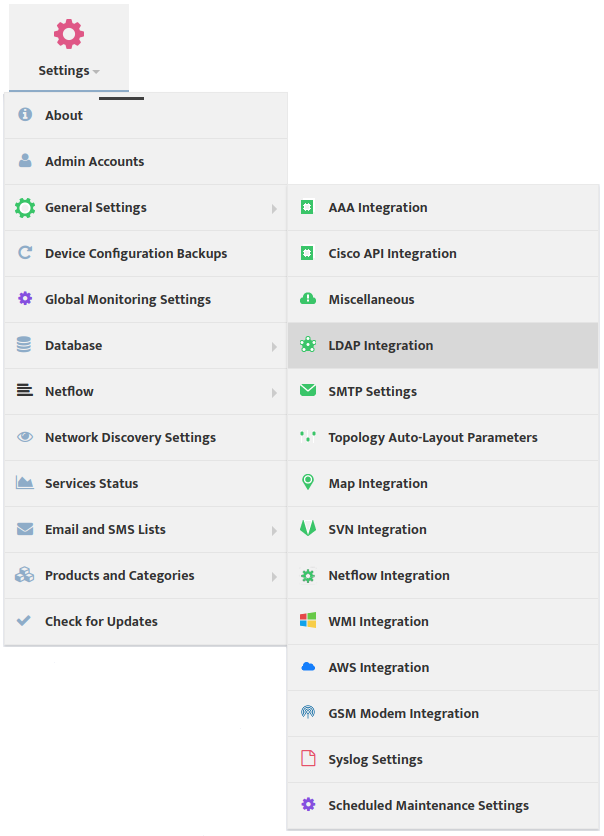
This opens the “LDAP Integration” dialog box.

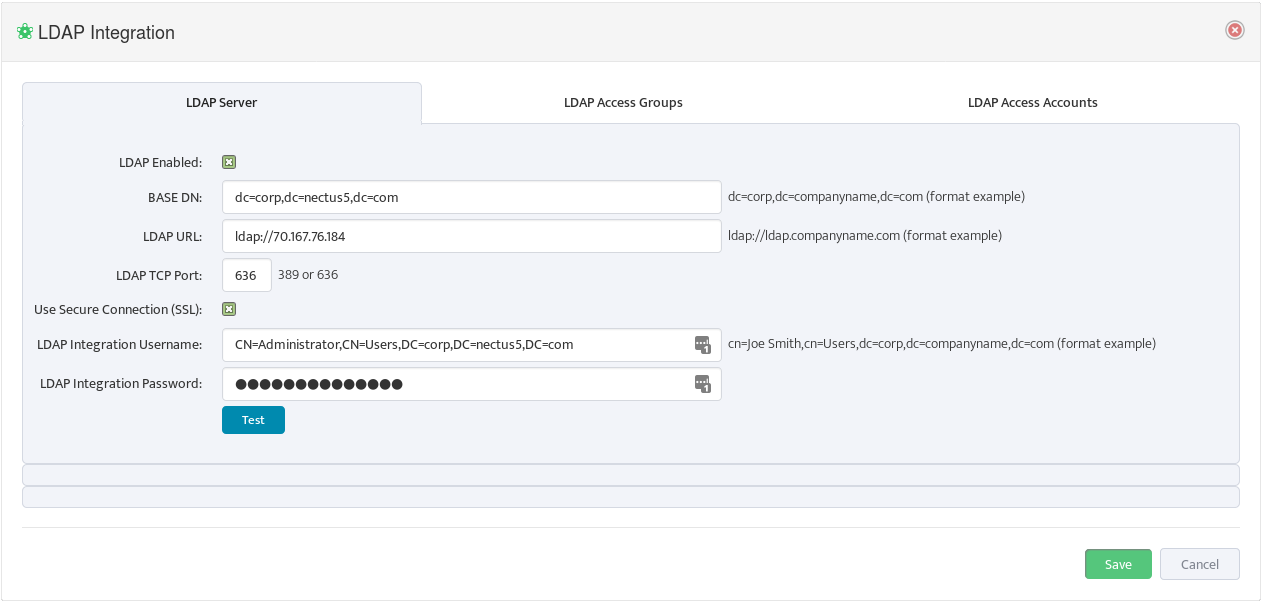
Select the LDAP Server tab and enter the LDAP parameters. You can see examples of the format for these parameters to the right of the relevant fields. Check LDAP Enabled.

5. Mapping AD/LDAP Groups to Nectus Local User Groups

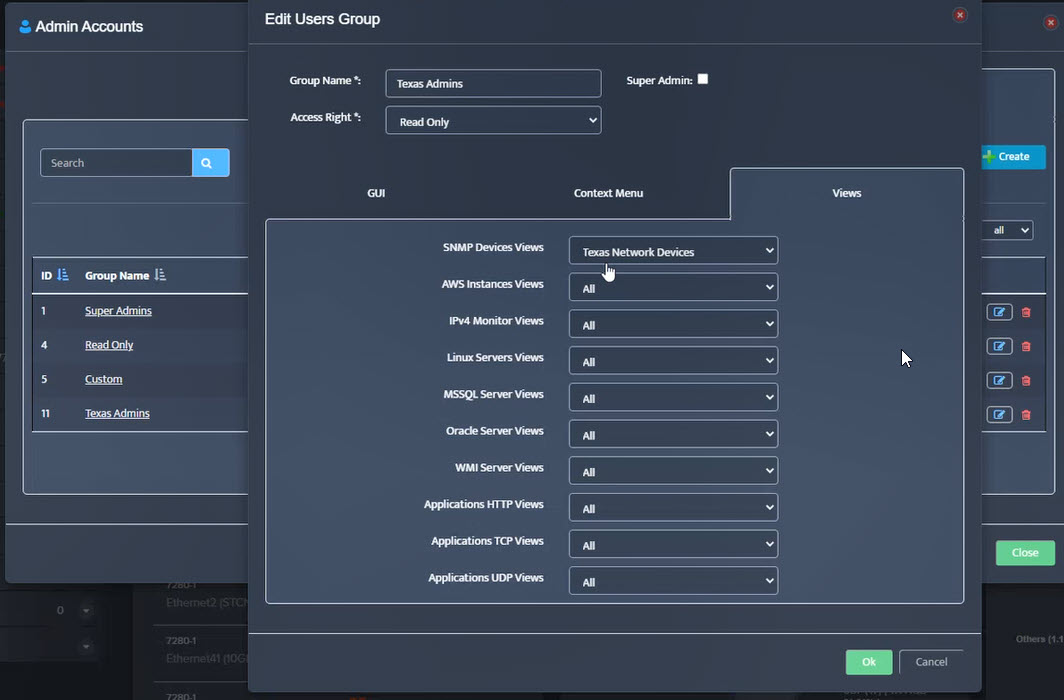
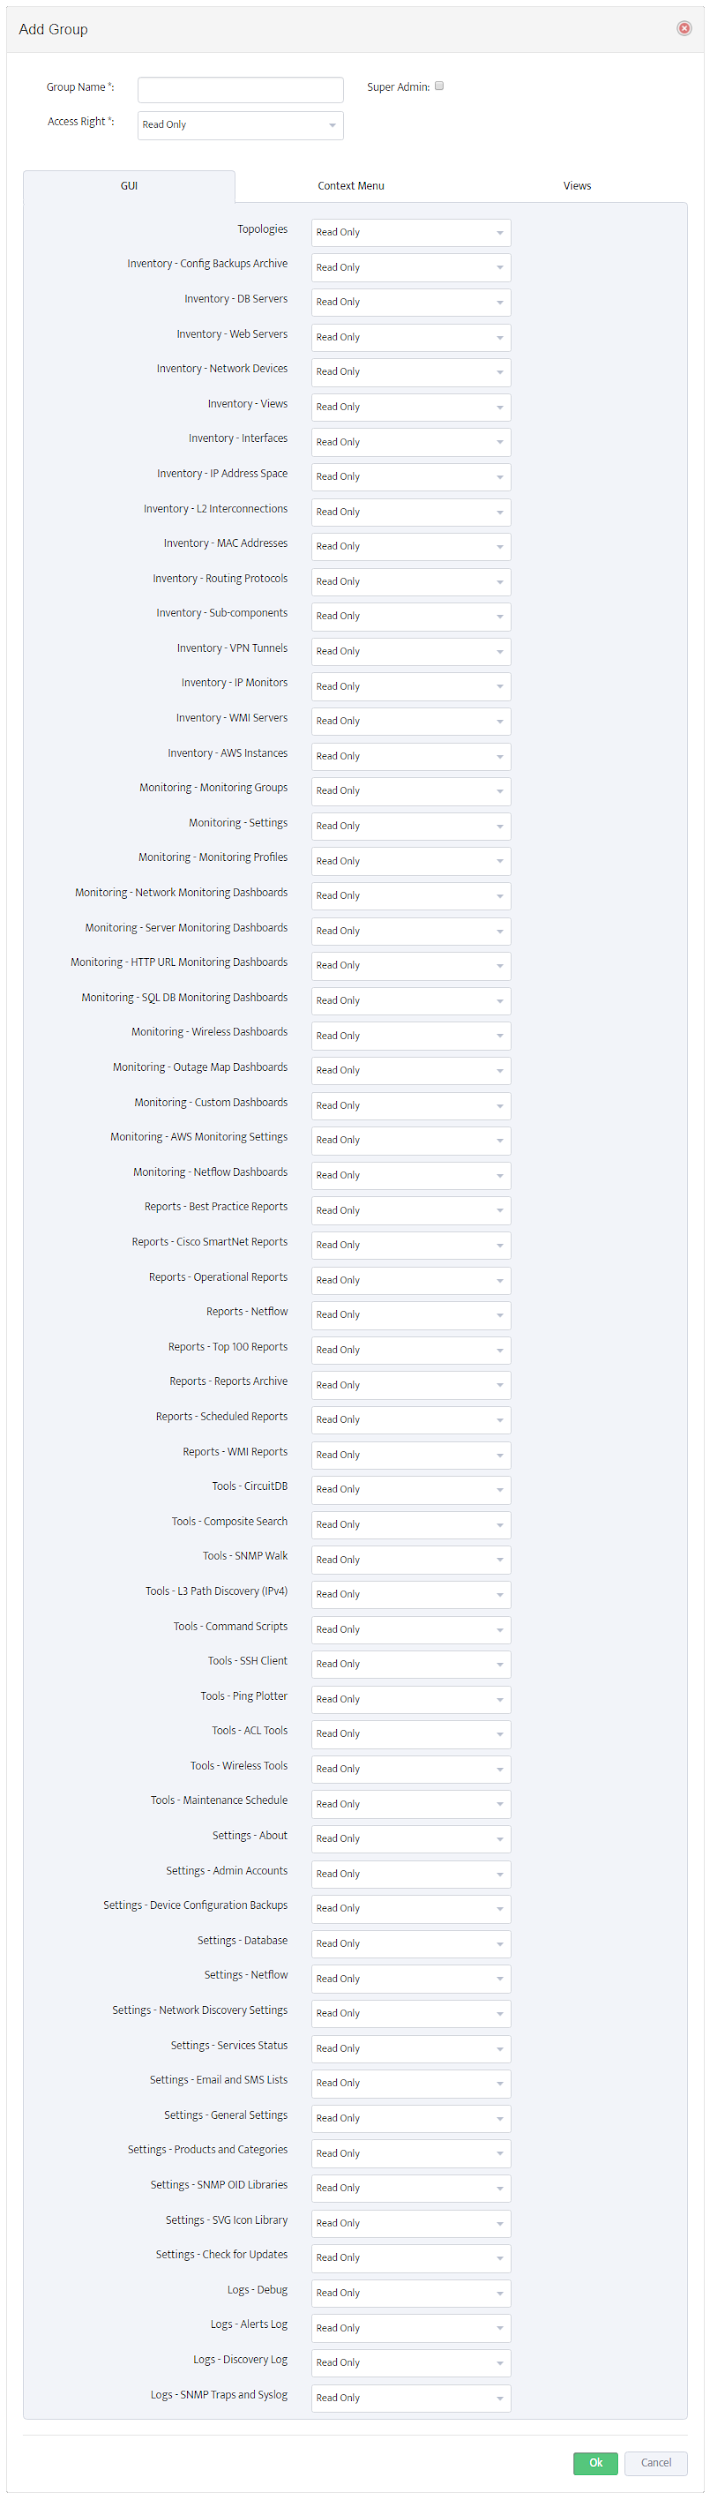
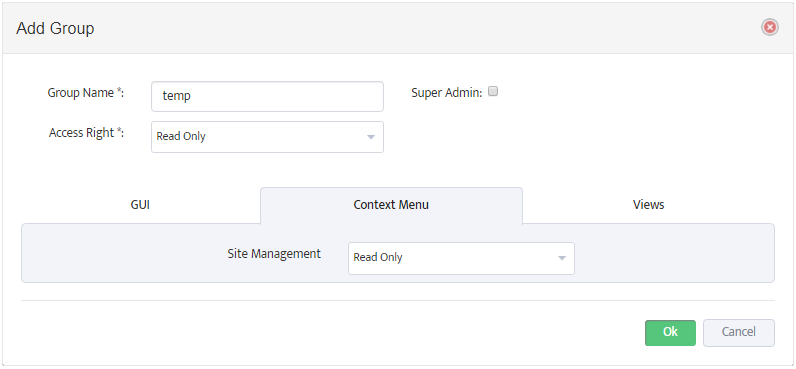
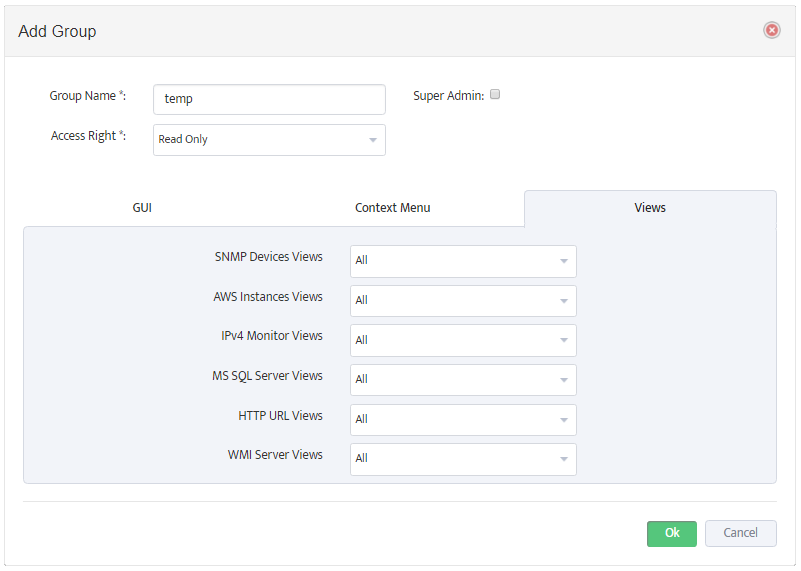
Mapping an AD/LDAP Group to a Nectus Local User Group causes the entire AD/LDAP group to inherit the security settings from the Nectus Local User Group.

To map AD/LDAP Groups to Nectus Local User Groups, open the “LDAP Integration” dialog box and select the LDAP Access Groups tab.

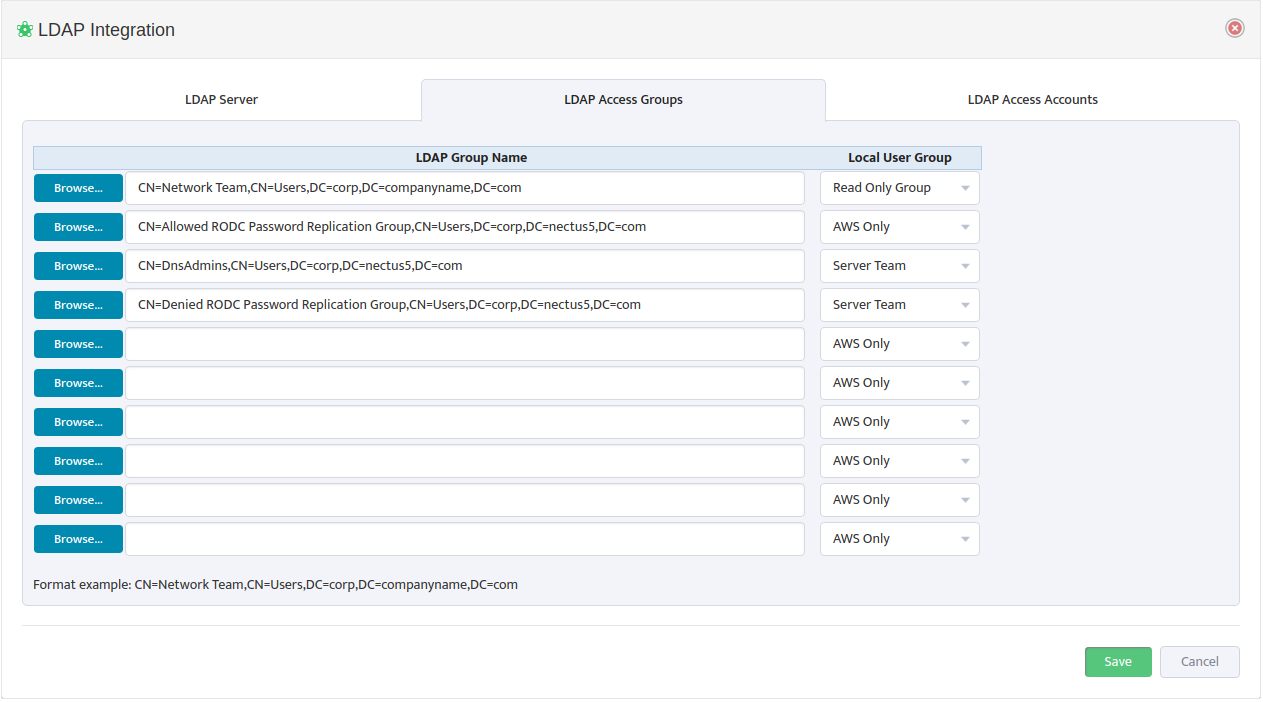
Use a Browse button on the left to open the “Select group from LDAP Server” dialog box and select an LDAP Group Name.

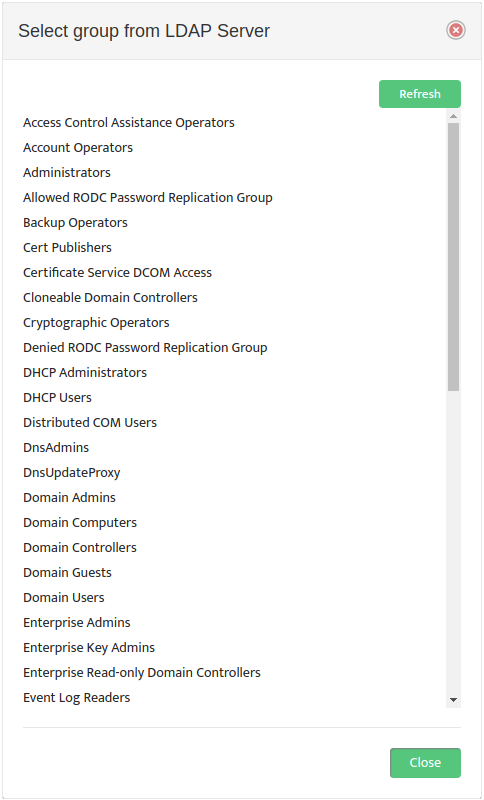
Nectus returns you to the “LDAP Integration” dialog box. In the drop-down list to the right of the LDAP Group Name, select the Local User Group to map it to. An example of the proper LDAP Group Name format appears at the bottom of the dialog box.

6. Mapping AD/LDAP Usernames to Nectus Local User Groups

Mapping an AD/LDAP Username to a Nectus Local User Group causes the specific AD/LDAP User to inherit the security settings from the Nectus Local User Group.

To map AD/LDAP Account Usernames to Nectus Local User Groups, open the “LDAP Integration” dialog box and select the LDAP Access Accounts tab.

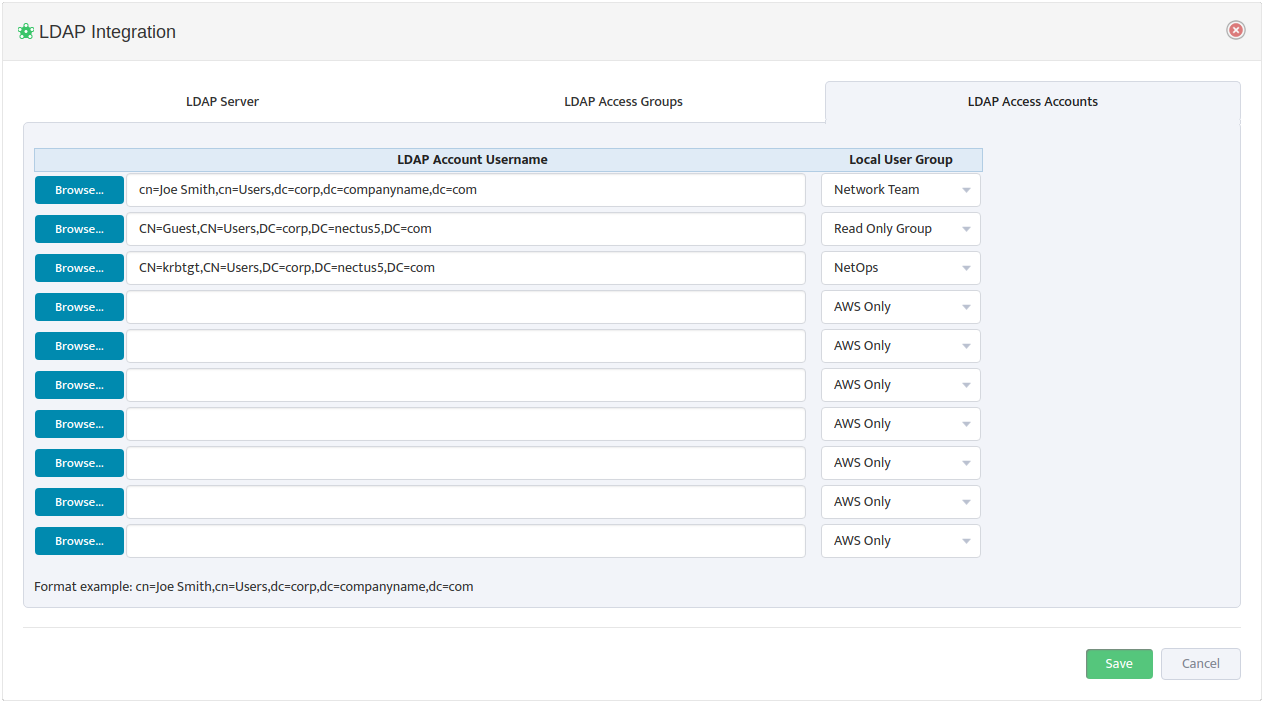
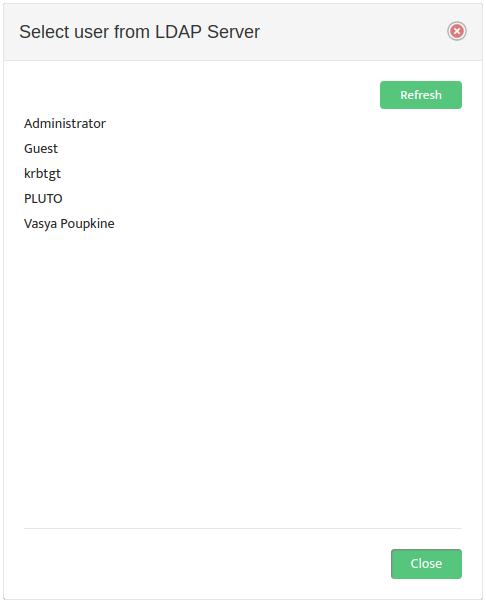
Use a Browse button on the left to open the “Select user from LDAP Server” dialog box and select an LDAP Account Username.

Nectus returns you to the “LDAP Integration” dialog box. In the drop-down list to the right, select the Local User Group to map the LDAP Account Username to. An example of the proper LDAP Account Username format appears at the bottom of the dialog box.


How to Implement Device View Restrictions in Nectus

,

In this chapter, you’ll learn how to implement User Group based Device Access Restrictions with the help of Device Views. By assigning one of these Views to a User Group, you control which Devices the Users in that Group can see.

Implementing Device View restrictions allows members of User Groups to focus on only those devices that are relevant to their work. For example, if your company has three facilities, you might create one View for each facility, showing only the servers that are physically located at that facility.

The specific topics we will cover in this chapter are:

  1. Creating a Device View
  2. Creating a User Group
  3. Applying the Device View to the User Group
  4. Creating a User Account and Assigning it to the User Group
  5. Viewing the Results of Applying Access Restrictions

1. Creating a Device View

To create a Device View go to the Nectus Home Screen and select Inventory -> Views -> SNMP Device Views.

This opens the “SNMP Devices Views” dialog box.

Click the Add View button to open the “Add SNMP Devices View” dialog box. Create the new View by entering a View Name and adding Devices to the “Selected SNMP Device” list.

2. Creating a User Group

To create a new User Group go to the Nectus Home Screen and select Settings -> Admin Accounts.

This opens the “Admin Accounts” dialog box. Select the User Groups tab.

Click Add New Group to open the “Add Group” dialog box. Enter the Group Name and make any changes necessary for the GUI and Context Menu tabs.

3. Applying the Device View to the User Group

Select the Views tab. Select the Device View in the “SNMP Devices Views” drop-down list.

4. Creating a User Account and Assigning it to the User Group

Return to the “Admin Accounts” dialog box. Select the User List tab.

Click Add New Account to open the “Add Account” dialog box. Enter the required information for the User and select the User Group in the “Group” drop-down list.

5. Results of Applying the Access Restrictions

Applying the Device View to the User Group results in Access Restrictions for the Users in that Group.

When a User from that group views the SNMP Devices Pane on the Nectus Home Screen, he can only see the Devices that were included in the Device View.

When the User views the Sites pane, he can only see the Sites that contain Devices included in the Device View.

Creating User Accounts and User Groups

,

Creating User Accounts and User Groups

In this chapter, you’ll learn how to create User Accounts and assign them to User Groups. You’ll also learn how to create User Groups and set their Access Rights.

The specific topics we will cover in this chapter are:

  1. Creating User Accounts
  2. Creating User Groups
  3. Setting User Group Access Rights

1. Creating User Accounts

Every Administrator should have their own User Account. To create a new User Account go to the Nectus Home Screen and select Settings -> Admin Accounts.

This opens the “Admin Accounts” dialog box.


Select the User List tab and click Add New Account to open the “Add Account” dialog box.

Enter the information for the user. Fields marked with an asterisk ( * ) are required. The group you assign determines the User’s Access Rights. You can assign the User to an existing Group, or create a new Group.

2. Creating User Groups

To create a User Group return to the “Admin Accounts” dialog box and select the User Groups tab.

Click Add New Group to open the “Add Group” dialog box and enter a Group Name.

Note that you can use the icons to the right of the Group Names to edit or delete an existing User Group.

3. Setting User Group Access Rights

Select the Group’s Access Rights from the drop-down list. Selecting “Read Only” or “Read / Write” rights sets all the GUI and Context Menu options to those values.

Selecting “Custom” rights allows you to set each GUI and Context Menu item individually. The options are “Read Only”, “Read / Write”, and “Hide”.

Select the Views tab to specify which views the User can see.

The drop-down list next to each view lists the items that will appear for that view. Setting “SNMP Devices Views” to “Cisco” for example causes only Cisco devices to appear in the SNMP Devices section or the Sites Section.

You can also designate the User Group as a “Super Admin.” Your installation must always have at least one Super Admin Group to ensure that Users have access to the system.