Configuring Linux Monitoring in Nectus
Nectus Server 1.55 adds feature to monitor some system parameters on hosts running Linux. Enabling this feature for your infrastructure requires two steps:
- Configuring of Nectus Server;
- Installing and configuring of Nectus remote agents on target Linux machines.
This guide describes steps for Nectus Server configs. Installing and configuring of Linux remote agents are described here.
Linux monitoring integration
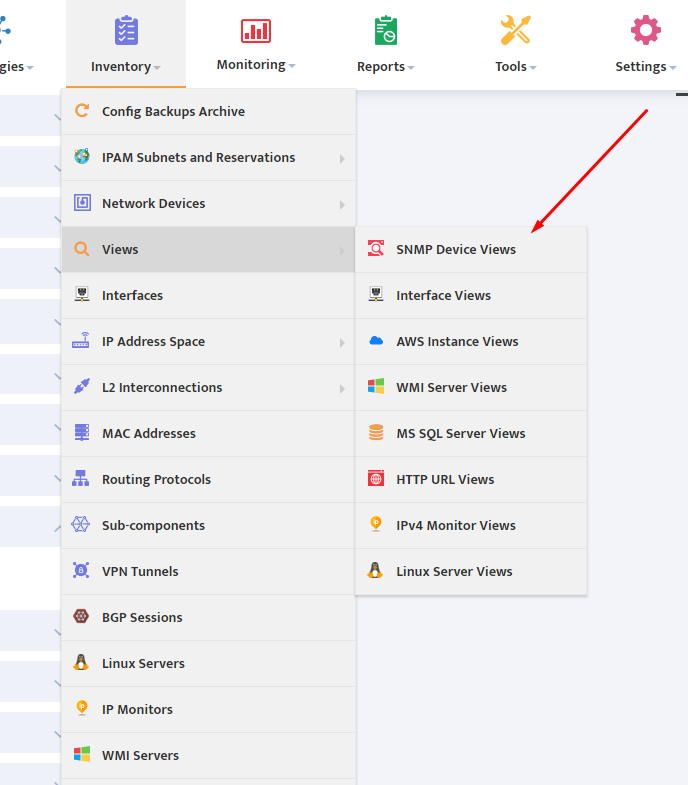
Choose the following menu item from the Nectus GUI to set global Linux monitoring parameters.
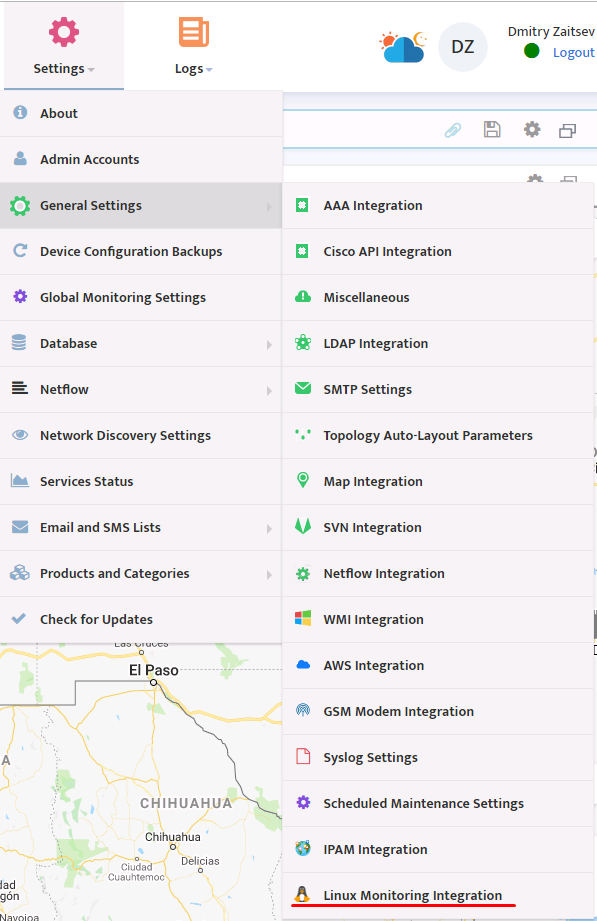
This will open the next window:
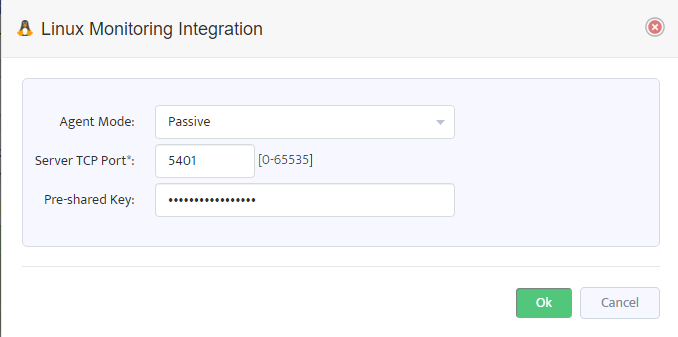
- Agent mode determines whether the agent runs in passive mode (when it waits for an incoming connection from the server and then collects the required metrics) or in active mode when the agent connects to the server pro-actively and sends the collected data.
- Server TCP port sets the server port number for incoming connections from the agents running in active mode. If you set Agent mode to passive then this value is not used.
- Pre-shared Key determines the secret key used to encrypt and decrypt messages between Nectus Server and the monitoring agents. You can set string of any length but recommended length is from 8 to 16 characters. The exactly same key should be set in all agents’ configuration files (parameter SERVER_PRESHARED_KEY, see details here).
Click OK to save configured parameters.
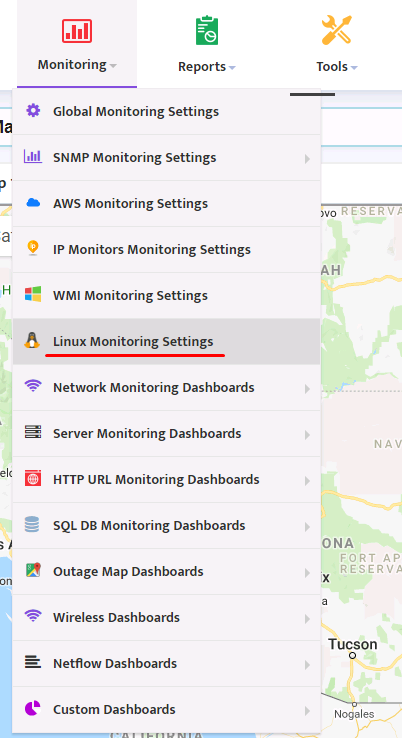
Select “Linux Monitoring Settings” from the “Monitoring” menu to configure your monitoring profiles for Linux machines.
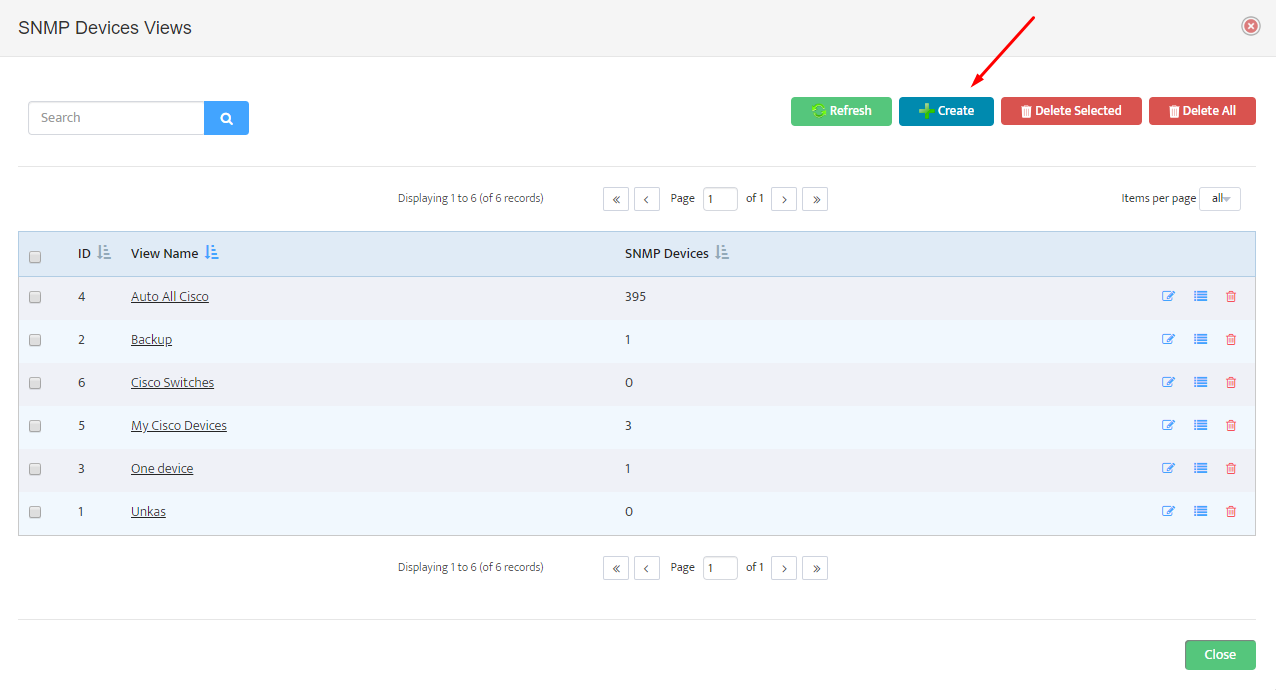
Click “Create” to create a new monitoring profile:
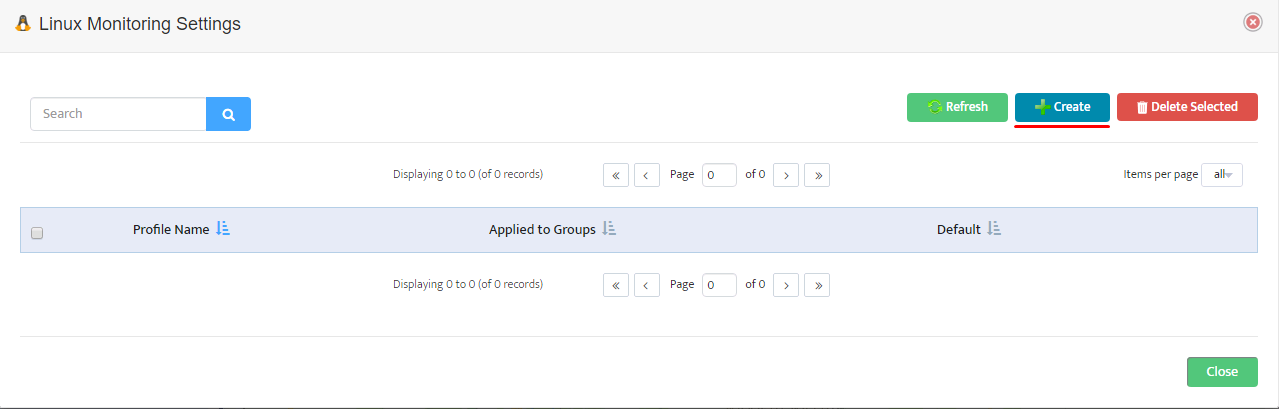
In the following form enter the name of your profile and choose metrics you would like to monitor:
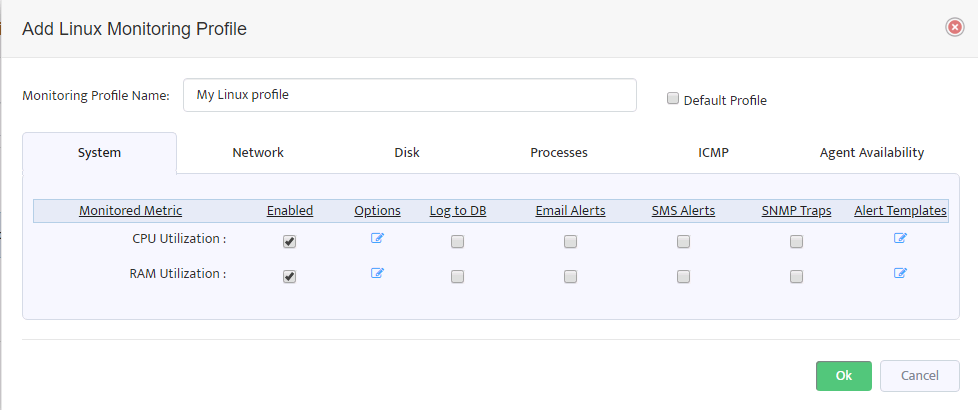
Configure the necessary metric parameters like minimal and maximal thresholds, alerting etc.
You can create any number of profiles and assign each of them to different group of Linux machines.
Linux Servers
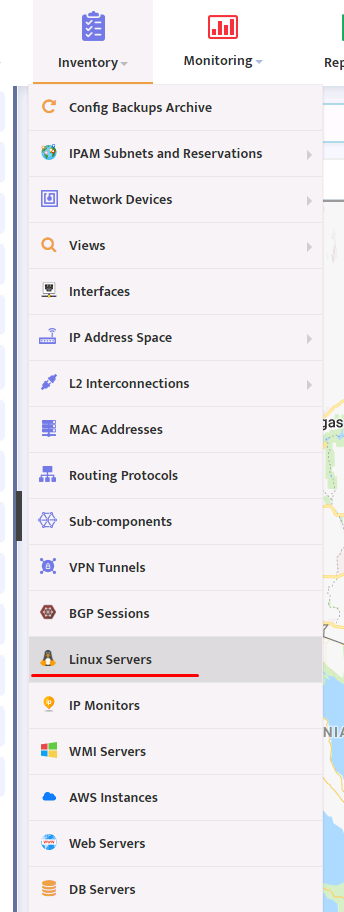
Select “Linux Servers” from the “Inventory” menu to configure groups and servers to be monitored.
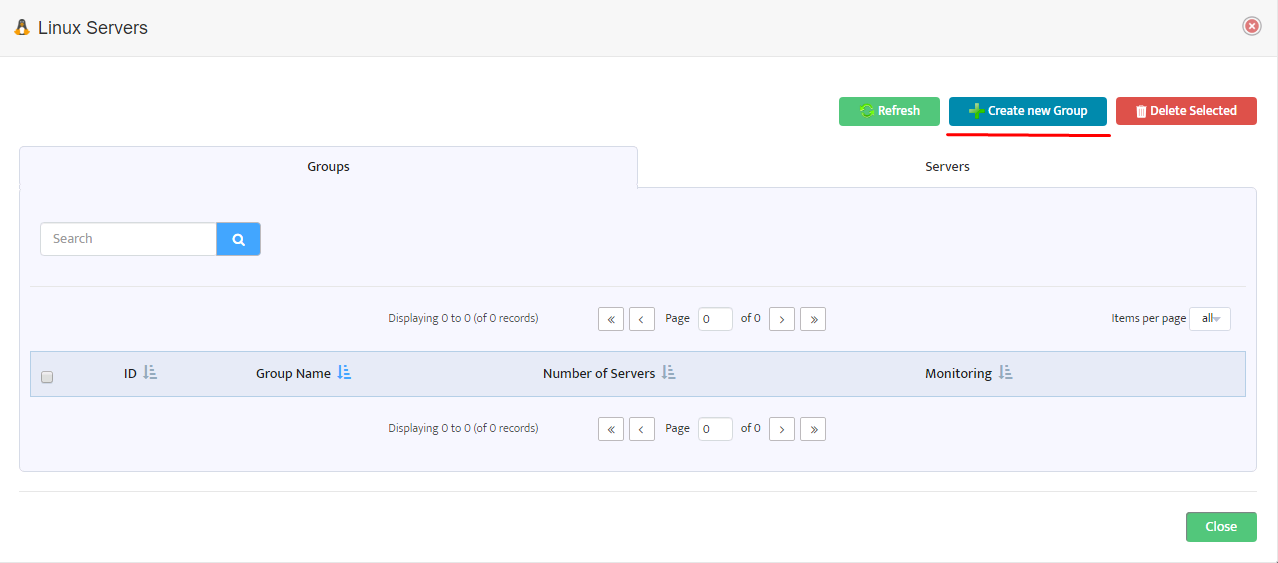
Click “Create new Group” in the next form:
Enter “Group Name” for the new group, select “Enable monitoring” and choose the desired Monitoring Profile for this server group:
Also select the appropriate alert recipients in this form.
You can create any number of monitoring groups if you need to apply different profiles or alert recipients for different server groups.

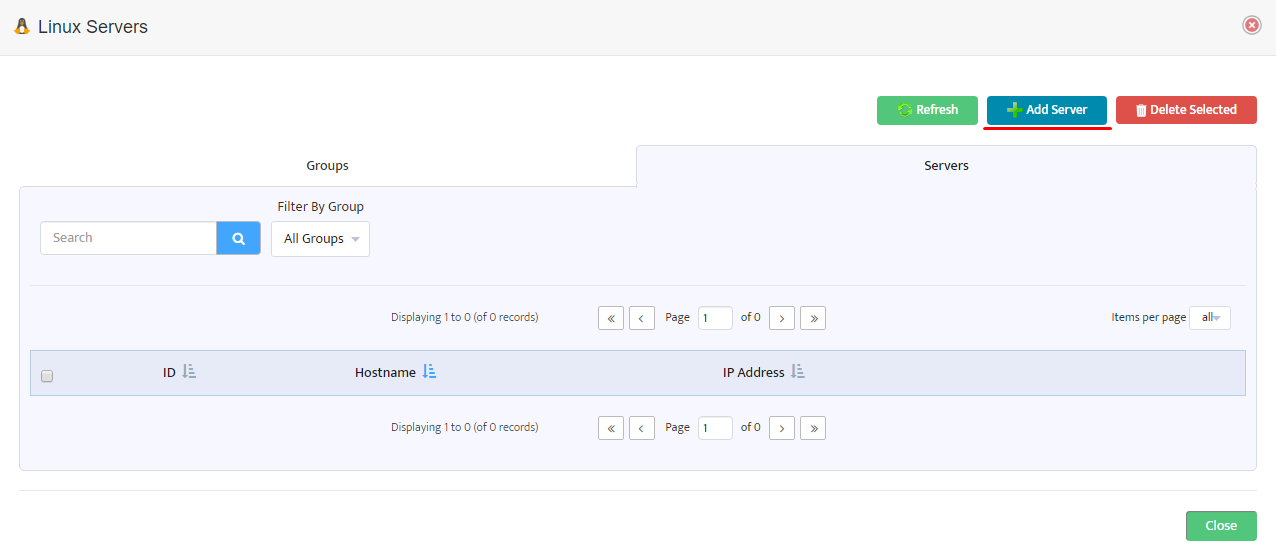
When you have finished with the groups switch to the next tab “Servers” in the same form and click “Add Server” to add a Linux server to be monitored:
In the next window enter the Hostname (optional, it will be obtained later during the monitoring process), IP address, TCP port of the remote agent’s listening socket (default 5400) and choose the appropriate Group:
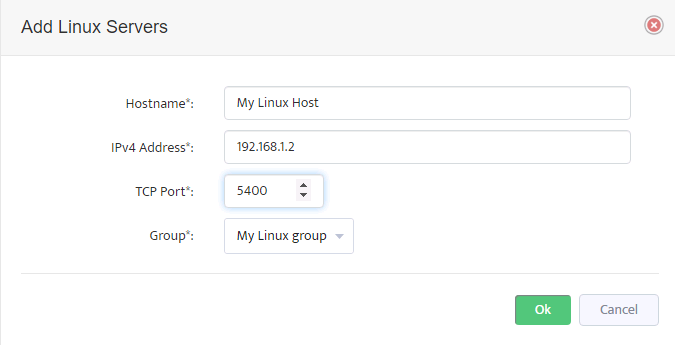
You can choose different values of TCP port for different servers according to your network configuration. But note that this value must match the parameter AGENT_PORT set in the agent’s configuration file (see details here).
After clicking “OK” you will see the server in the following list and you will be able to View, Edit and Delete the server (operations are marked with a red square).
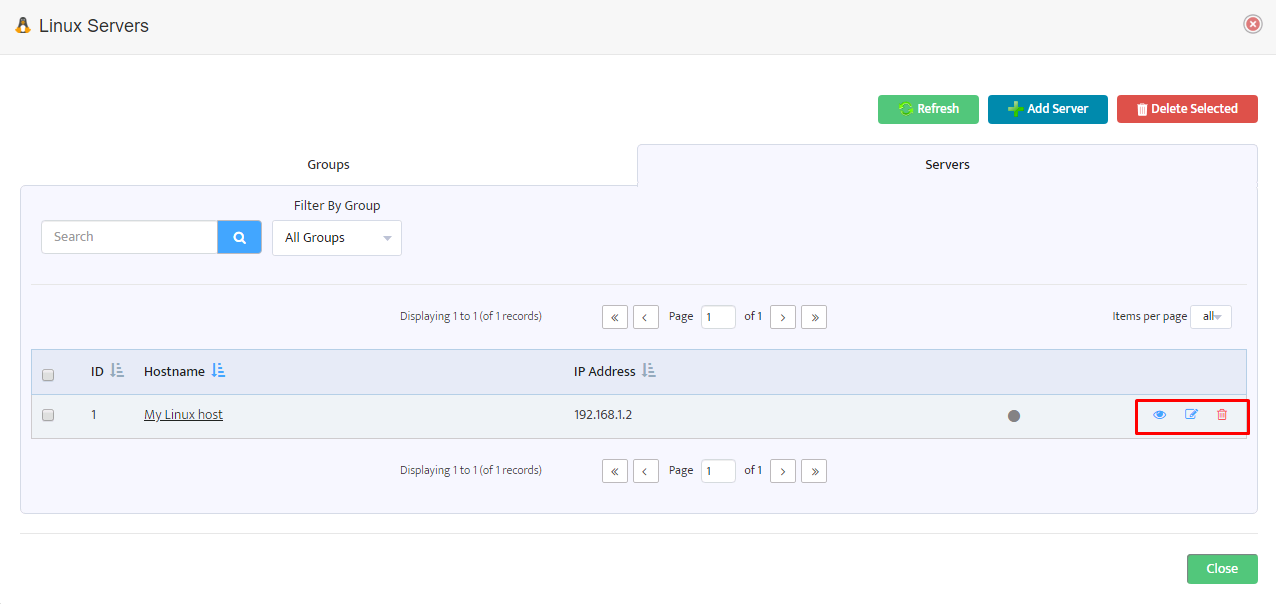
After you have added all the desired servers and installed the remote agents the process of monitoring of your Linux hosts will start automatically.
 .
.