How to Combine Multiple Interface Utilization Graphs Into One

,


Step 1: Login to the Nectus GUI, and go to the specific device, identify the interfaces which have to be graphed in a combined view.

Graphical user interface, text, application

Description automatically generated


Step 2: Select the multiple interfaces, Right-Click on the Selected Interfaces and go to Graphs -> Interface Utilization Graph.

Graphical user interface, text, application

Description automatically generated

Step 3: Here is the default view, where all utilization graphs are stacked vertically.

Graphical user interface, text, application

Description automatically generated

Step 4: Use superimpose option (Superimpose, Superimpose with Summary) which merges the selected multiple interface utilization graphs into a single graph.

Graphical user interface, text

Description automatically generated

Graphical user interface, text

Description automatically generated


Restricting Users From Using Specific Nectus GUI Features

Restricting Users From Using Specific Nectus GUI Features

Quick Start

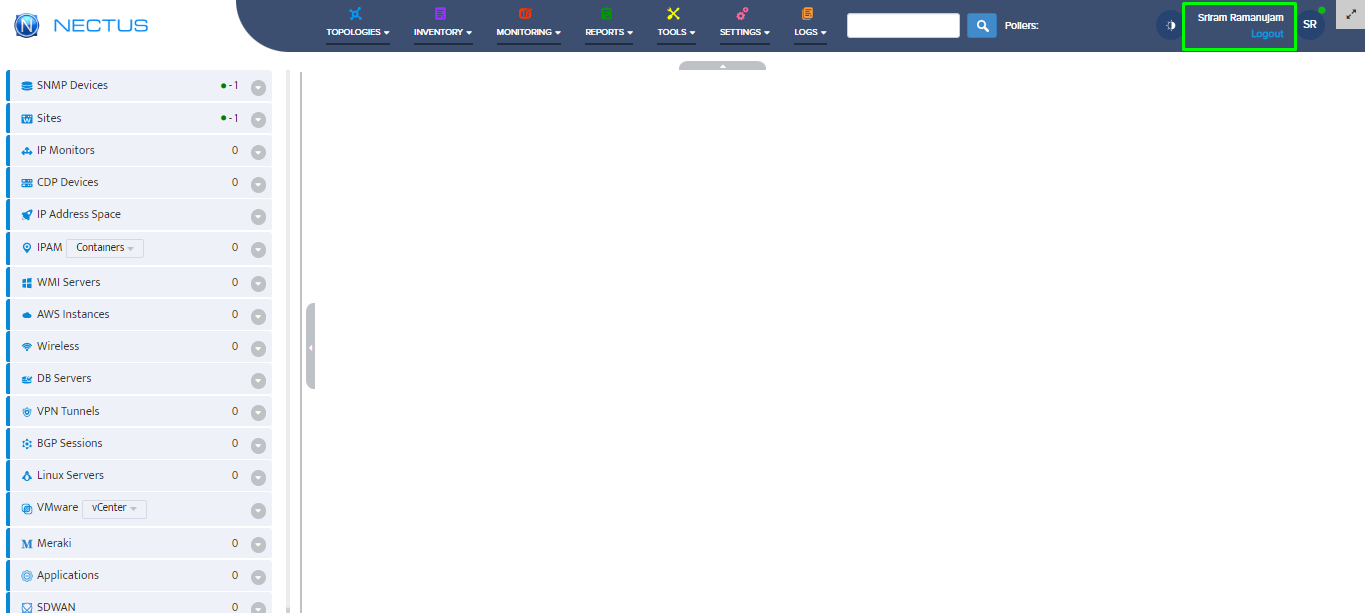
Step 1: Let’s login to the Nectus GUI using the superadmin user credentials.


Graphical user interface, text, application, Word

Description automatically generated

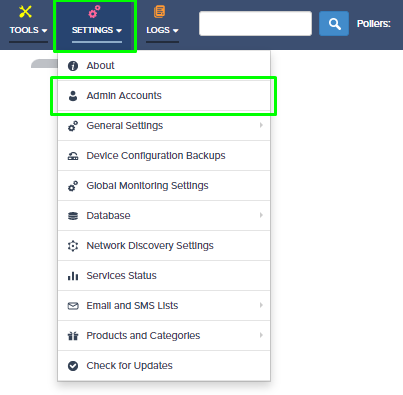
Step 2: Click on the Setting Menu and select admin accounts (Settings -> Admin Accounts).

Now the new modal opens with two tabs (Users List, User Groups).

Graphical user interface, application

Description automatically generated

Graphical user interface, text, application

Description automatically generated

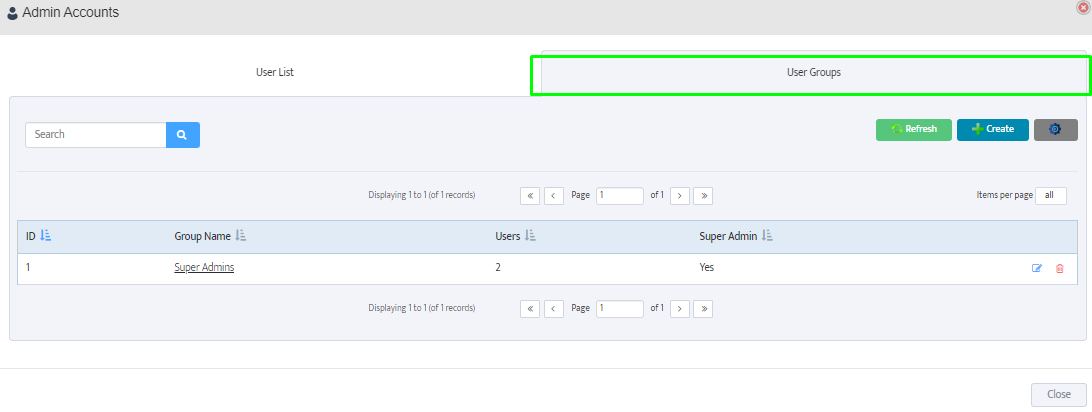
Step 3: First, let’s create a new group by clicking the Create Button.

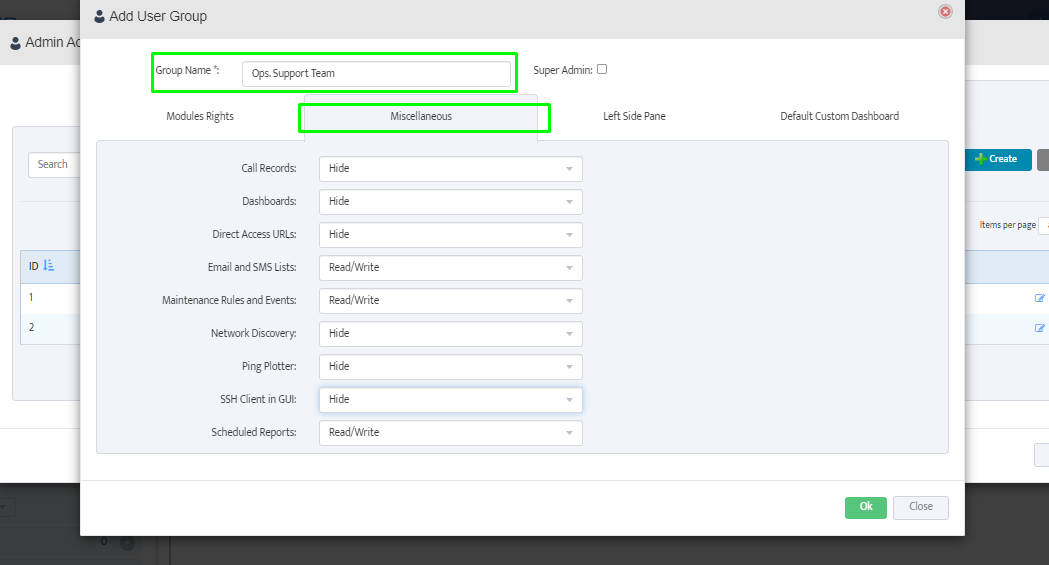
Provide the appropriate group name and select the features that need to be allowed or disabled for this user group.

Here, we are hiding Call Records, Network Discovery, Ping Plotter, and so on. Last, click on the OK button and create a new group.


Graphical user interface, application

Description automatically generated

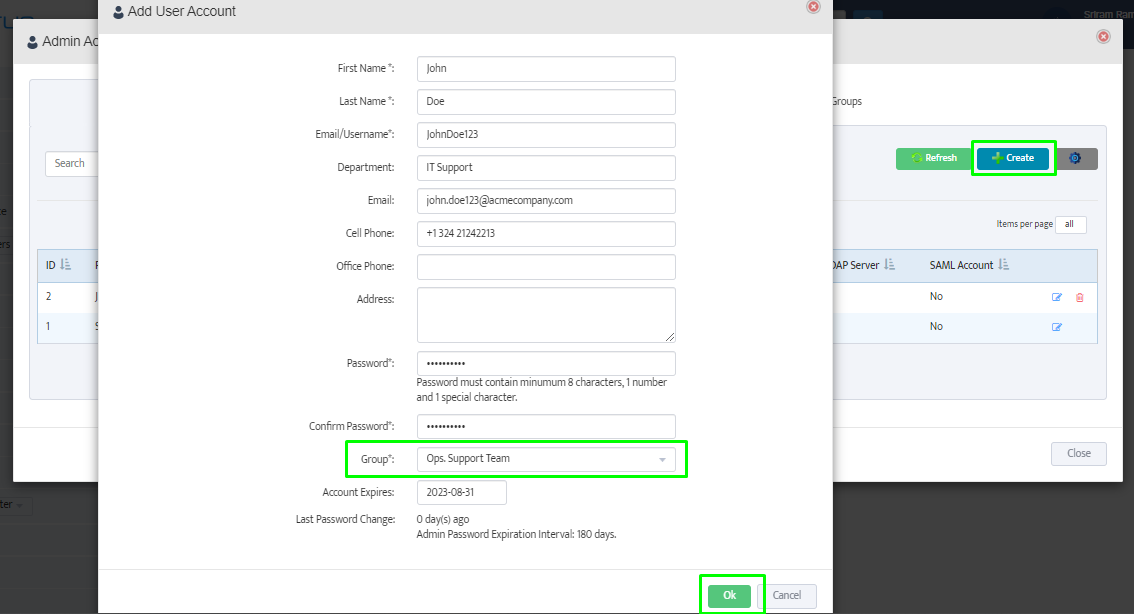
Step 4: Now, let’s create a new user and add to newly created group.

Go to the User List tab in the Admin Account Modal and Click on Create User Button.

Complete the basic information and, under the Group dropdown option, select the appropriate group.

Graphical user interface, application

Description automatically generated

Step 5: Now, we can see the new user is added and mapped to appropriate group.

Graphical user interface, text, application

Description automatically generated

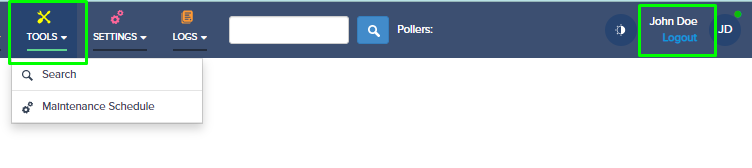
Step 6: Log-in with the newly created user credentials to validate the provided features restriction.

Graphical user interface, application, Teams

Description automatically generated

Graphical user interface, text, application

Description automatically generated