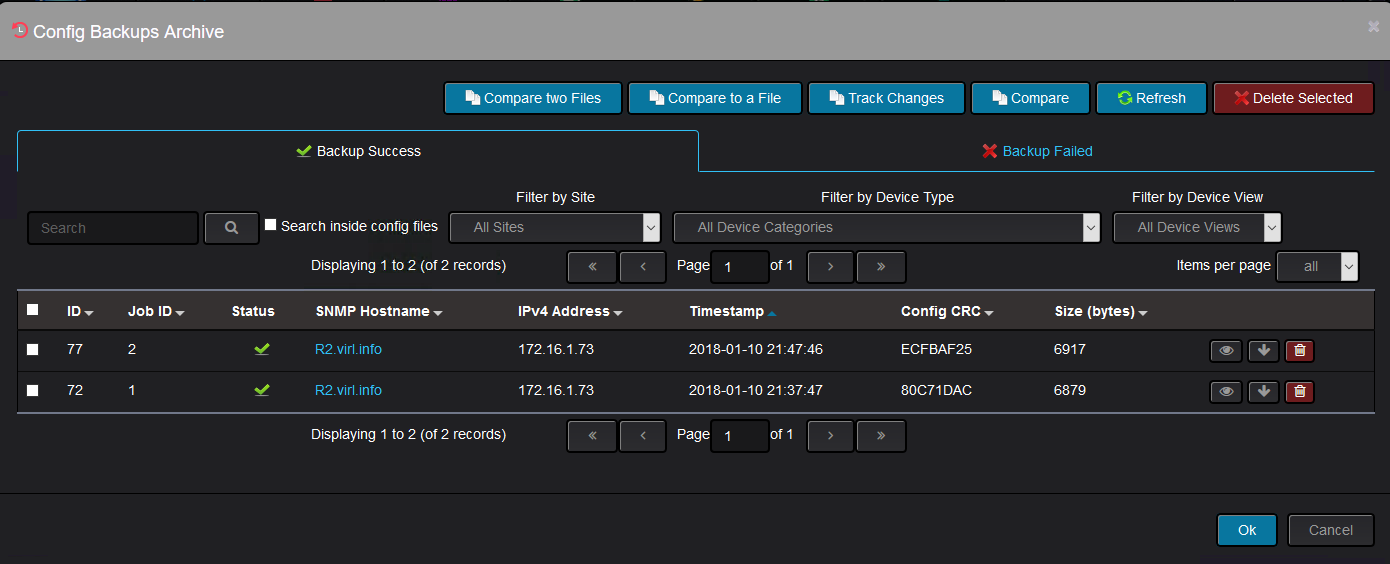
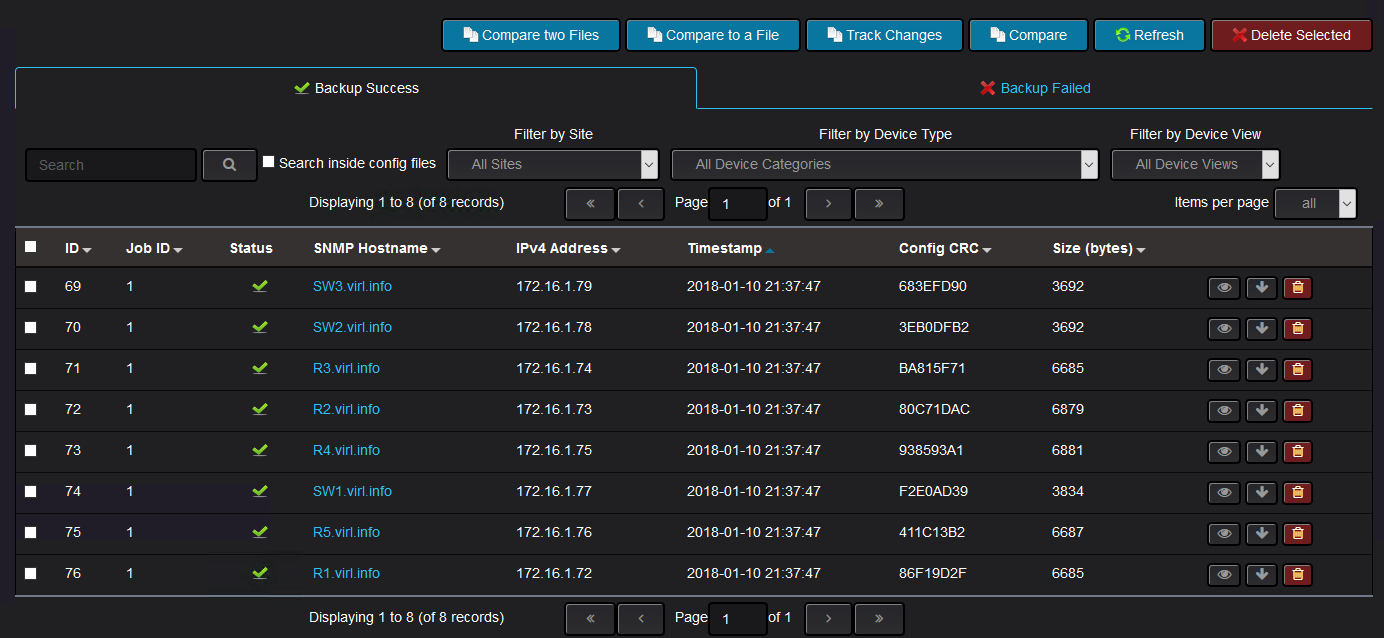
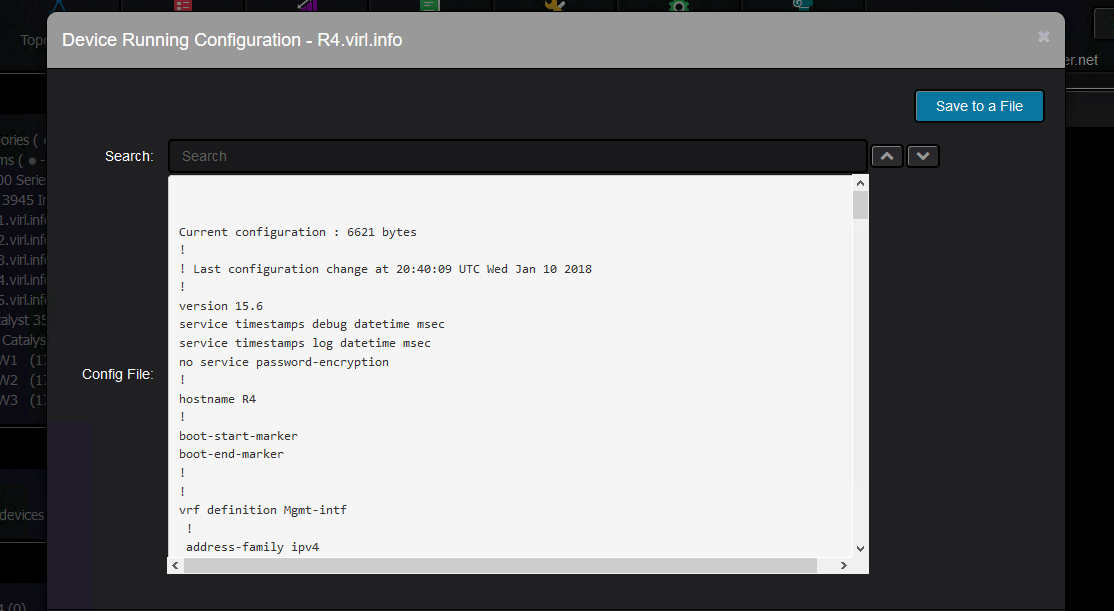
Network Device Configuration Backup
Nectus version 1.2.51 introduced several enhancements for Network Device Configuration backup procedure.
User can now use different backup credentials and fully customizable backup scripts for different Device Views. This allows user to create different backup scripts for different vendors or different product lines with different CLI.
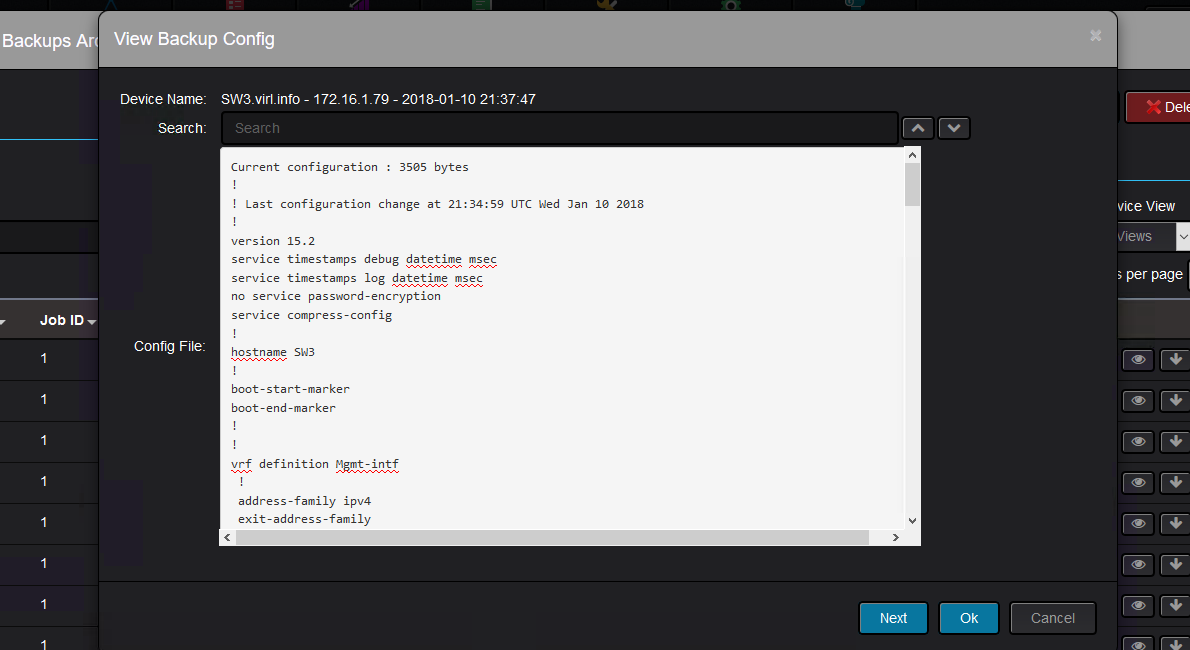
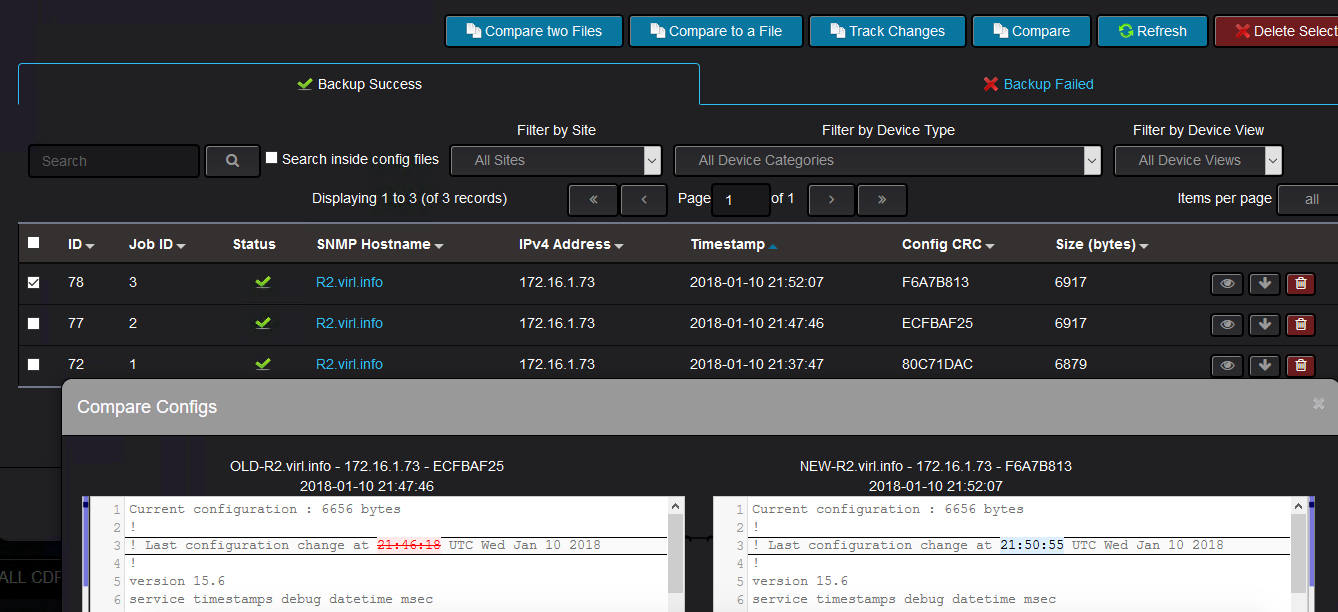
User can control what configuration information is included in configuration backup and include supplementary information such as hardware inventory info, current ports status and list of connected devices to a scheduled configuration backup process.
Creating Device View for Configuration Backups
Very first step in setting up your configuration backup is to create Device Views that will contain devices that require common Credentials and Configuration Scripts.
For example, you can create Device View that will contain all Cisco ASA Firewalls and Separate Device View that will contain all Cisco IOS Devices.
The reason those devices require separate Device Views is that Configuration Backup script differ for ASA and IOS devices.
Also use different Device View if devices require different login credentials.
To Create a Device Views, go to Inventory → Views → SNMP Device Views
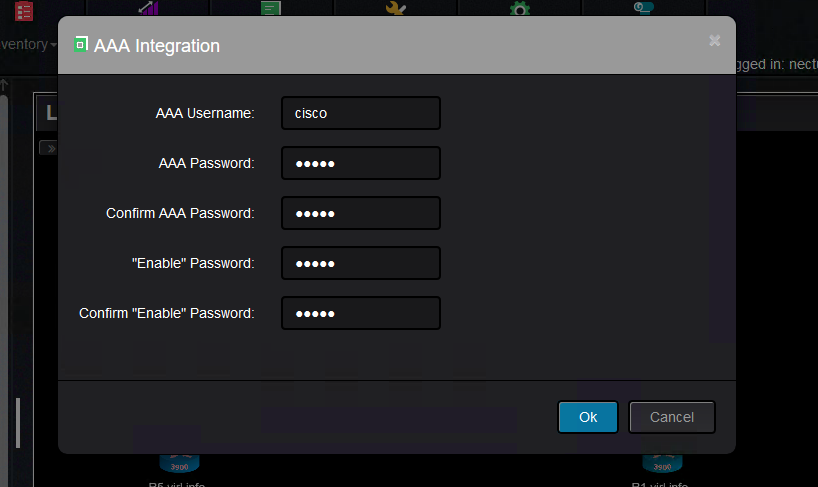
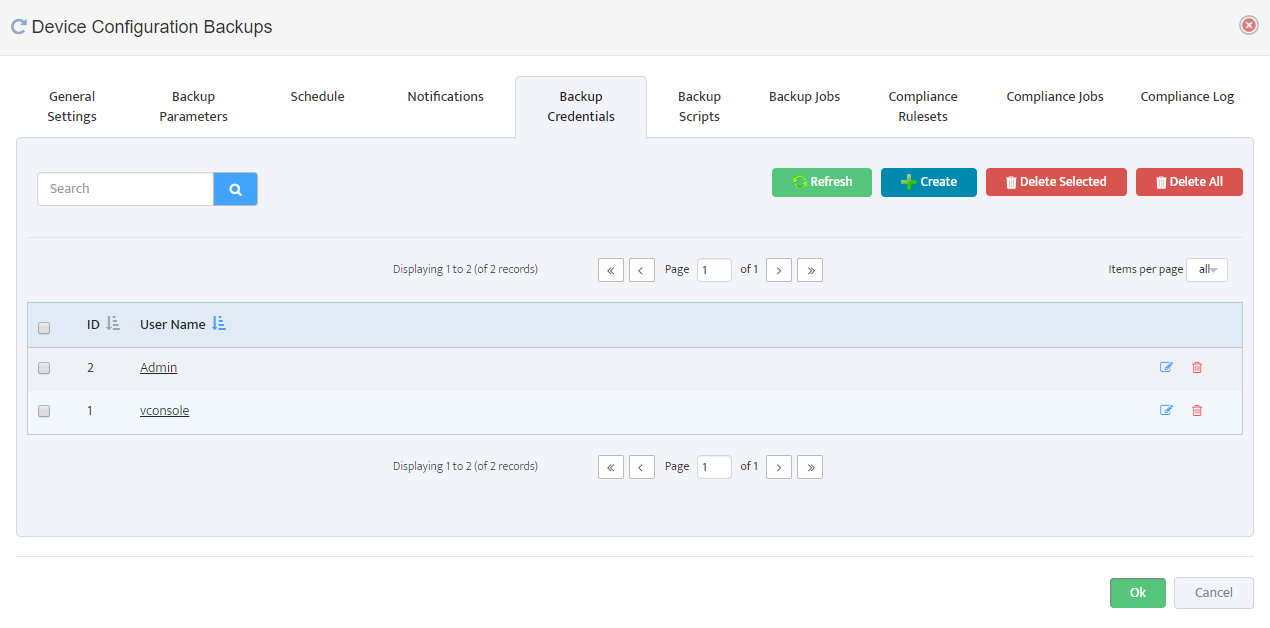
Creating Login Credential Sets
Next step is to define your login credentials that will be used by Configuration backup engine to login to devices and executing Backup Scripts.
To Create a Backup login Credentials, go to:
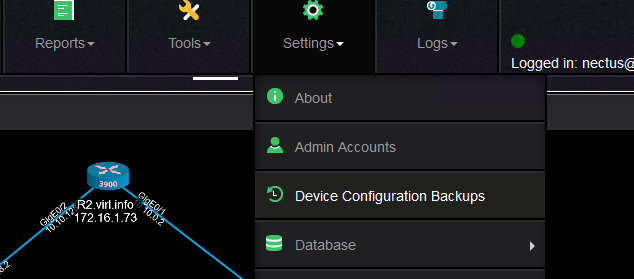
Settings → Device Configuration Backups → Backup Credentials
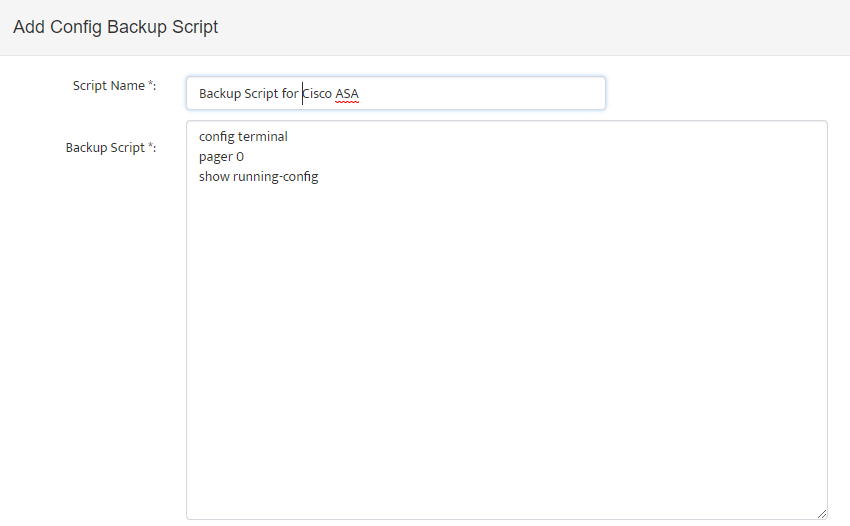
Creating Backup Scripts
Next step is to create Backup Scripts that will be executed by backup engine once it is logged in to device.
Here is the example of sample Backup Script for Cisco ASA Devices:
config terminal
pager 0
show running-config
You can further enhance backup script by including for example hardware inventory information command: “show inventory” etc.
It is important to create a script that will generate all the information required for backup without pagination.
To Create Backup Scripts, go to:
Settings → Device Configuration Backups → Backup Scripts
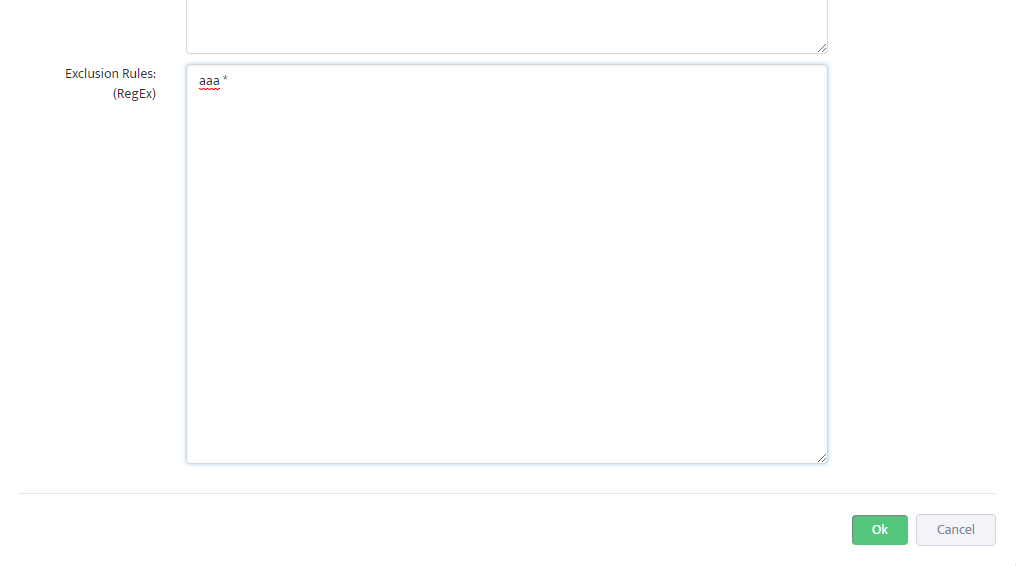
In some cases, output generated by backup script may contain highly sensitive information that may not be desired to be stored anywhere.
For cases like this Nectus offers “exclusion rules” option in Configuration Script definition where you can define which config lines must be excluded from the text before it is stored in database.
You can use RegEx syntax to define those exclusion rules.
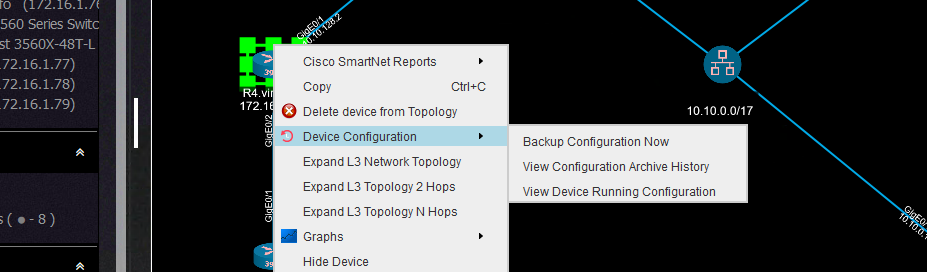
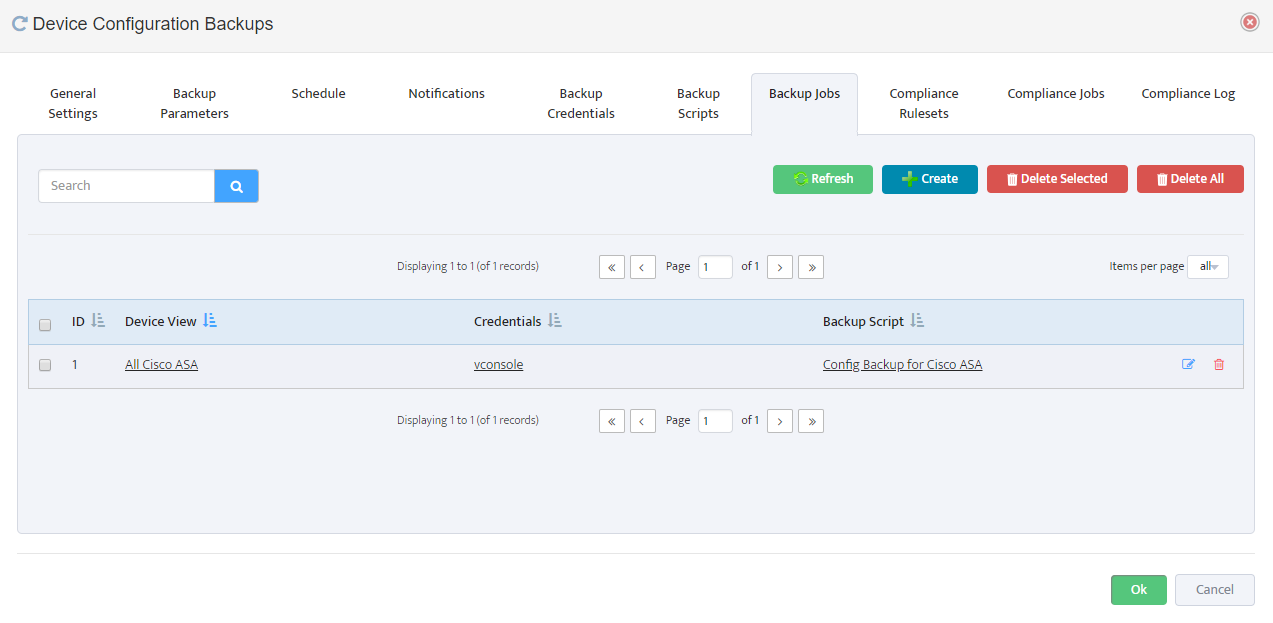
Creating Backup Jobs
Next step is to create a Backup Job definition where you can combine Device View with specific Backup Credential Set and Backup Script.
To Create Backup Jobs, go to:
Settings → Device Configuration Backups → Backup Jobs
Enable Config Backup, Set Time and Miscellaneous Settings
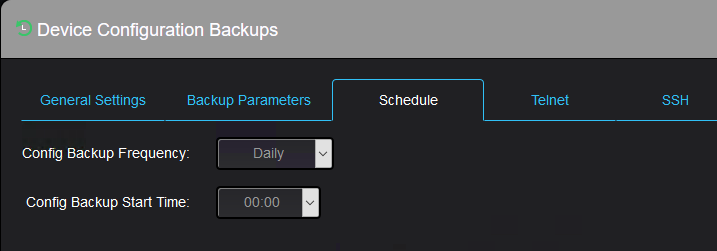
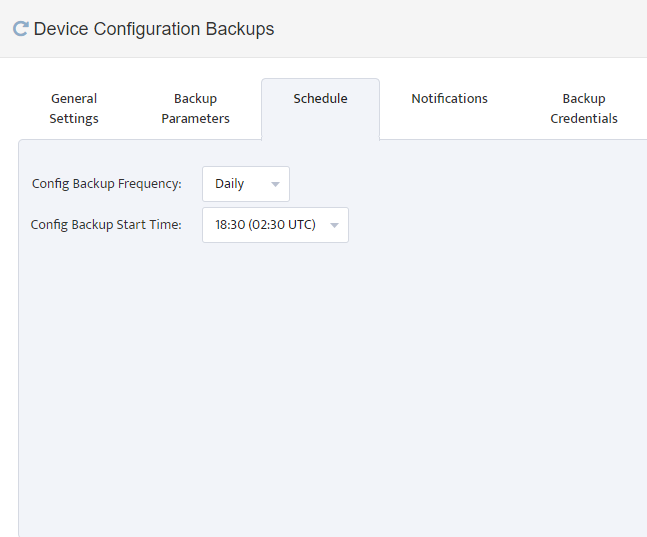
And final step is to define time for scheduled backup and to turn it ON.
To set a time for Configuration Backup, go to:
Settings → Device Configuration Backups → Schedule
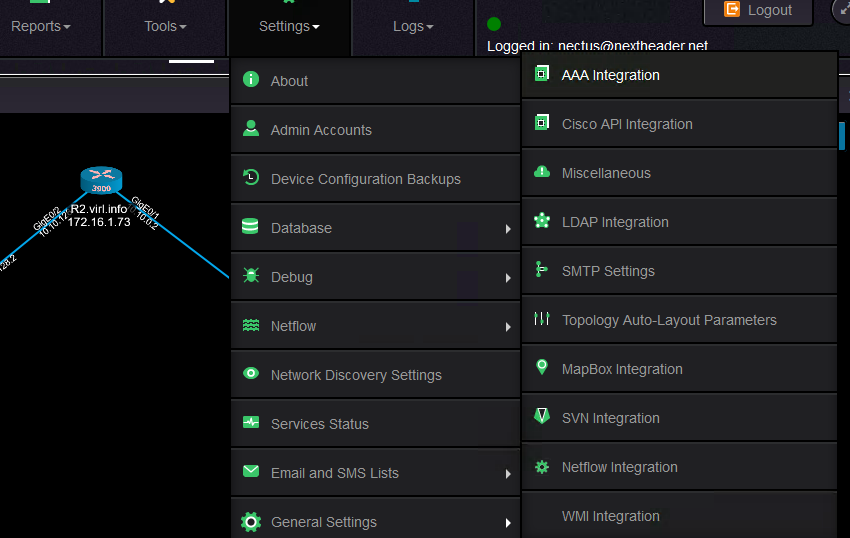
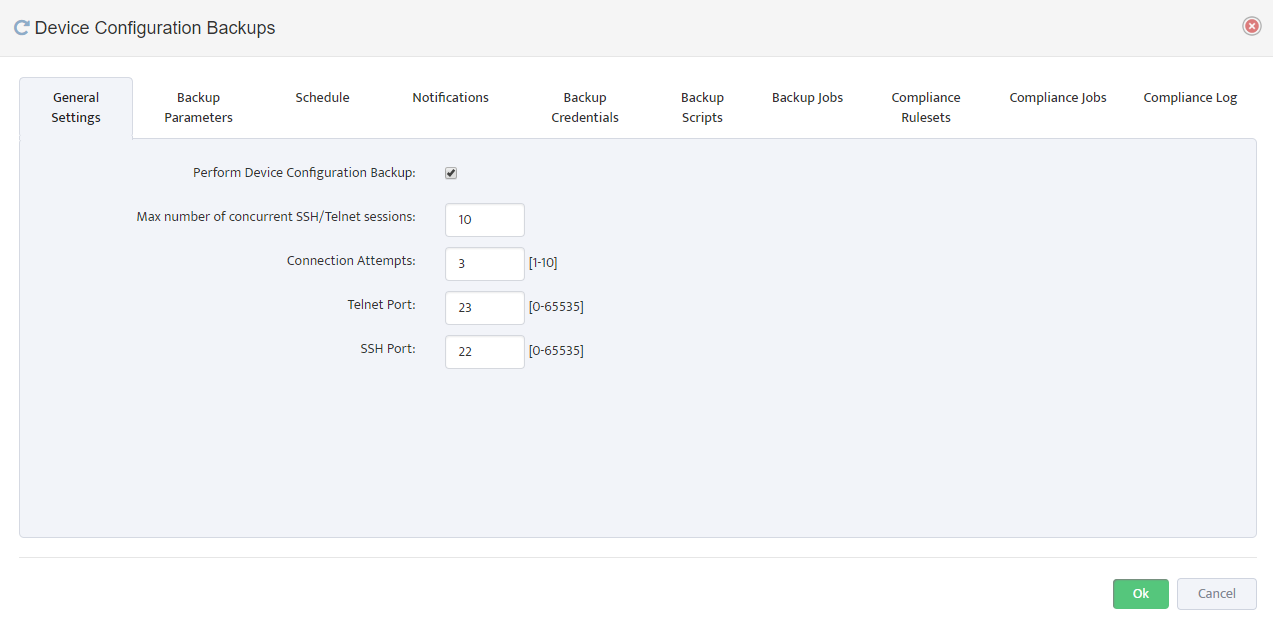
To enable configuration Backup go to:
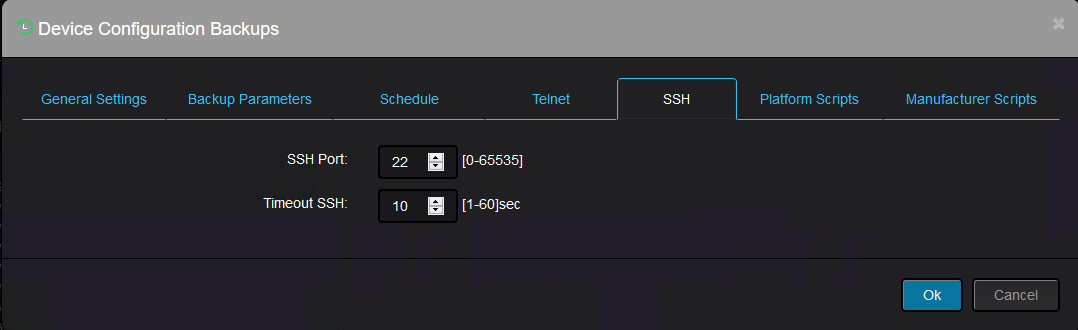
Settings → Device Configuration Backups → General Settings
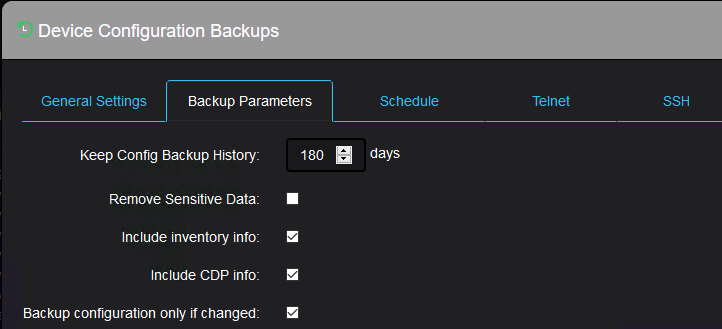
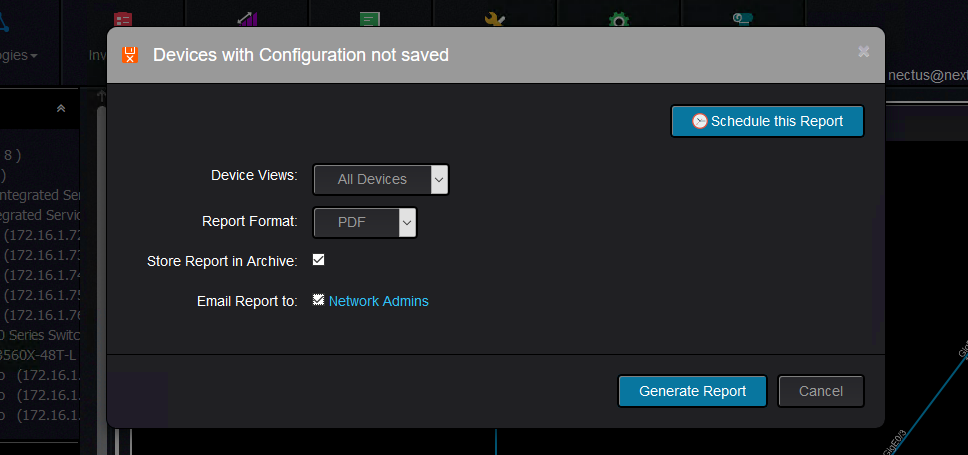
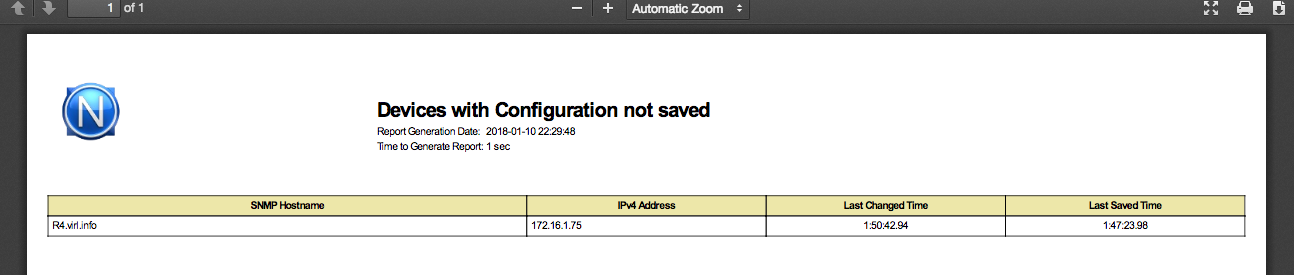
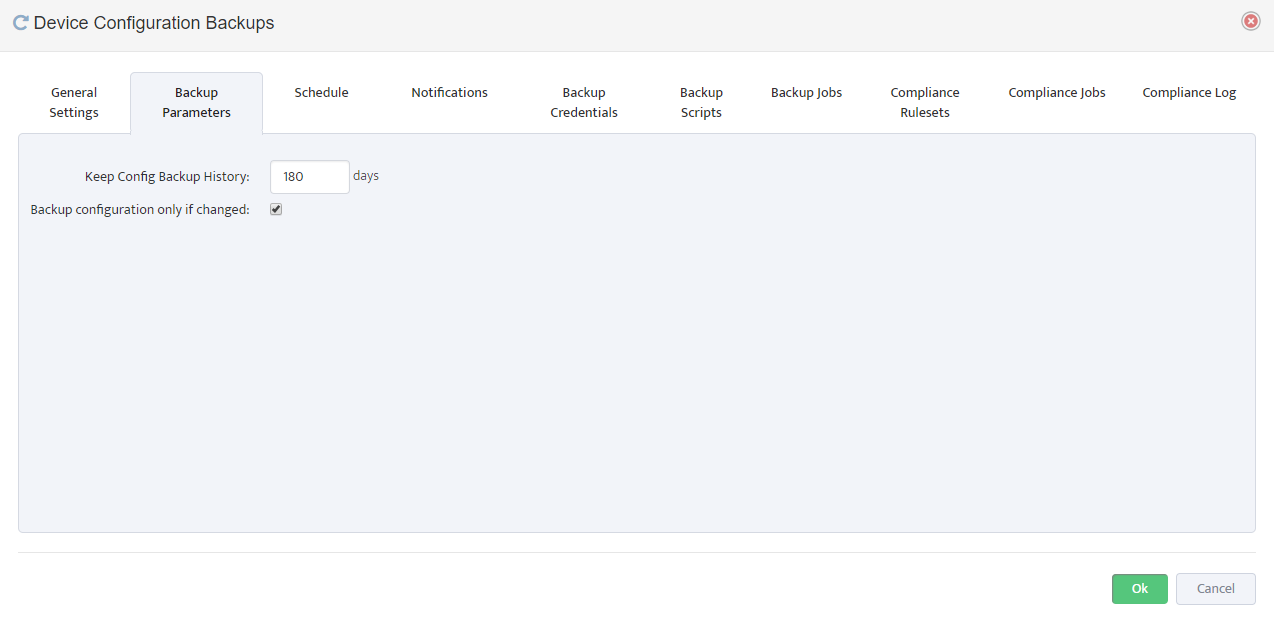
Additional Backup Parameters are available on “Backup Parameters” Tab where you can control for how long the backup files should be stored in DB
and whether you want you to backup up configuration if it has not changed since the last time it was backed up.
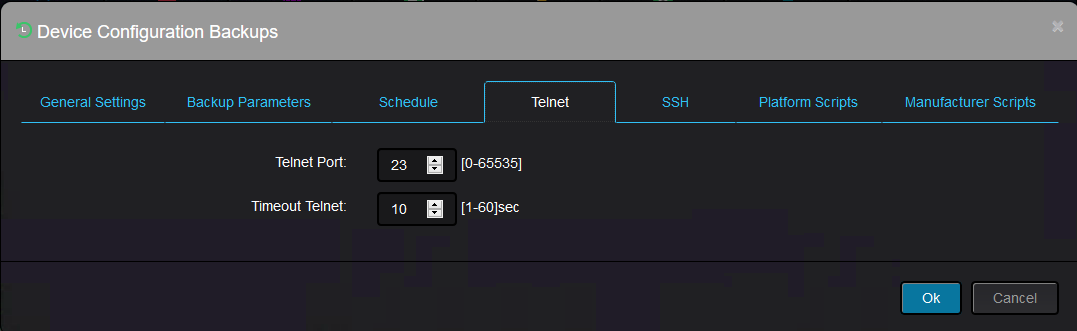
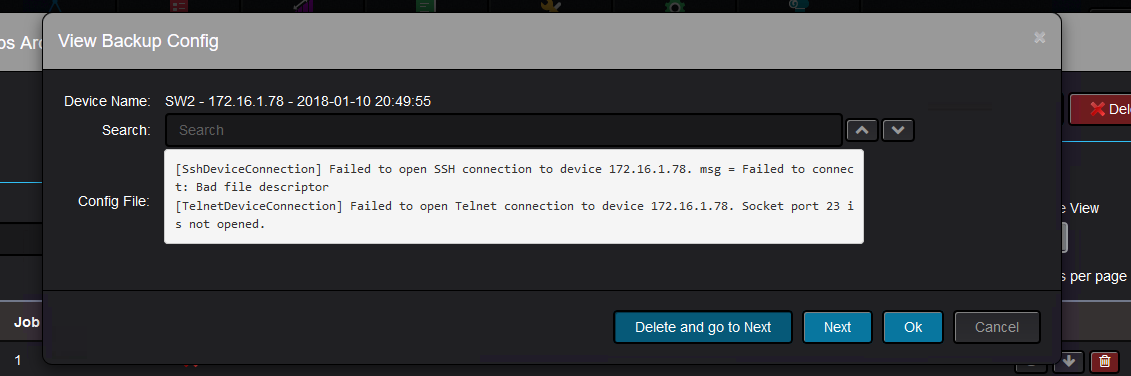
Note: Backup engine attempts SSH connection first and if SSH connection fails it will attempt a Telnet.