Enable Monitoring of VMware Using Nectus
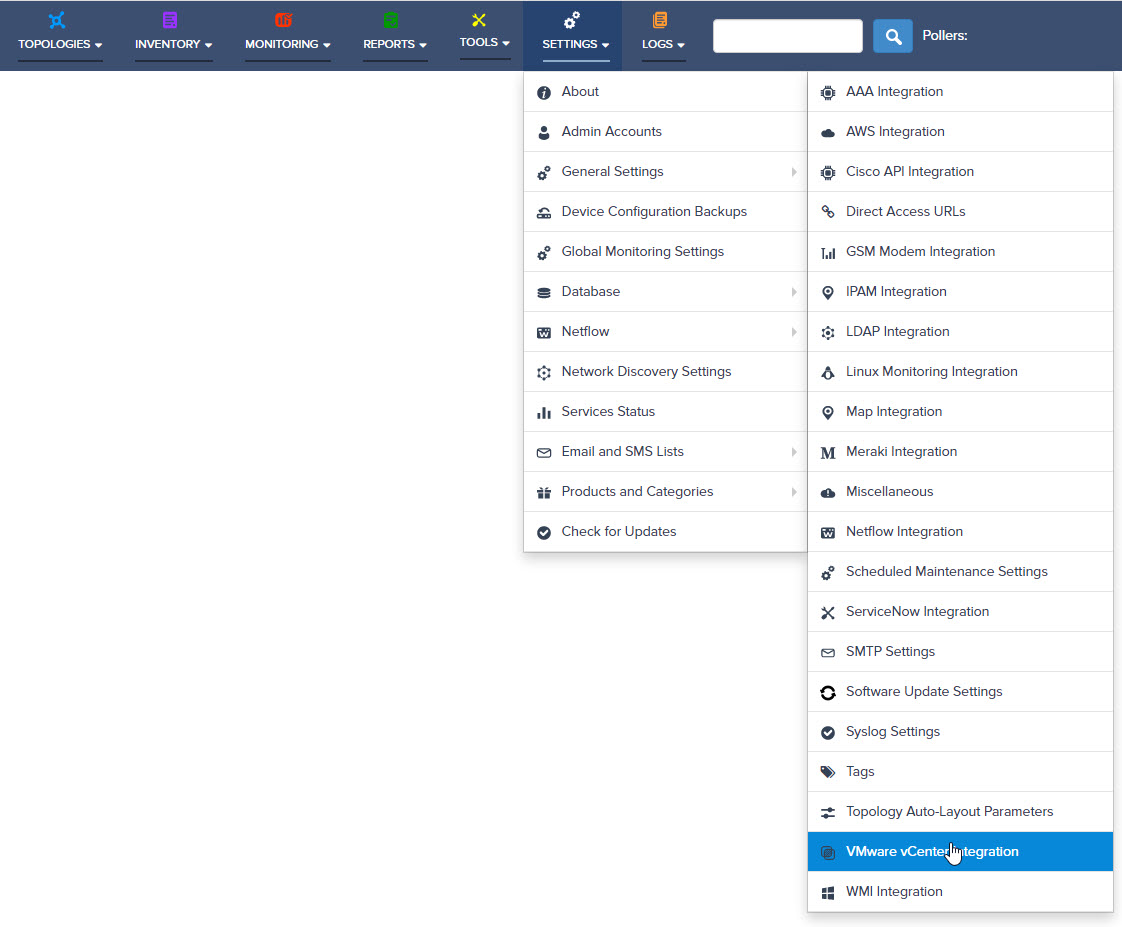
Step 1. Navigate to Settings → General Settings → VMware VCenter Integration .
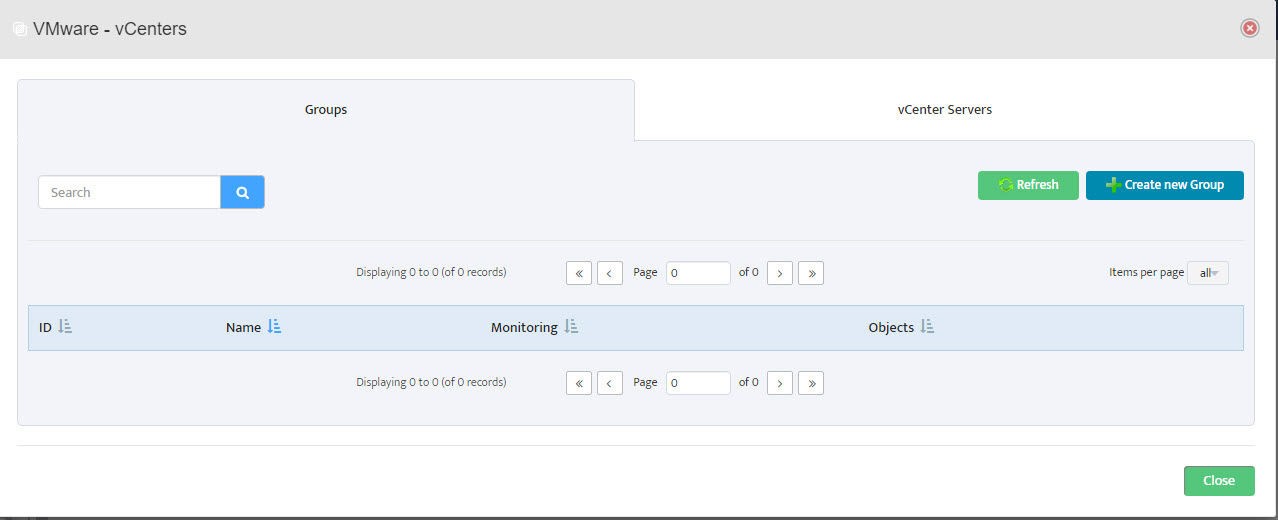 Step 2. VMware – vCenters window opens.
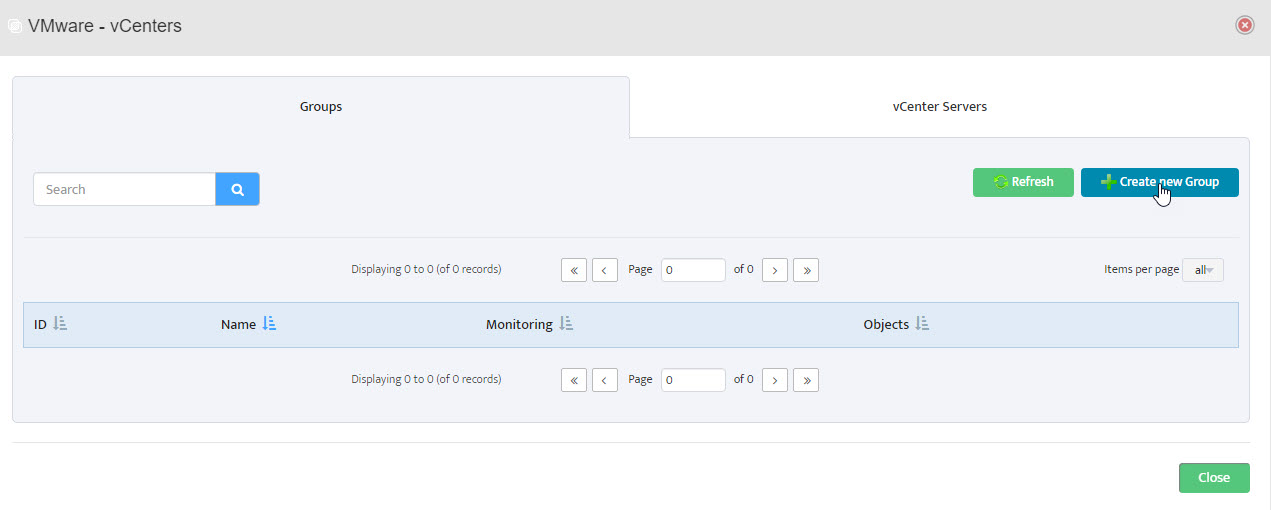 Step 3. Left-click Create New Group.
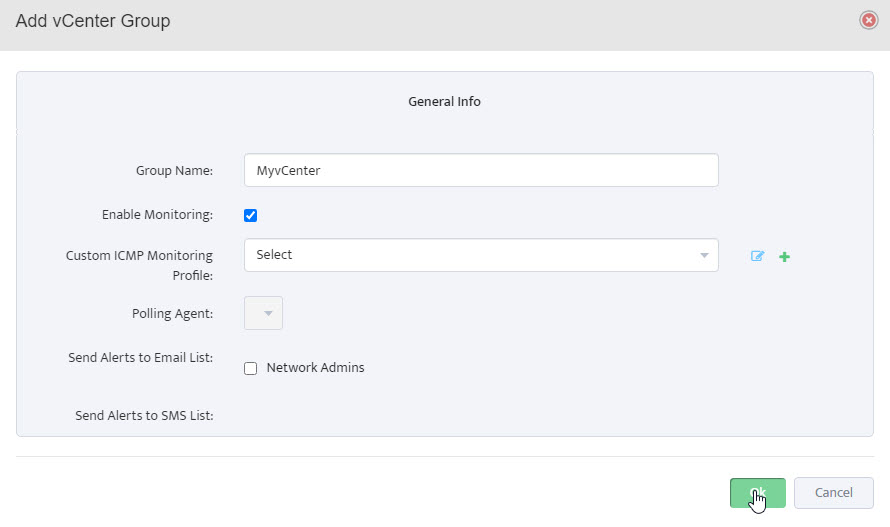
Step 4. The Add VCenter Group window opens.
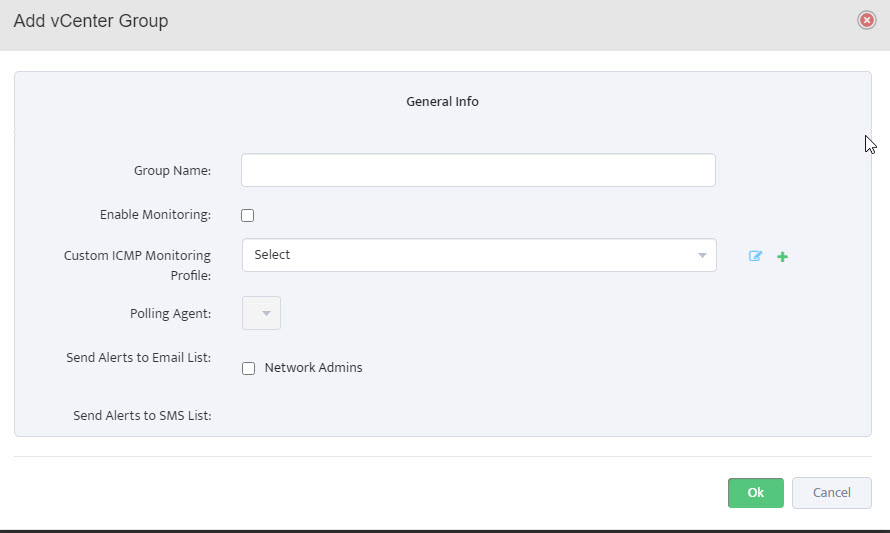
Step 5. Name the Group (MyvCenter). Check Enable Monitoring. Click OK.
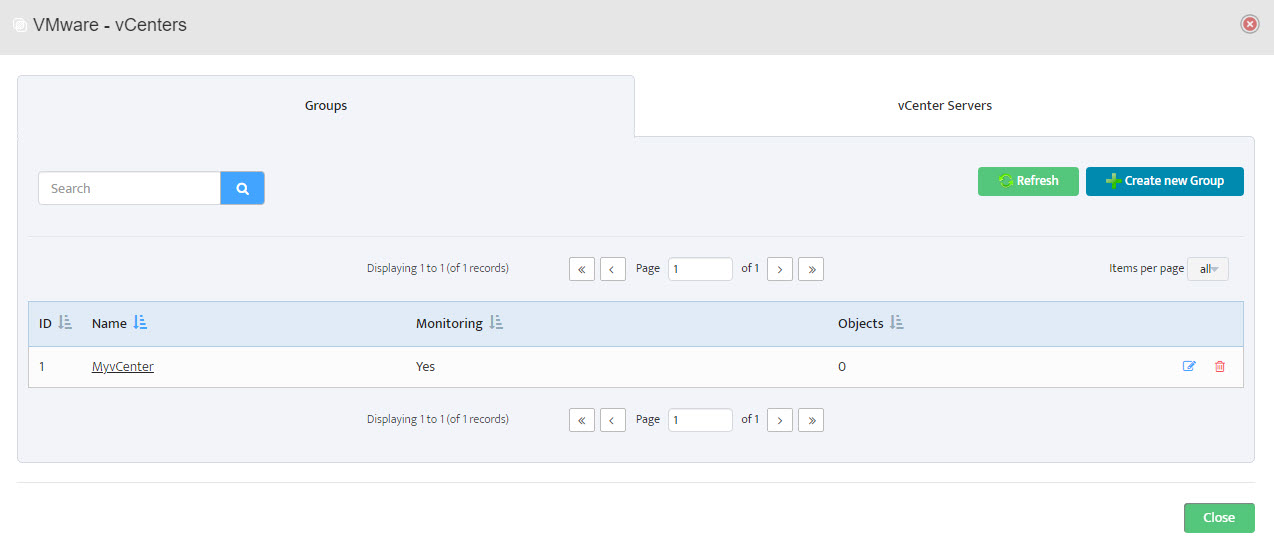 Step 6. Group Name appears in VMware – vCenters window.
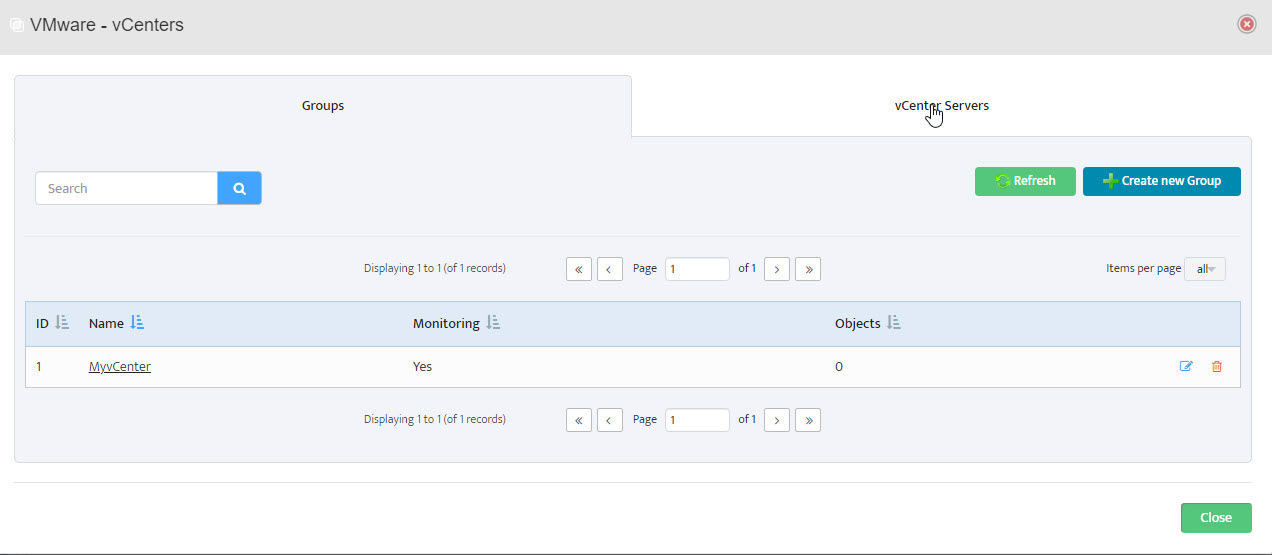 Step 7. In VMware – vCenters window, click on vCenter Servers.
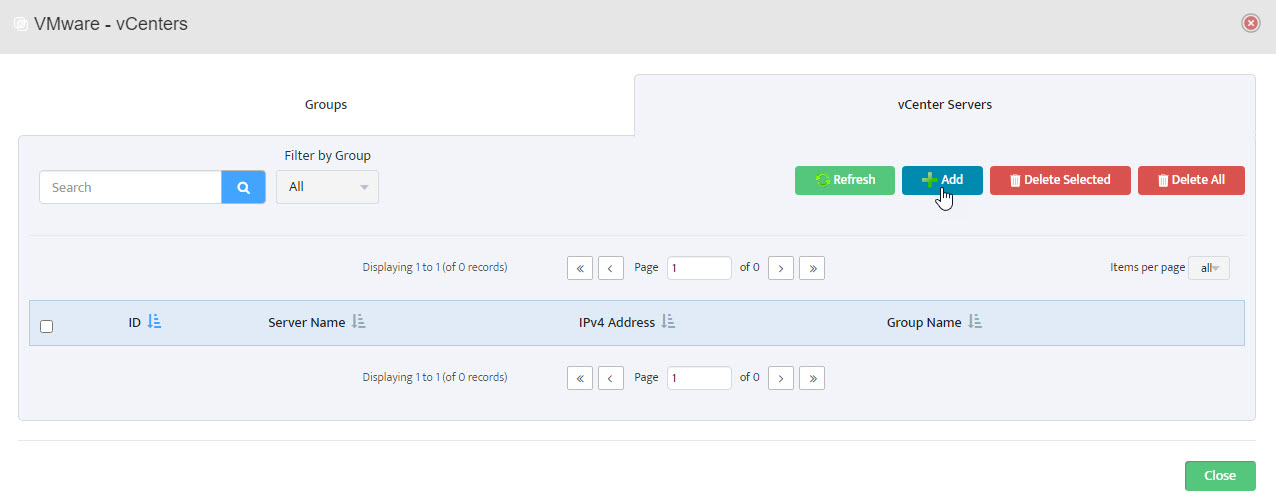
Step 8. Click Add.
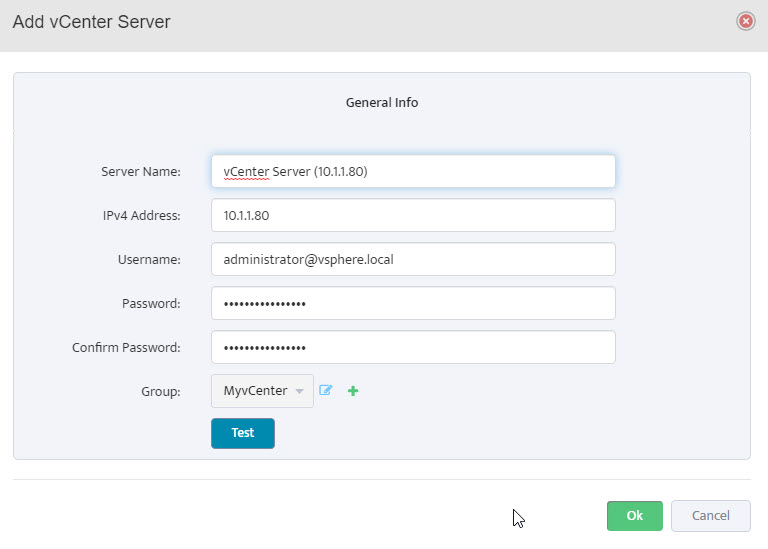
Step 9. In the Add vCenter Server window, Enter Server name, IP address, Username and Password. Check that correct group is selected. Click Test.
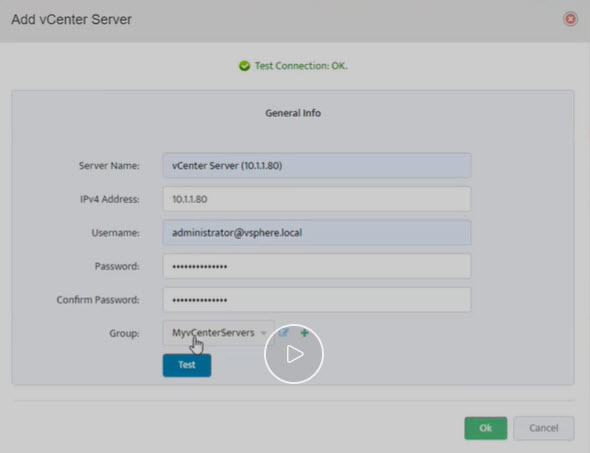
Step 10. Test Connection tests OK (see message Test Connection OK). Click OK in lower right corner of window.
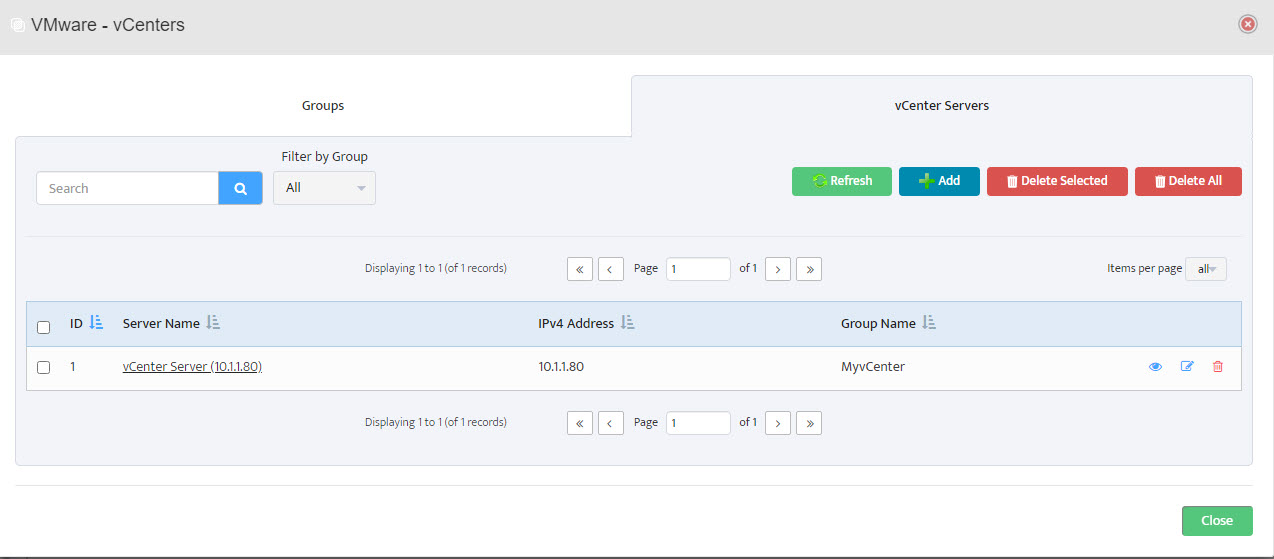 Step 11. Server shows in list of servers in VMware – vCenters window. Click Close.
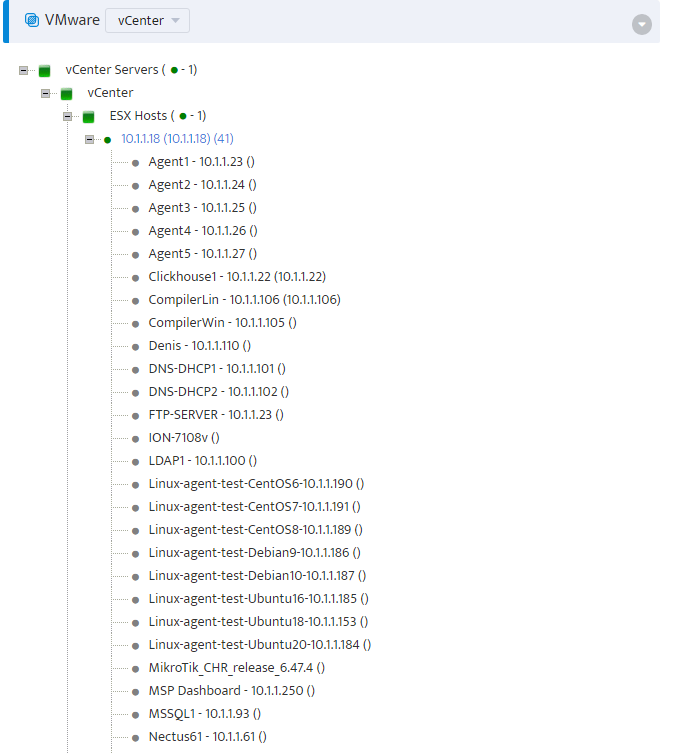
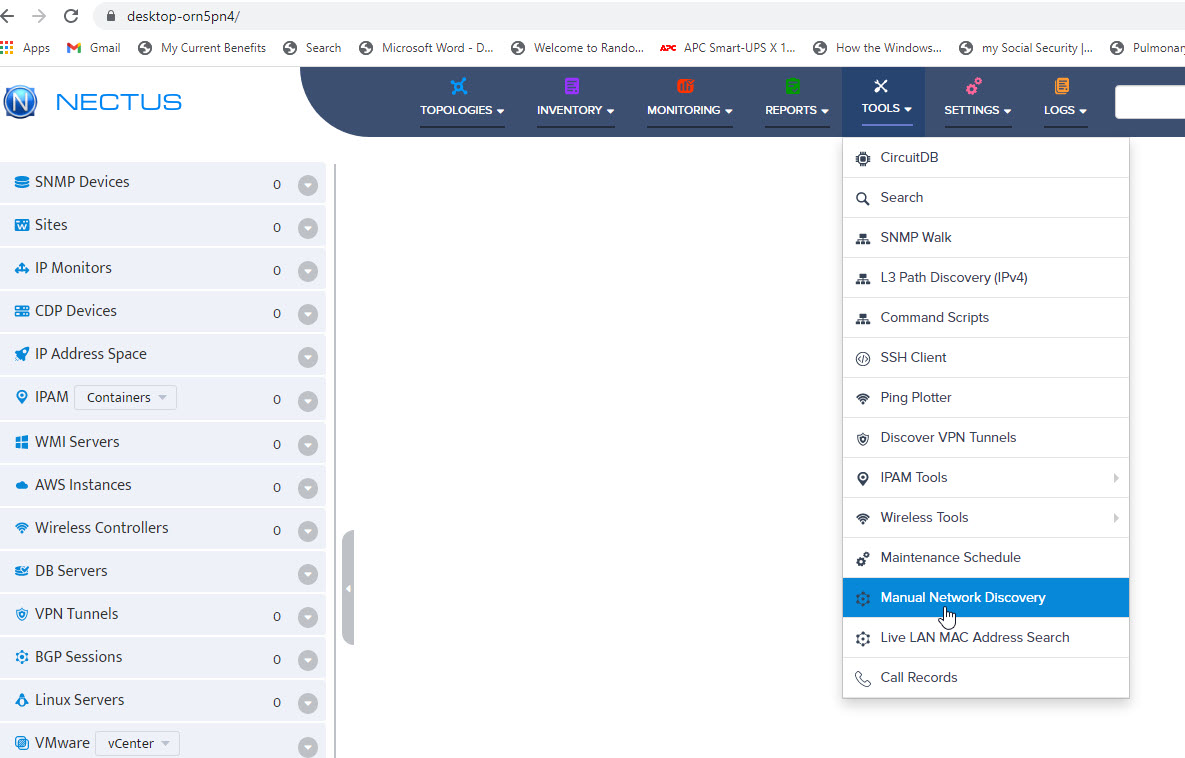
Step 12. In Nectus main menu, on the left, click on VMware vCenter. A drop-down menu appears.
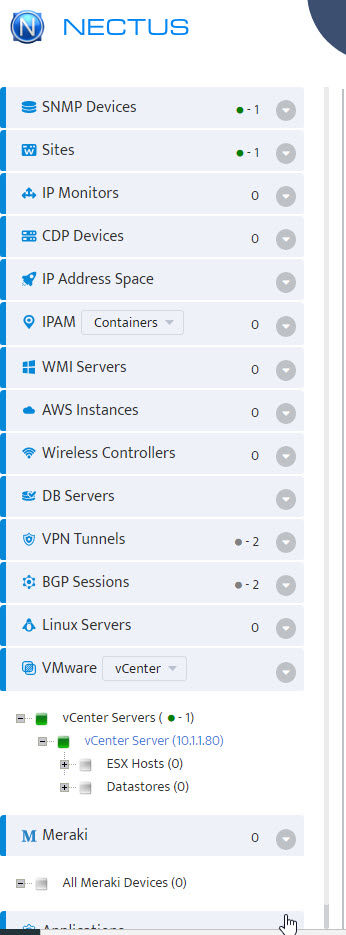
Step 13. Expand the list of ESX Hosts or Datastores to verify import. It may take up to 15 min for all objects to be discovered and loaded to Nectus.
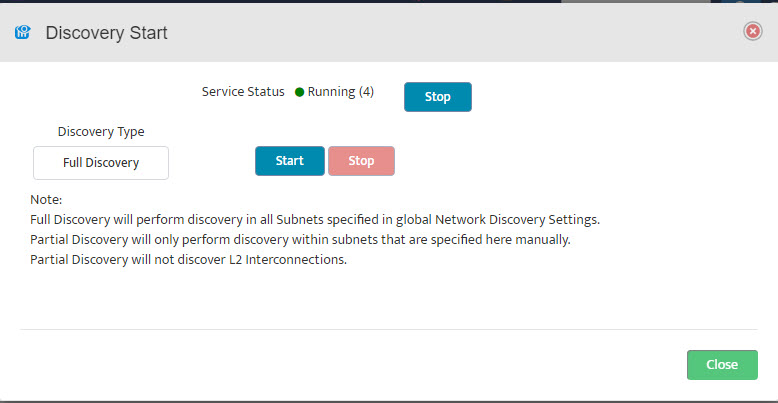
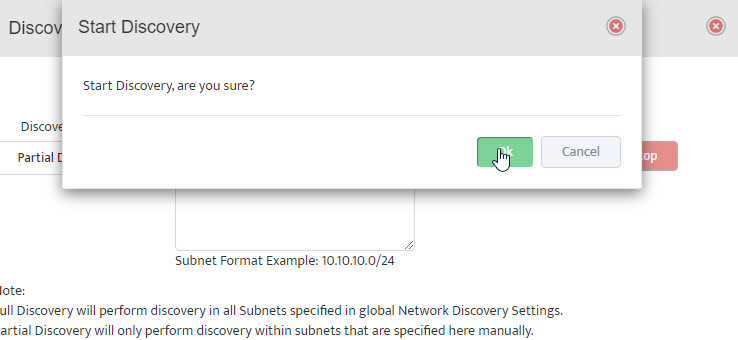 The Start Discovery window asks, “Start Discovery, are you sure?” Click “OK”.
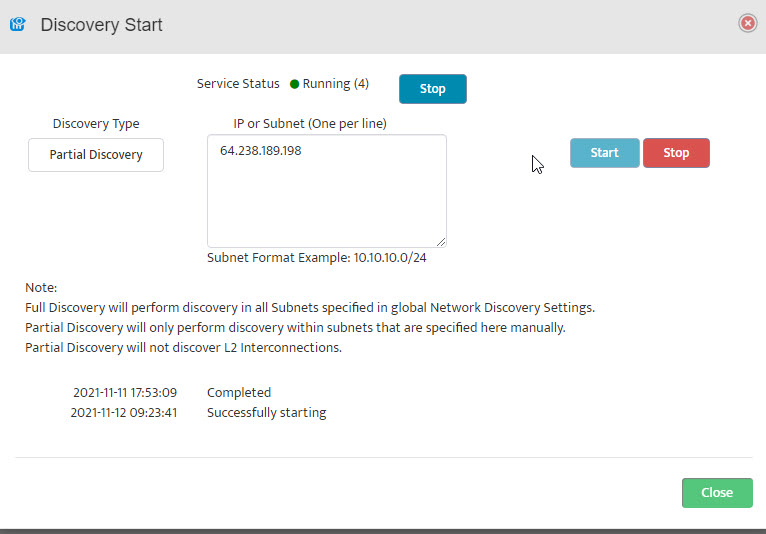 Close the Discovery Start window by clicking on “Close” in the lower right-hand side.
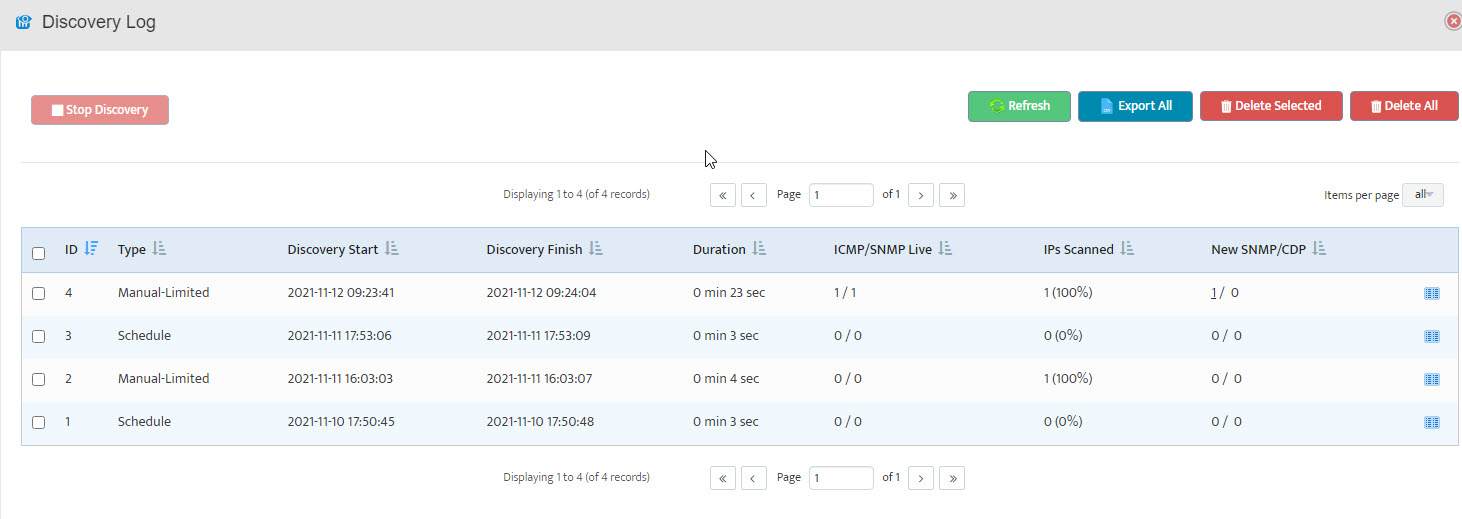 The Discovery Log opens. Here we see that our discovery (ID 4) ran to completion in 0 minutes and 23 seconds.