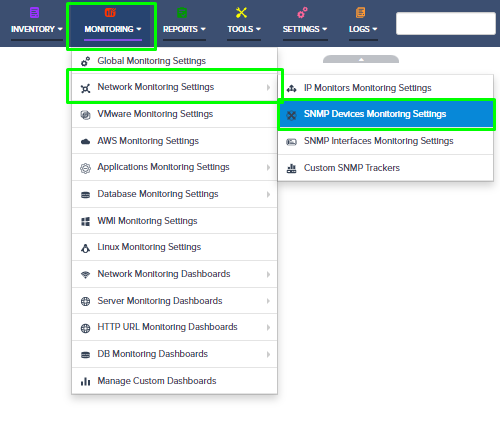
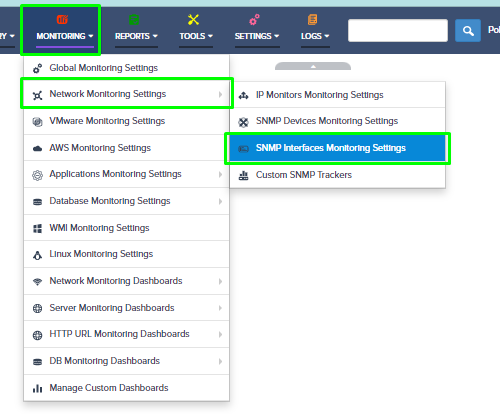
Step 1: Login to the Nectus Portal and go to Monitoring -> Network Monitoring Settings -> SNMP Interfaces Monitoring Settings.
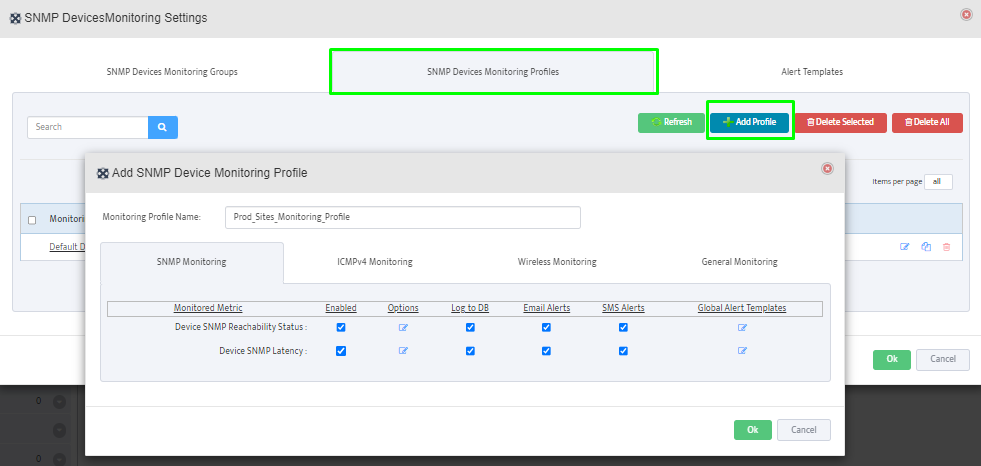
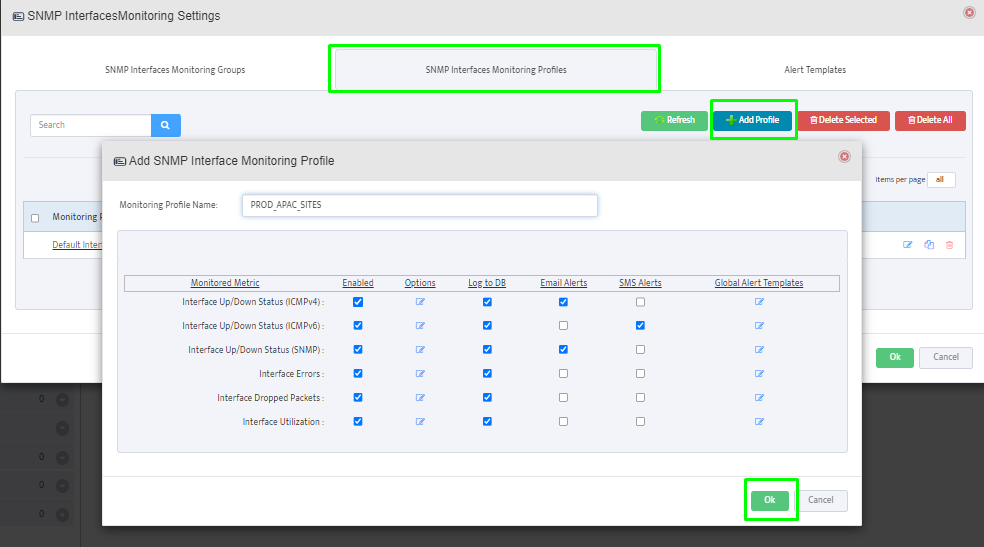
Step 2: Monitoring Profile Creation – Go to the SNMP Interface Monitoring Profile Tab by clicking the Add Profile button.
Name the profile, enable the relevant options, and click the OK button.
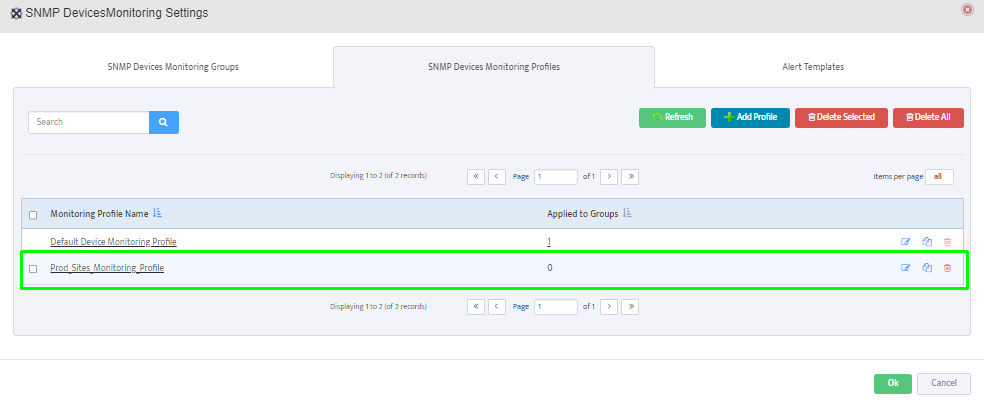
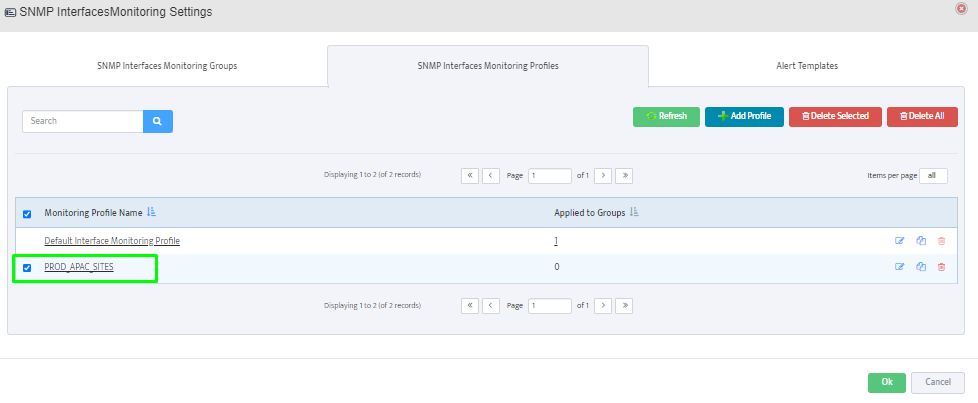
Now, we can see that the newly created profile is shown in the table.
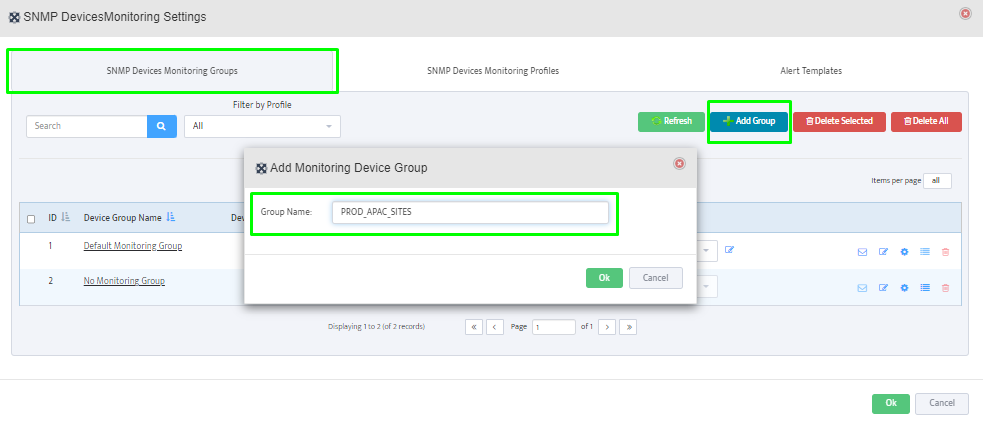
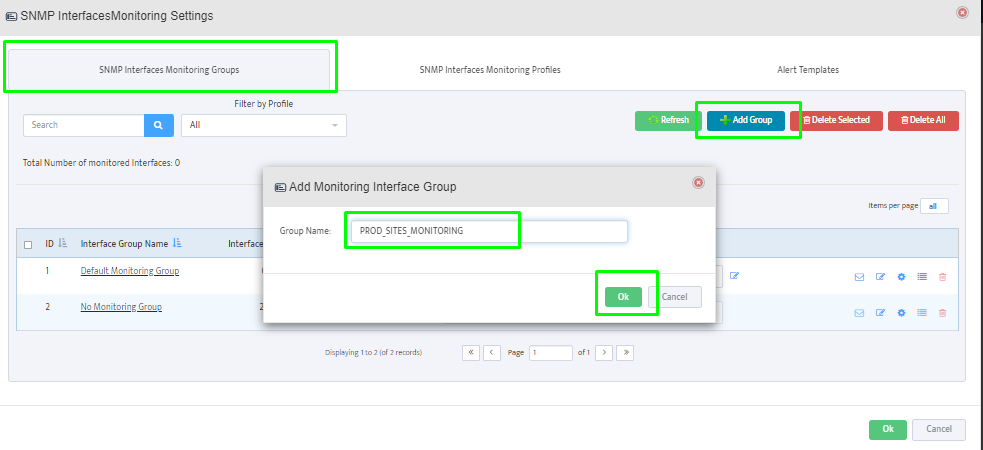
Step 3: Monitoring Group Creation – Next, let’s go to the SNMP Interface Monitoring Groups tab and create a new interface monitoring group by clicking Add Group.
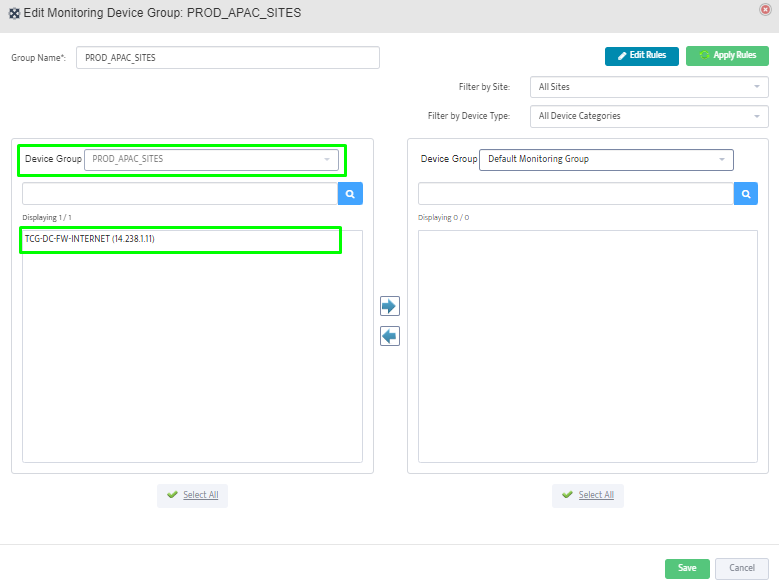
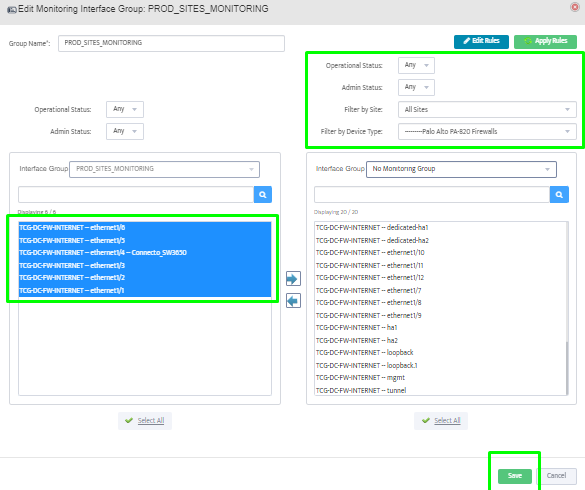
Step 4: Assigning Interfaces to Monitoring Group – Click on the interface group name to add the appropriate device interfaces information to the group.
We can also filter the interfaces based on operational status, admin status, site and device types and lastly click on Save button.
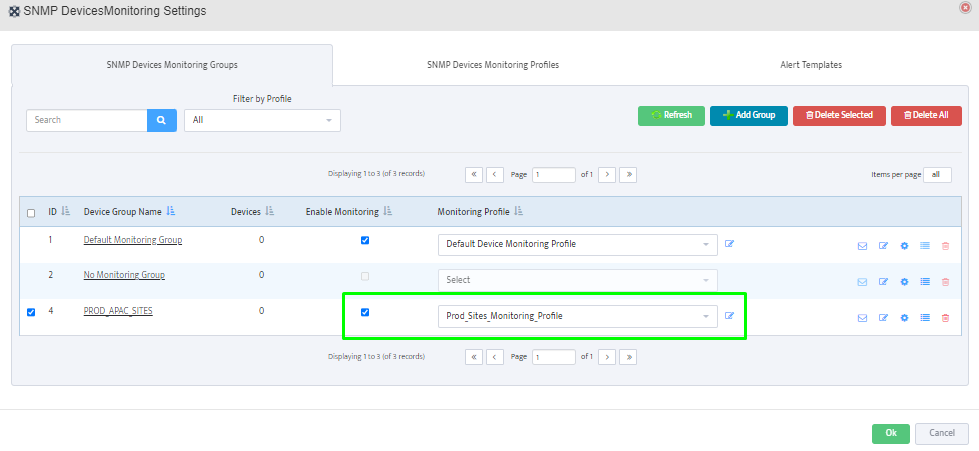
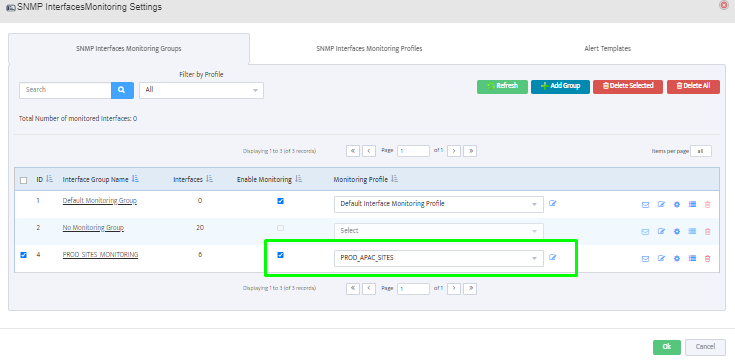
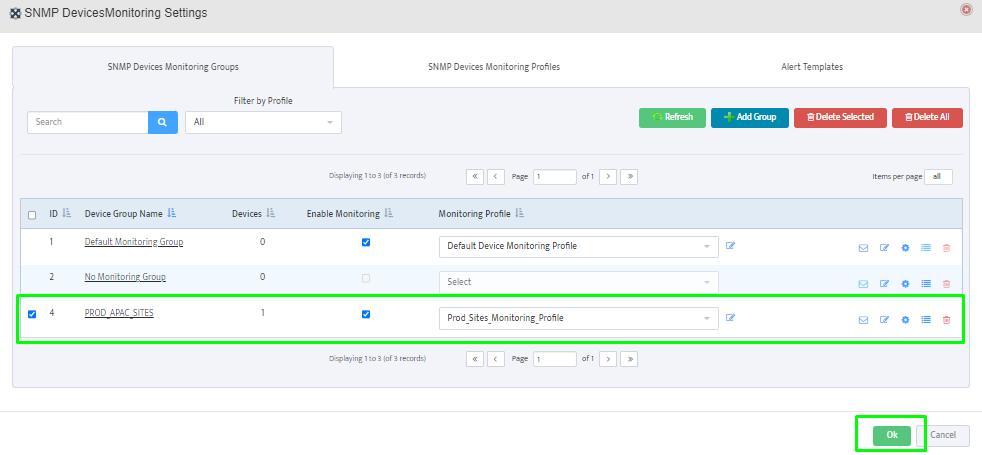
Step 5: Assigning Monitoring Profile to Monitoring Group – Enable the monitoring and select the previously created monitoring profile from the dropdown.
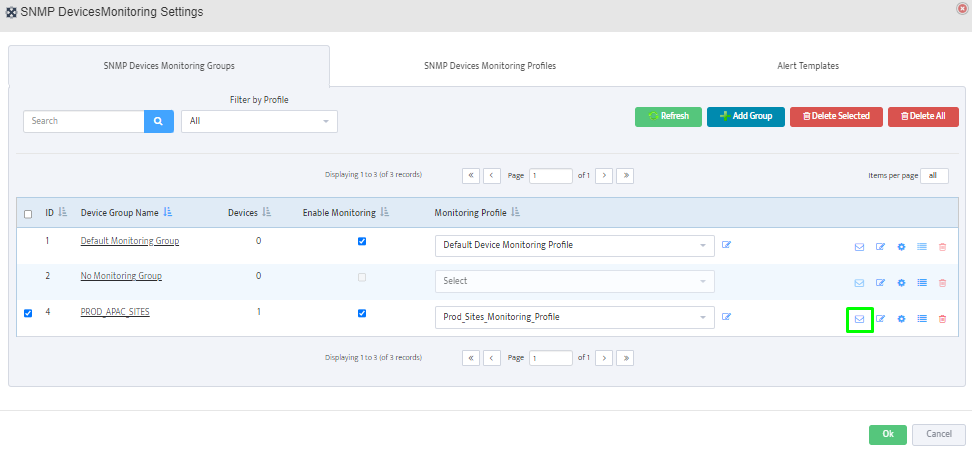
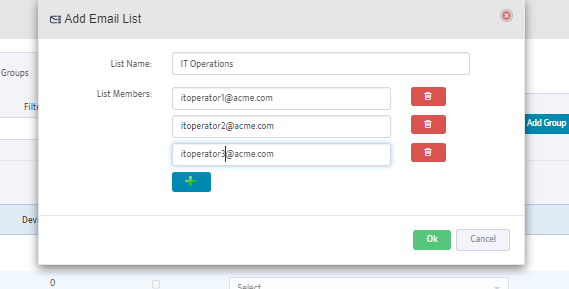
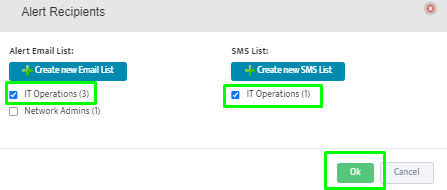
Step 6: Defining Alert Recipients for Monitoring Group – Now, let’s configure recipients for alerting by clicking the email button.
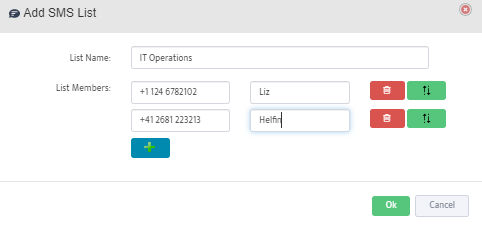
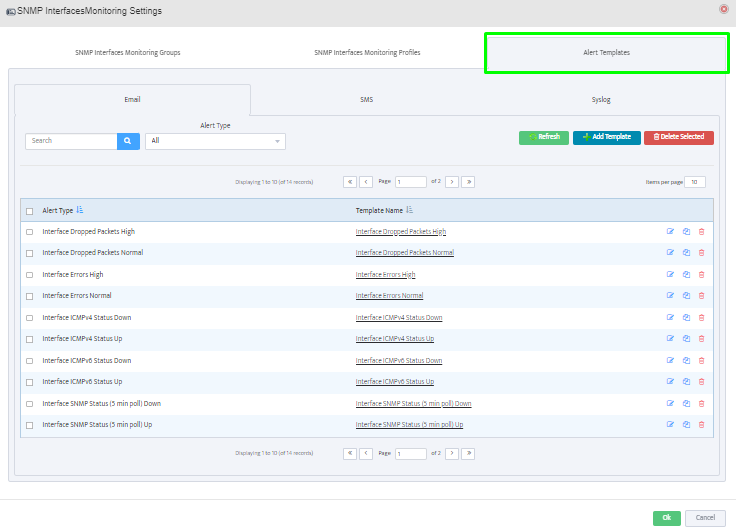
It allows us to add SMS and email recipients to a list. Further, we can also select the appropriate alert templates to send alert/sms.


Done.