How to install additional polling agent
Step 1: Login to Nectus Portal in the home page. Select Settings -> Global Monitoring Settings.

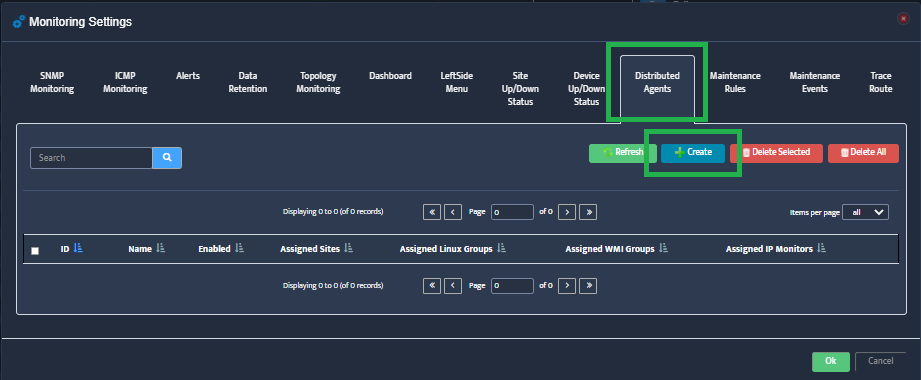
Step 2: Next, select Distributed Agents to get the list of configured agents. Click on Create button to create a new poller agent.
] 
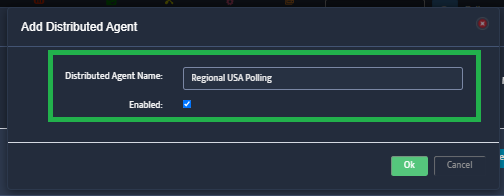
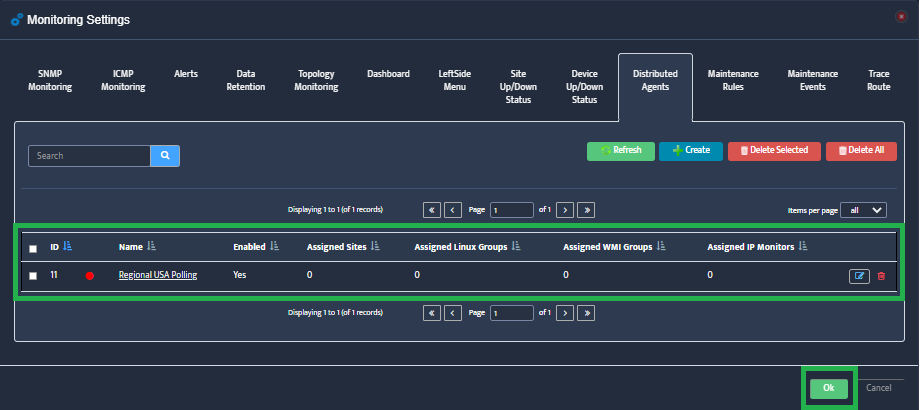
Step 3: Now, provide a valid and unique name to the agent. Here, the Distributed Agent Name is “Regional USA Polling“. Select the enabled checkbox and click on Ok to create the poller object in the main server.
Note: Once the agent installation is complete, the RED changes to GREEN.
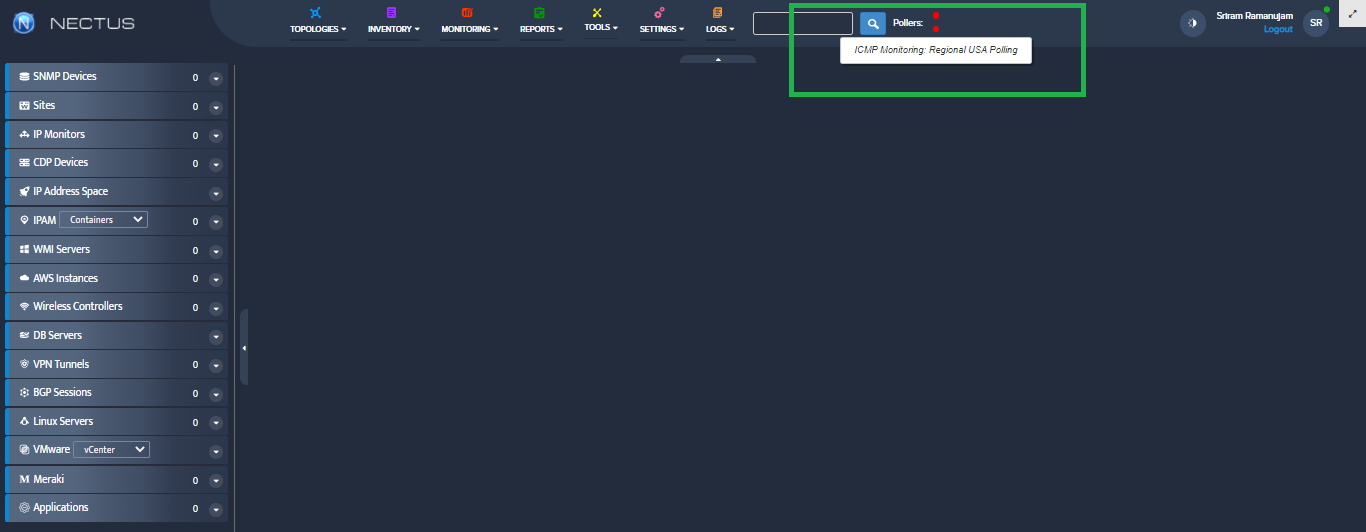
Additionally, the status of configured agent can also be checked on home page near the search icon.
Now, let’s start the installation on the Additional Polling Agent Server.
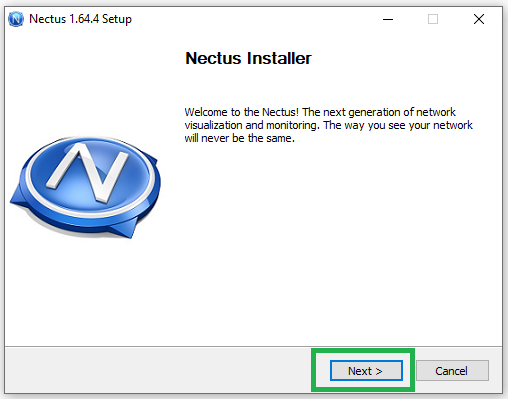
Step 4: After the download is complete, double click on the exe file. Installer window opens up. Click on Next to proceed with the installation.
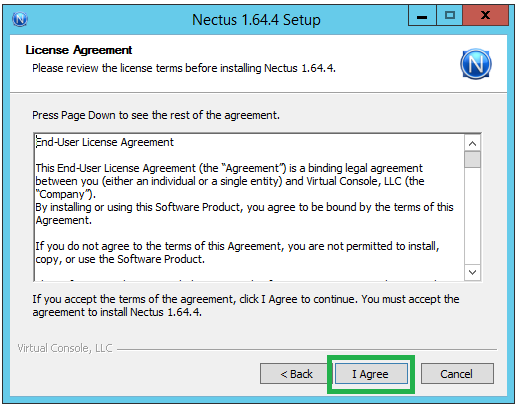
Step 5: Go through the License Agreement carefully and then click on the Agree button.
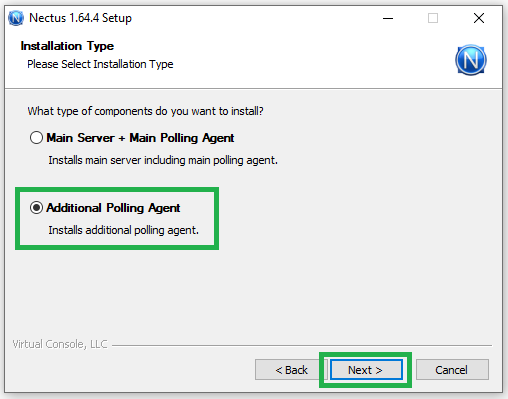
Step 6: Select Additional Polling Agent in the Installation Type window and click on the Next button.
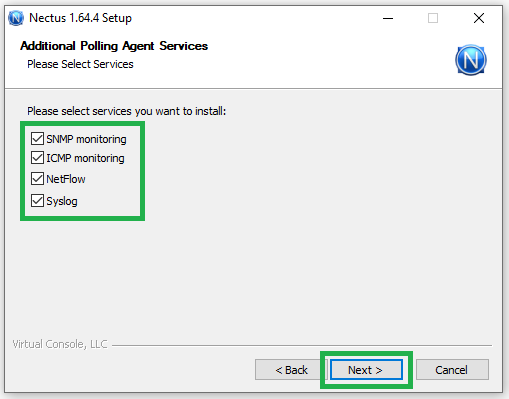
Step 7: Select the relevant options. Click on the Next button.
Step 8: Select the destination folder. Make sure, a minimum of 2GB of disk space is available in the selected drive. Click on the Next button.

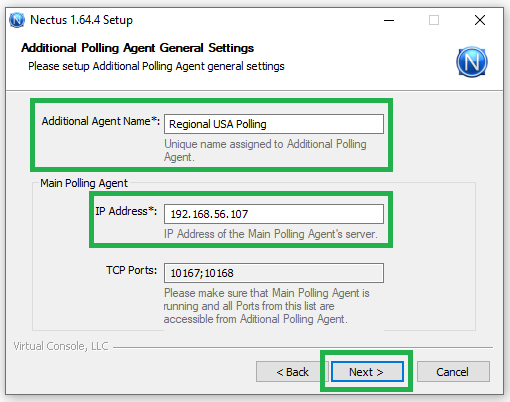
Step 9: Next, provide the same name in the Additional Agent Name as in step 3. Fill the main polling agent IP address in the textbox and click on the Next button.
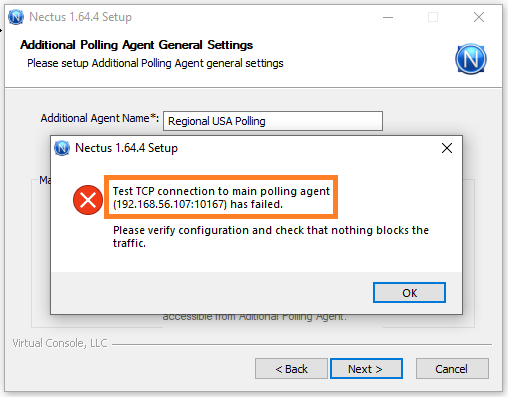
Step 10: Warning: Ensure that we open 10167 and 10168 ports between the new and main agent. If not, below error message will pop up.
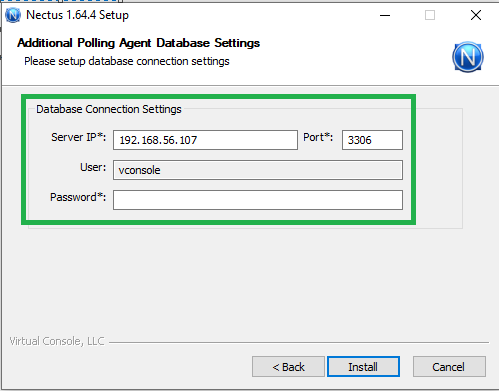
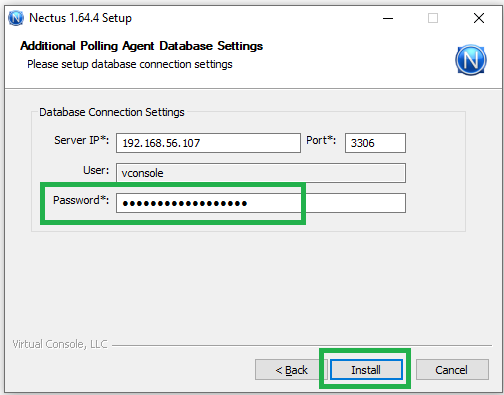
Step 11: Then, key in a password to integrate the agent with the main server database.
Step 12: Log in to the main server and go to C:\Program Files\Nectus\Web\Apache24\htdocs\protected\config\ path and open database.ini file.
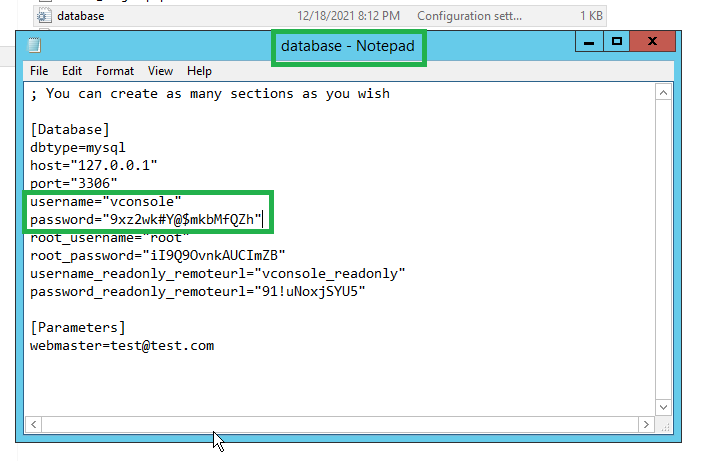
Step 13: Copy the password of vconsole username and paste it on the additional agent installer password textbox and click on the Install button.
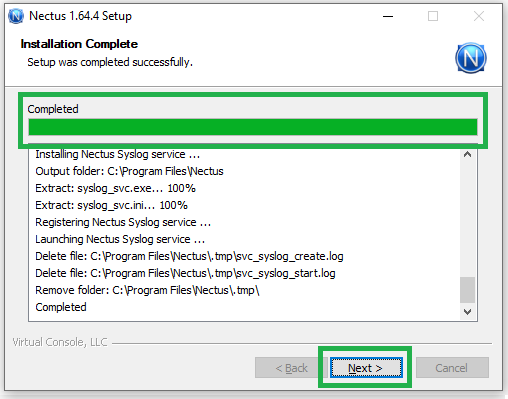
Step 14: Once the installation completes, click on Next to proceed further.
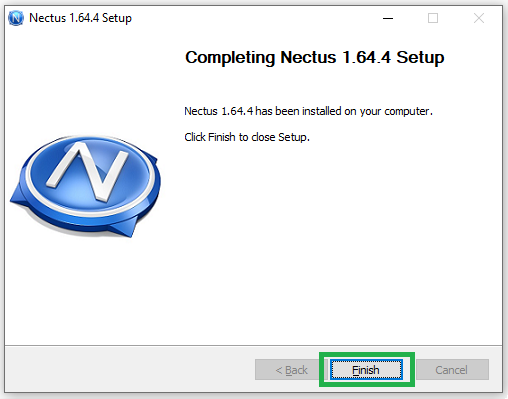
Step 15: Finally, click on the Finish button and close the window.
As mentioned earlier, the additional poller status automatically converts to GREEN after successful installation.
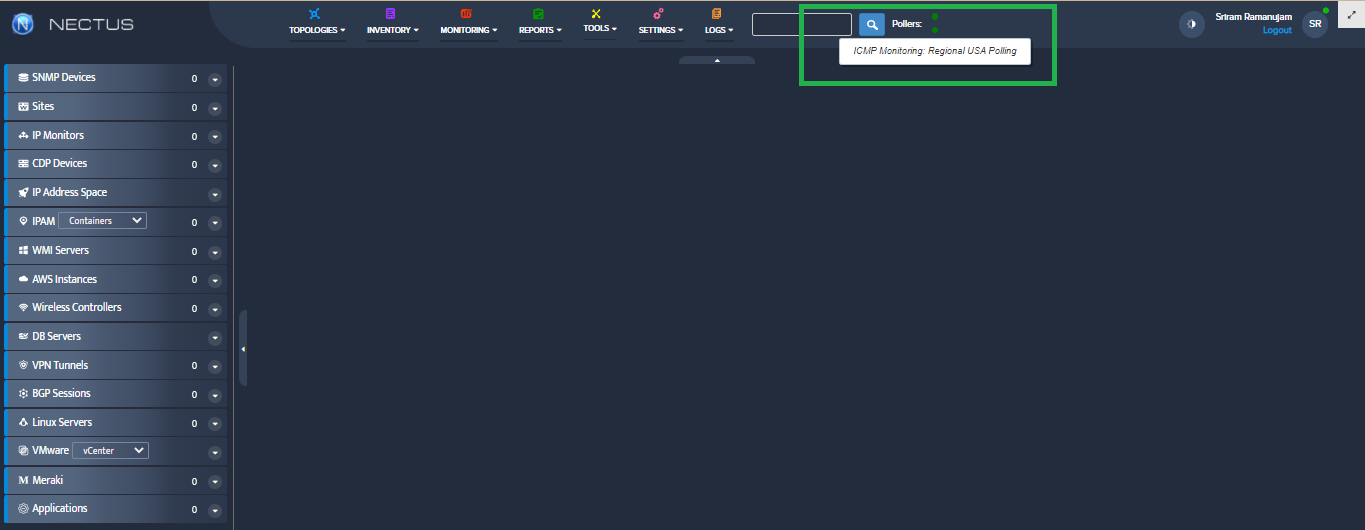
Congrats! We have successfully installed the additional polling agent and integrated it with the main server.