Nectus MSP Server Installation Procedure
Nectus MSP Server Installation Procedure
Server Requirements:
Windows Server 2019 or newer.
16GB of RAM + 4GB of RAM for each Tenant.
1TB of disk space.
4vCPU + 2 vCPU for each Tenant.
1. Start Installation
Download Nectus installer from support portal.
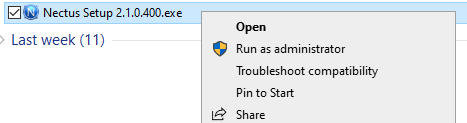
Start installation by launching Nectus Installer as administrator


2. Installation of MSP Server
Click Next

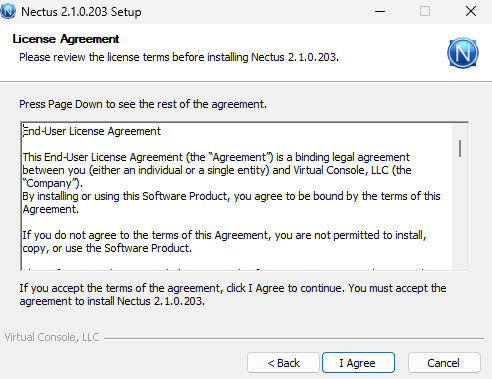
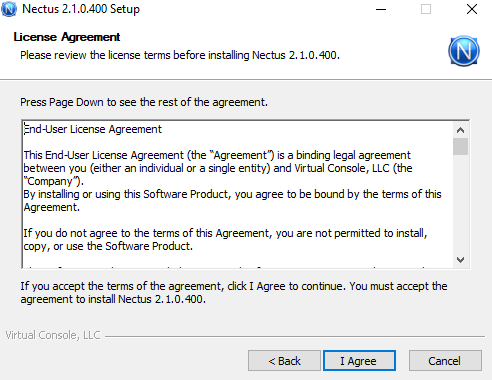
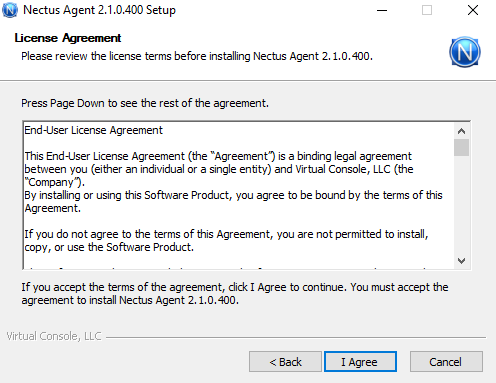
Accept the license agreement on the page.
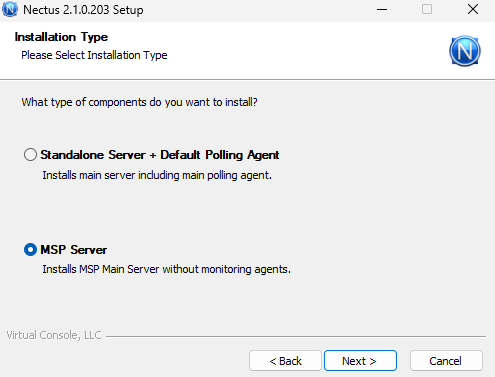
Select MSP Server and Click Next
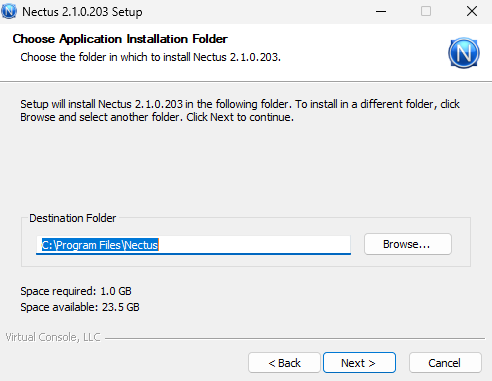
Click Next
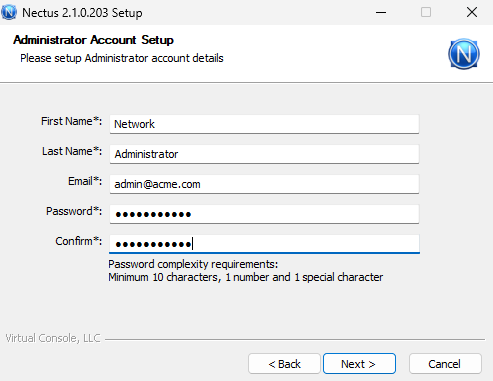
Setup an Administrator account
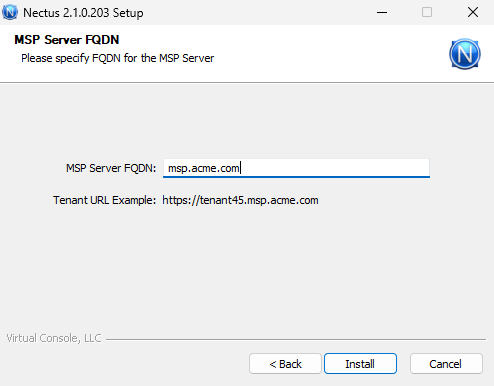
MSP Server FQDN Configuration
Enter the public domain name (FQDN) for your MSP Server in the “MSP Server FQDN” field
(e.g., msp.acme.com). This domain must be publicly accessible and will be used to generate unique tenant URLs. Each tenant will access their Nectus instance at https://[tenantID].msp.acme.com.
Click install, which will automatically complete installation.
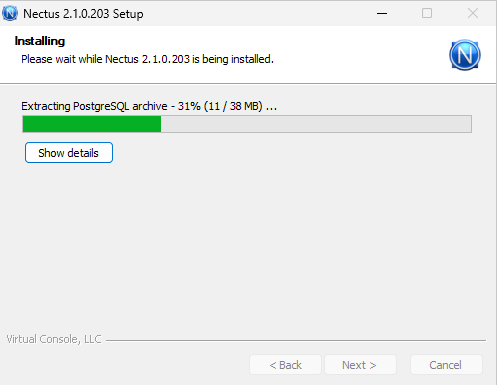
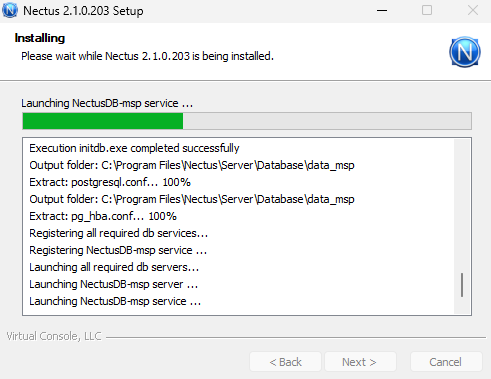
Installation is completed. Click Next
When the installation Is complete, you will see the following page.
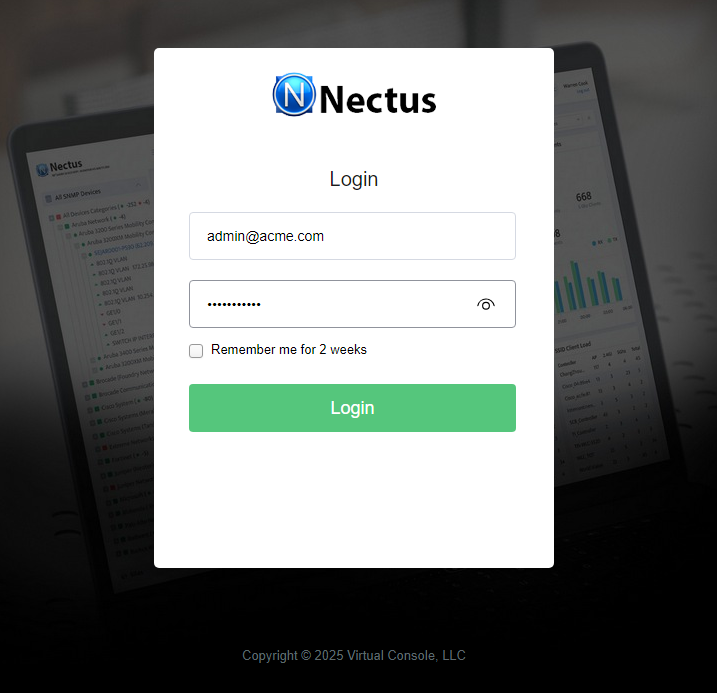
After you click Finish, the Nectus login page will come up, where you need to provide the credentials of the admin account you created during Installation.
3. Creation of Tenant
Upon logging into Nectus, the following page will be displayed in your browser.
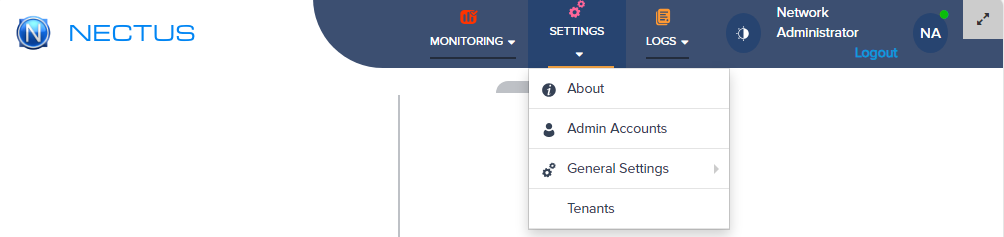
Navigate to Settings and then click on Tenants
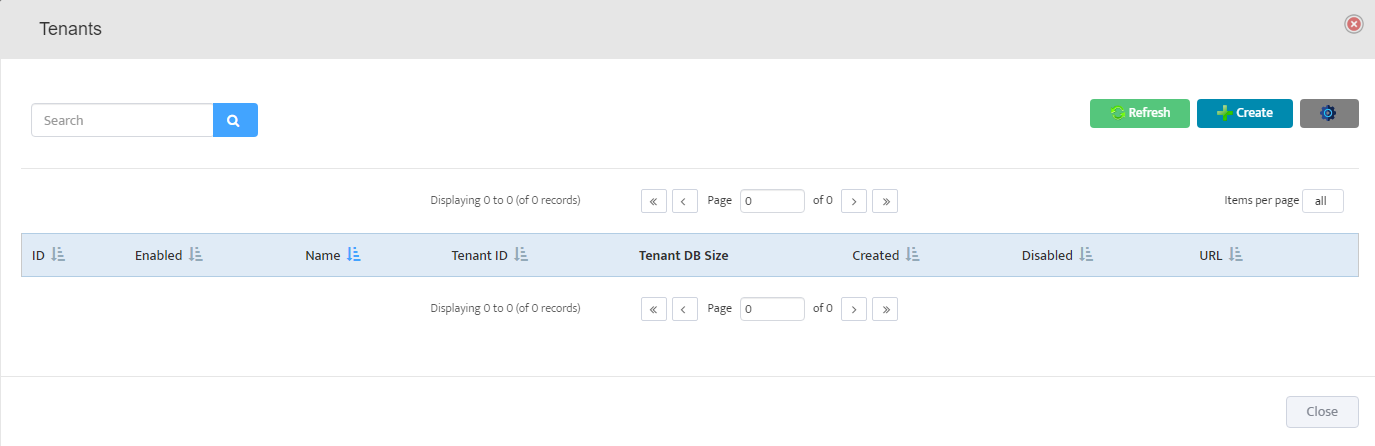
Click Create
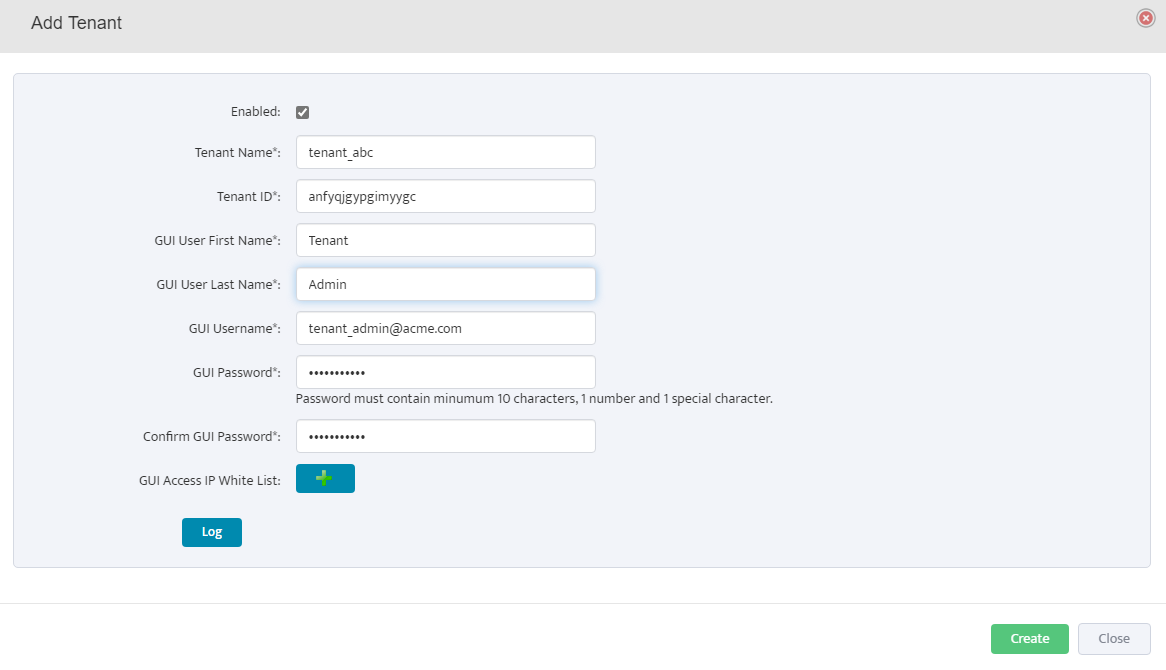
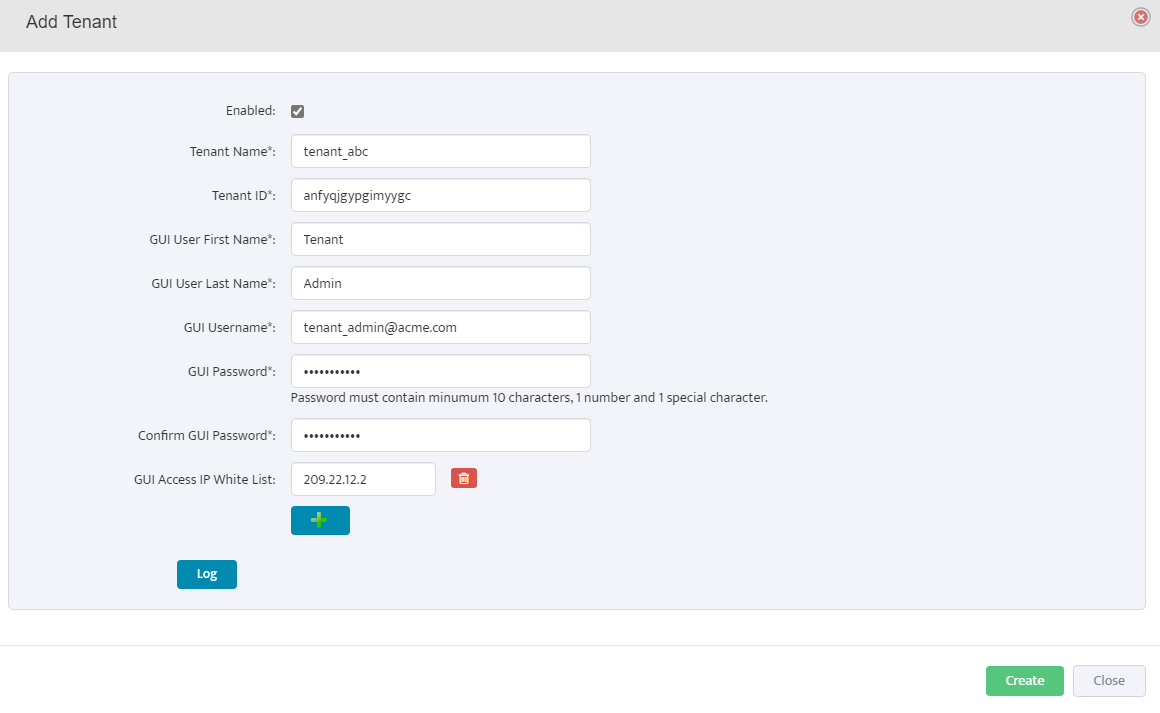
Add Tenant and Fill in the tenant details:
- Tenant Name and Tenant ID: Unique identifiers for the customer
- GUI Username/Password: Login credentials for tenant administrator (password must be 10+ characters with 1 number and 1 special character)
- First/Last Name: Administrator contact information
- GUI Access IP White List: If you want to restrict access to specific IP addresses (default allows all IPs)
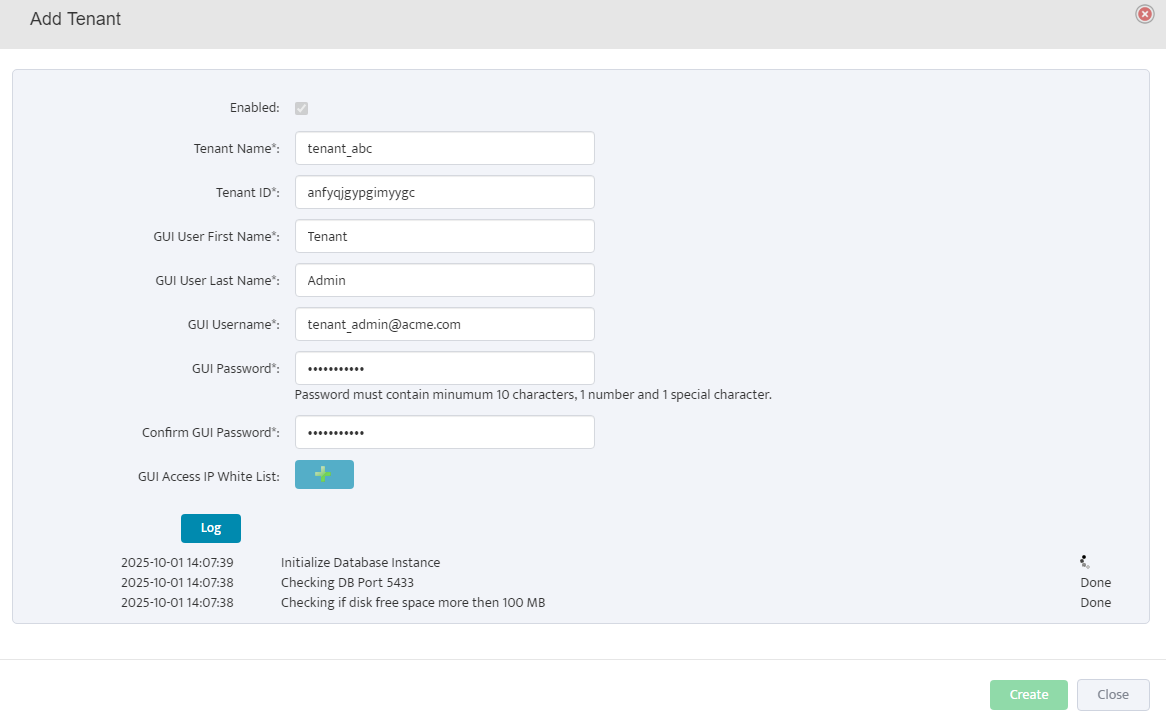
Click Create to finalize the tenant setup.
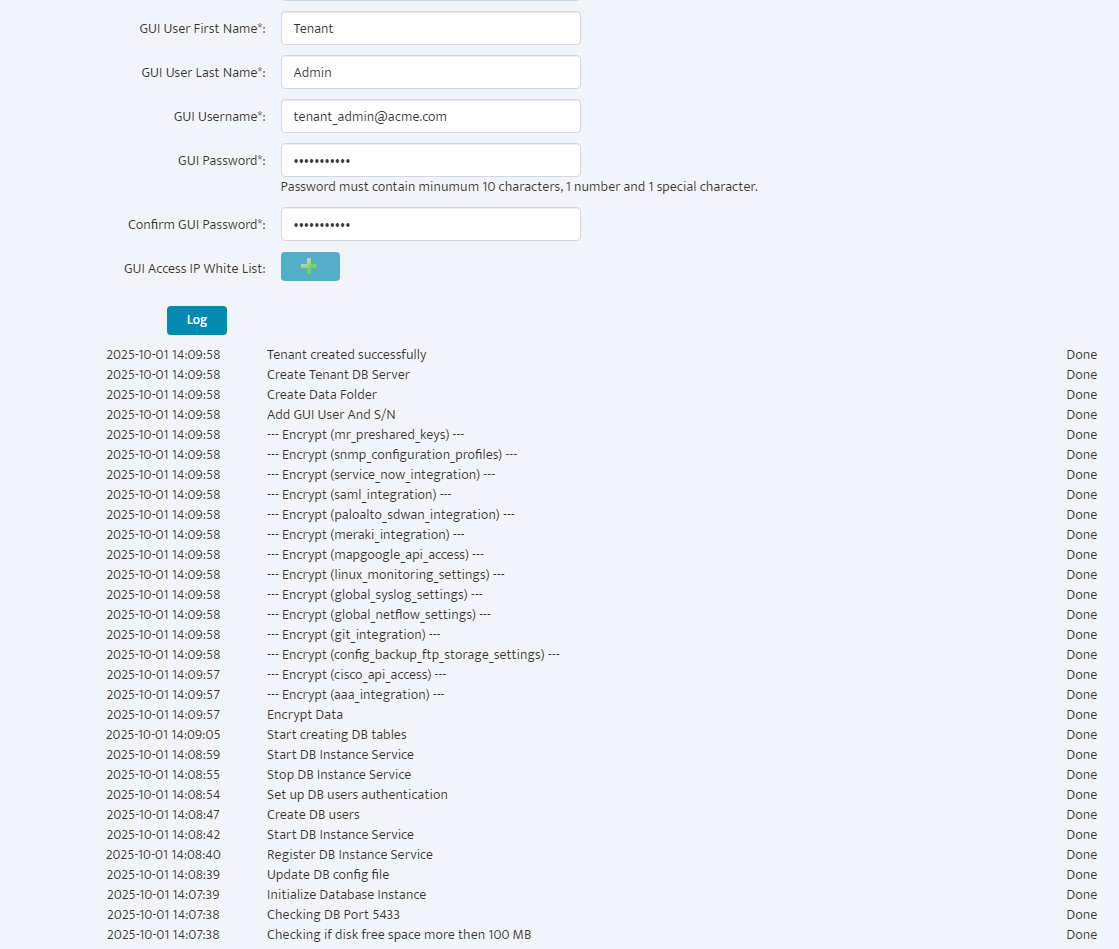
It will start creating tenant including database as per below screens
Click Done
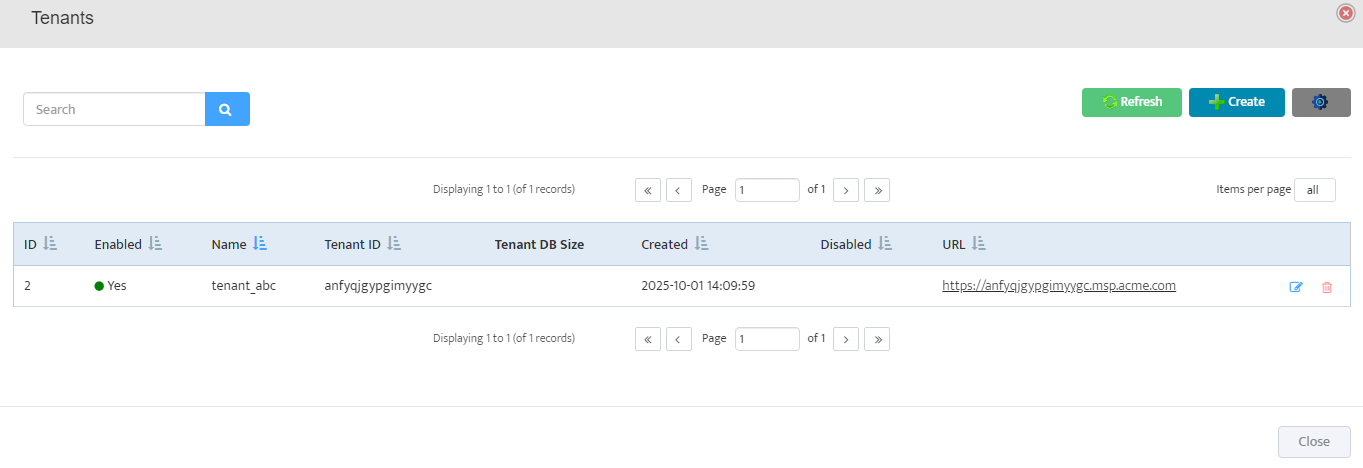
The following screen will appear.

3. Creation of Tenant Agent
Click on the URL https://anfyqjgypgimyygc.msp.acme.com
Note: Ensure a DNA A record is created on your DNS server to make the tenant URL accessible.
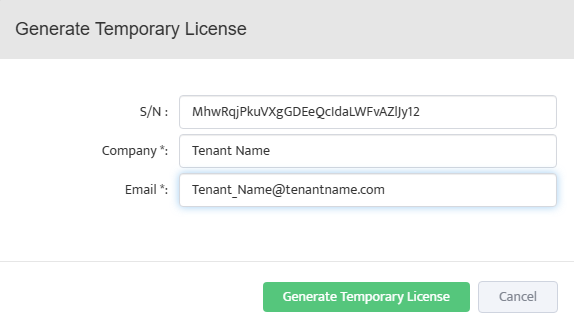
The following page will appear. Click Generate Temporary License to continue.

Enter your Company Name and Email ID, then click Generate Temporary License. The system will connect to the license server on the internet to activate your license.
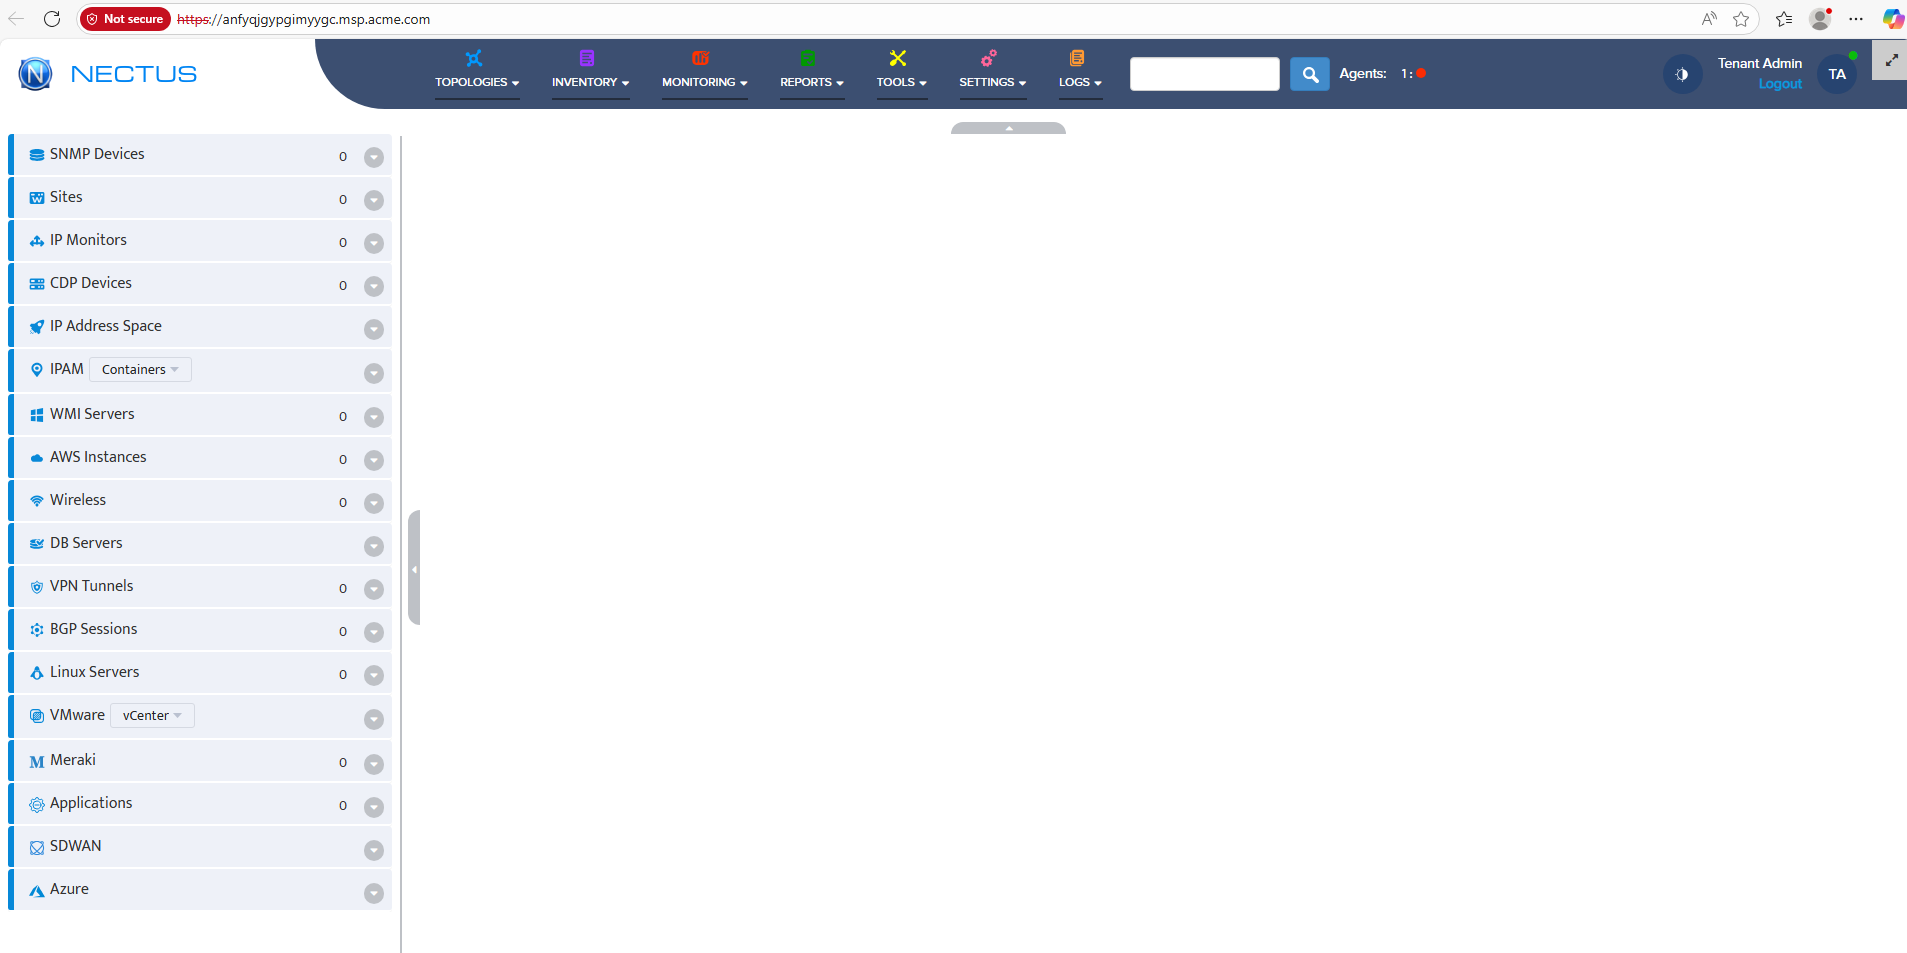
Once activated, the screen shown below will appear with the tenant login interface.
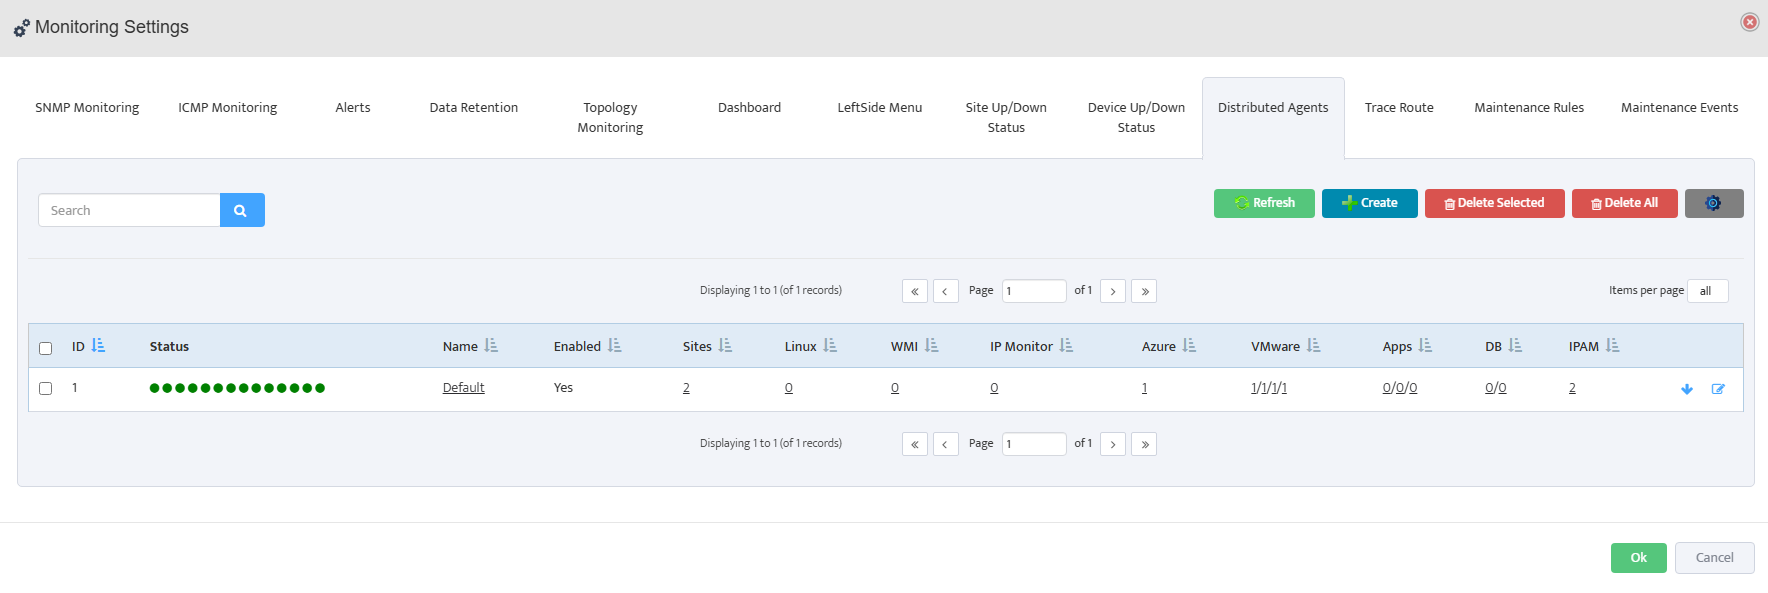
Click on Agent 1: displayed in red at the top of the page.
The default agent will be displayed as shown below. Click the Download Meta File button (blue arrow icon) to proceed.
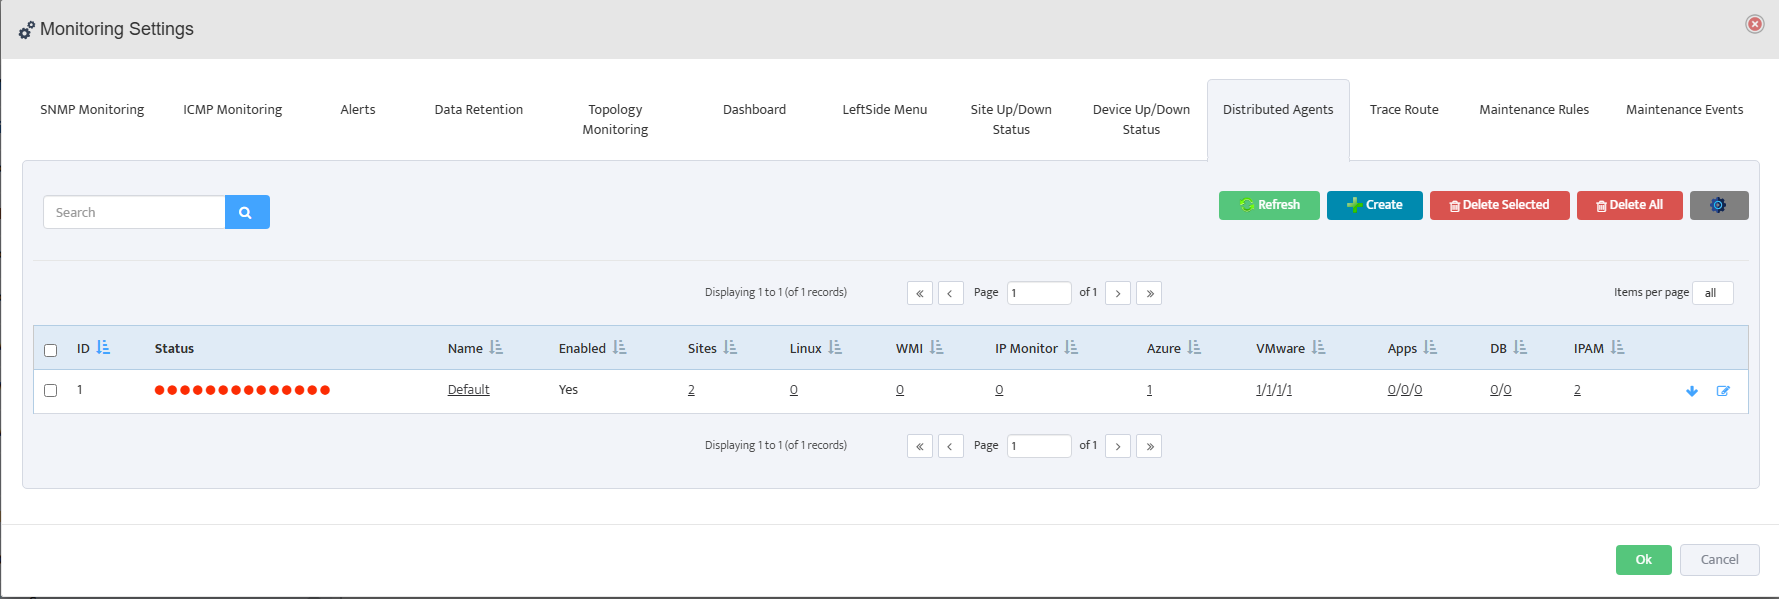
The meta file Default.json will be saved to your Downloads folder.
You will need this file during agent installation.
![]()
4. Installation of Tenant Agent
Agent Server Requirements:
Server OS: Windows 2019 or newer.
8GB of RAM
4 vCPU
250GB of disk space.
Start the same Nectus Installer as you used for MSP installation
Click Next
Accept the license agreement on the page.
Choose Agent as the installation type. 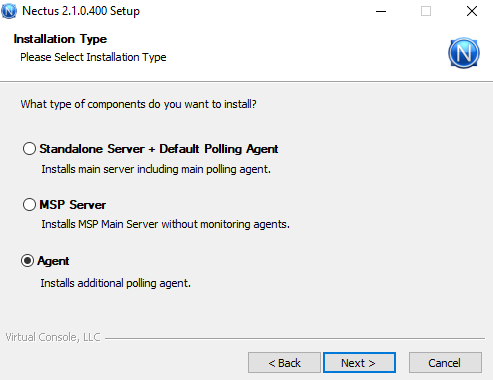
Click Next
Accept the license agreement on the page.
Click Next
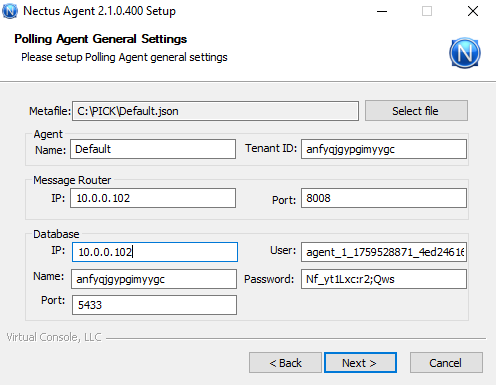
The Polling Agent General Settings screen will open. Click Select File, browse to the location of the meta file you downloaded earlier.
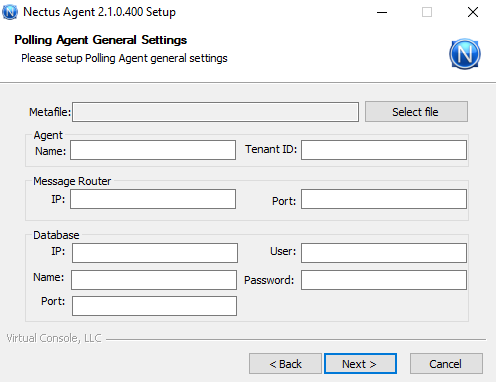
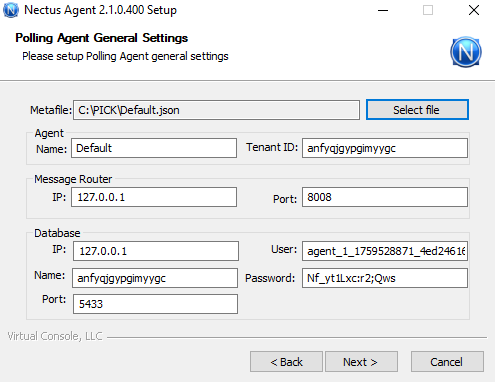
Replace 127.0.0.1 in the meta file with the actual IP address of your MSP Server.
Ensure the MSP Server firewall permits inbound TCP traffic on port 8008 (WebSockets)
and port 5433 (PostgreSQL)
Click Next
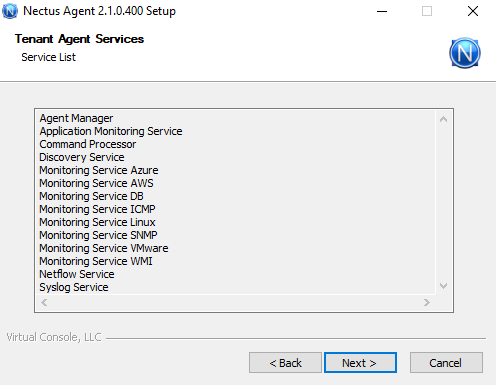
Click Next
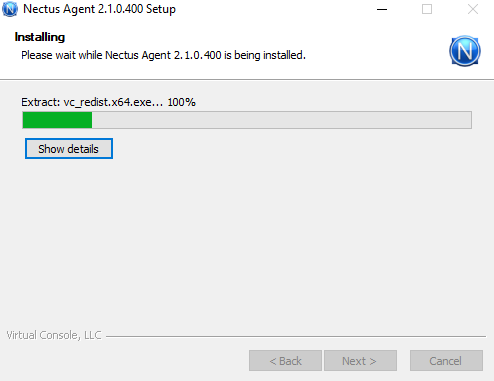
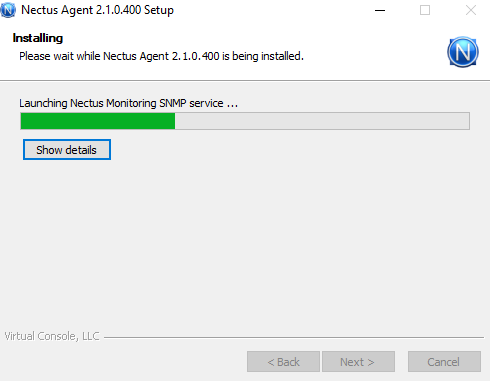
Click Next to complete the installation
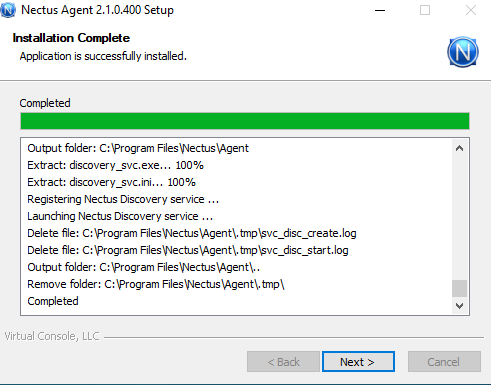
Click Finish
After completing the agent installation, verify the status of the Default agent on the MSP tenant portal. The indicator should turn from red to green, confirming successful installation and that the agent is reporting to the console.