Initial IPv4 IPAM Configuration
Initial IPv4 IPAM Configuration
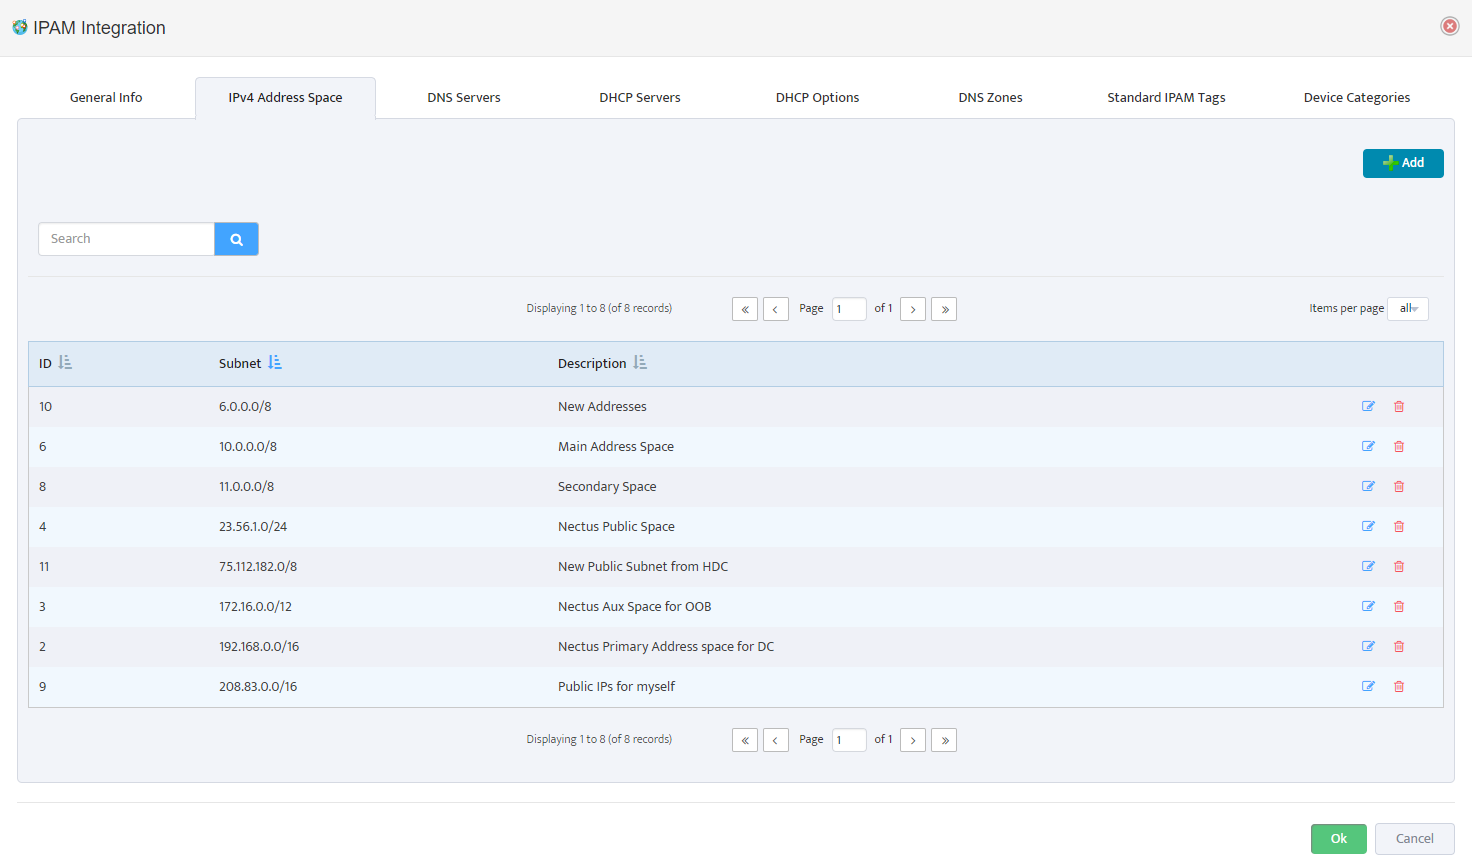
Step 1. Define your IPv4 Address Space.
Very first step in setting up your Nectus IPAM is to define your IPv4 Address Space.
Address Space is list of major subnets that represent all your address space that you
planning to use for IP address allocation.
Good examples of subnets that you normally list as your address space definition is
10.0.0.0/8
192.168.0.0/16
172.16.0.0/12
To complete your Address Space definition, go to:
Settings → General Settings → IPAM Integration (Tab: IPv4 Address Space)
Step 2: Add DNS Servers.
Next Step is to complete integration of your existing DNS Servers with Nectus IPAM
Add your DNS Servers to Nectus in:
Settings → General Settings → IPAM Integration (Tab: DNS Servers)
Note: Nectus currently only supports integration with Microsoft Windows based DNS Servers.
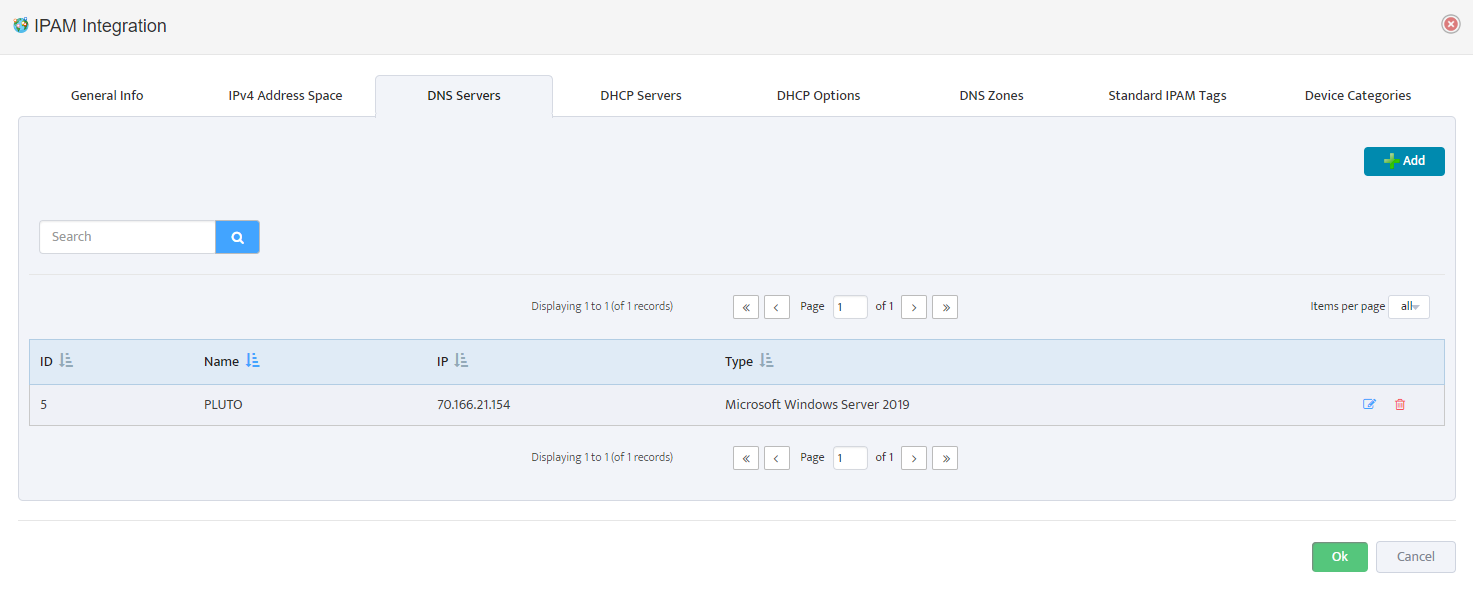
Integration with DNS Server allows Nectus to dynamically create DNS records for Static IP reservations and to Import existing DNS records into IPAM database.
For Nectus to be able to communicate with DNS Servers WMI Integration must be complete.
Complete WMI Integration in Settings → General Settings → WMI Integration
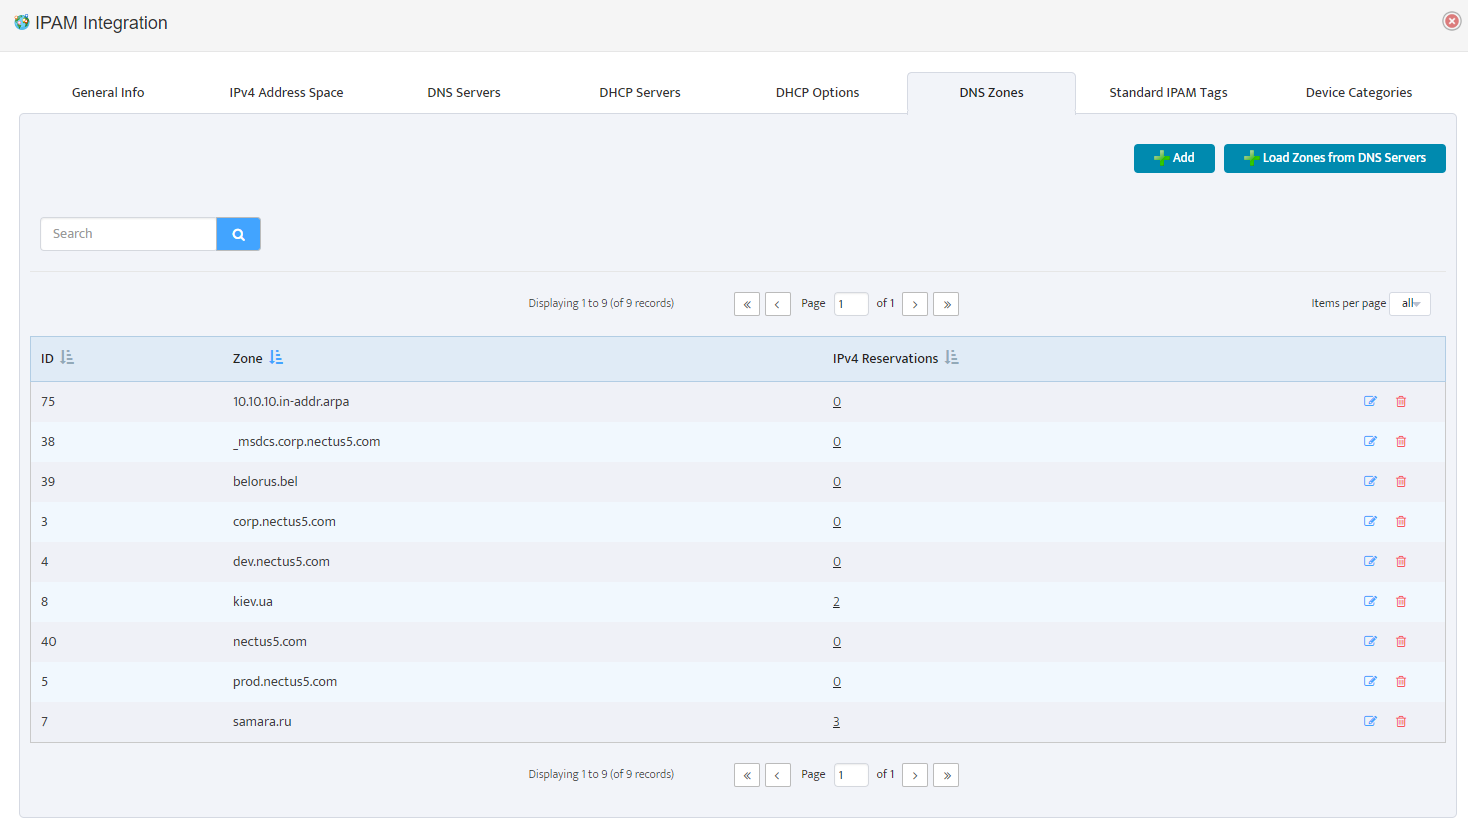
Step 3: Define your DNZ Zones
Next step after adding DNS Servers is to define your DNS Zones. You can manually add your DNS Zones to IPAM or import is from your DNS Servers.
To define your DNS Zones go to:
Settings → General Settings → IPAM Integration (Tab: DNS Zones)
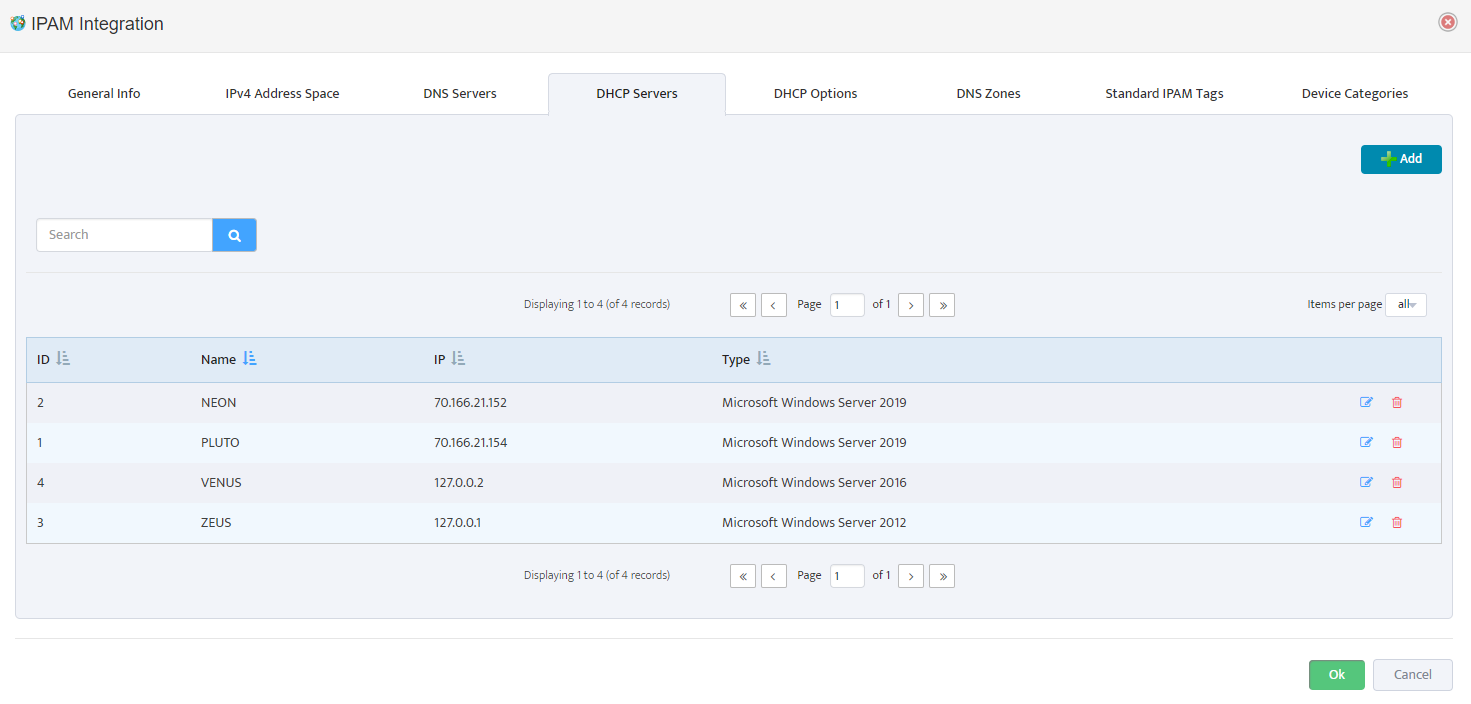
Step 4: Add DHCP Servers
By adding your DHCP servers to Nectus IPAM your can access rich GUI interface for managing your DHCP Scopes, Reservations, Leases and DHCP Options.
Note: Nectus currently only supports integration with Microsoft Windows based DHCP Servers.
To add your DHCP Servers go to:
Settings → General Settings → IPAM Integration (Tab: DHCP Servers)
For Nectus to be able to communicate with DHCP Servers WMI Integration must be complete.
Complete WMI Integration in Settings → General Settings → WMI Integration
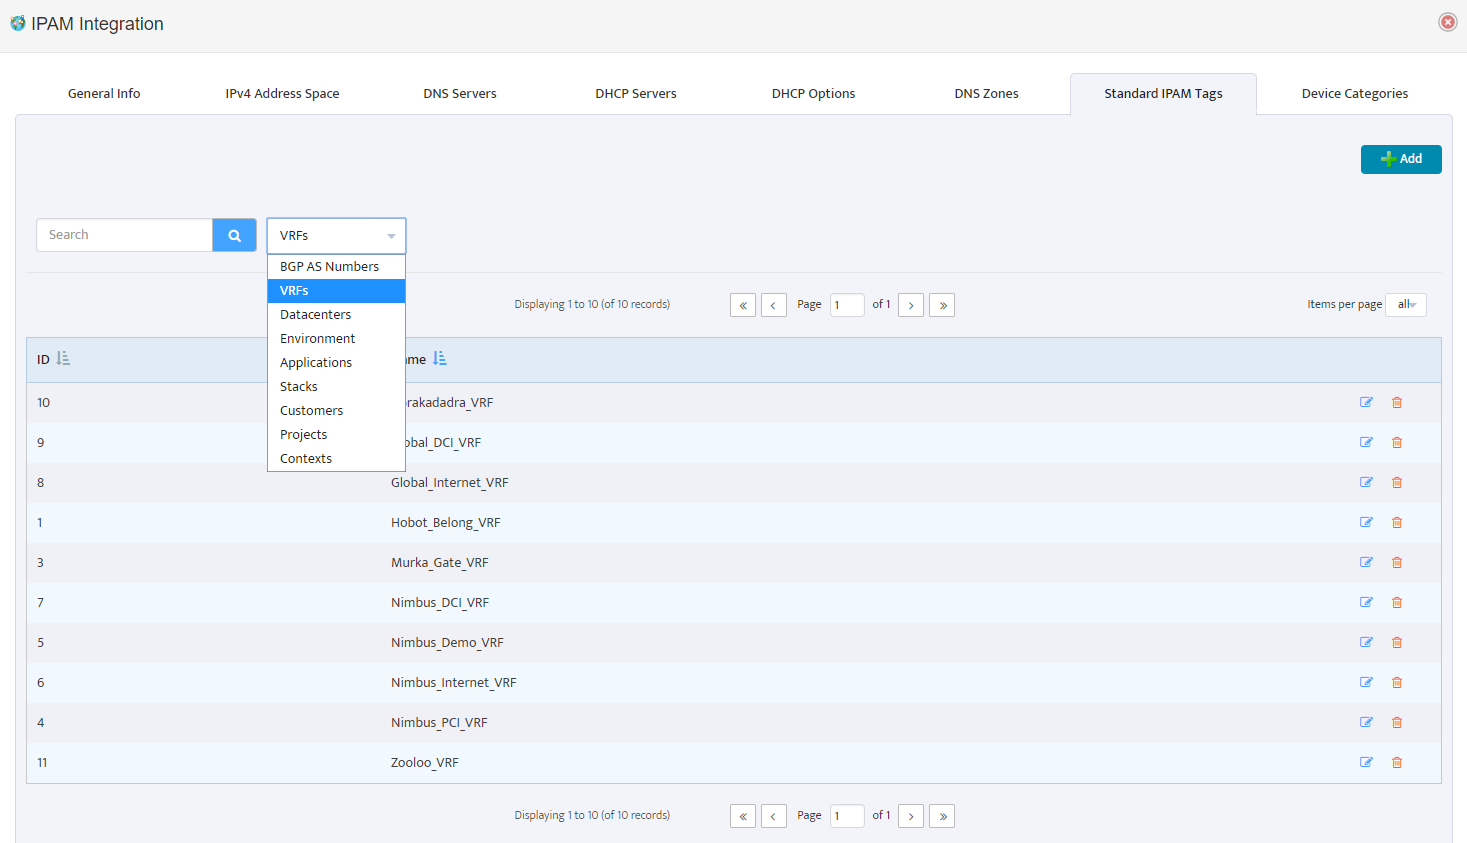
Step 5: Define Standard IPAM Tags
Nectus IPAM provide extensive list of Tags that can be used for any of the IPAM Subnets.
Current list of Standard Tags:
BGP AS Number
Customer Name
Stack
Datacenter
Context
VRF
Project
Environment
Application
Remote Office
To define your Standard IPAM Tags go to:
Settings → General Settings → IPAM Integration (Tab: Standard IPAM Tags)
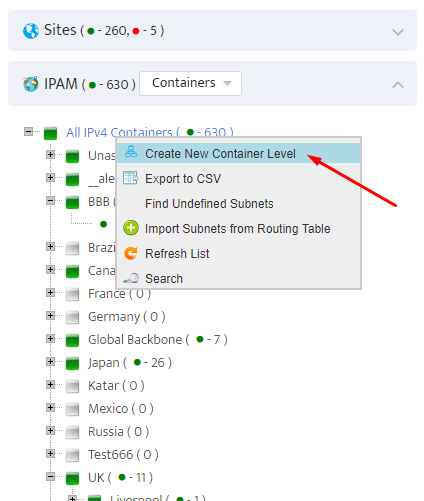
Step 6: Create IPAM Container Tree
Now we are ready to create an IPAM Container Tree hierarchy where you will be keeping all of the subnets.
IPAM Container tree can be organized in any way that is suitable for your business model.
One of the common examples that can be used is State-City-Datacenter-Application model.
To start creating IPAM Container levels go to IPAM left-side panel and use context menu available from right-click of your mouse.
You can right click on any existing container level and create a sub-level container by using “Create New Container Level” option in context menu.
You can Create, Delete and Move any of the container levels by using corresponding option in context menu.
Step 7. Importing Subnets from DHCP Servers
Once IPAM container tree is created we are ready to start populating it with subnets.
We can manually add individual subnets to each container, but it is much easier to Import majority of your existing subnets from DHCP Server and from your IGP Routing Table.
The first place where we can import is from DHCP Servers.
Go to Tools → IPAM Tools
And press “Import Subnets from DHCP Servers”
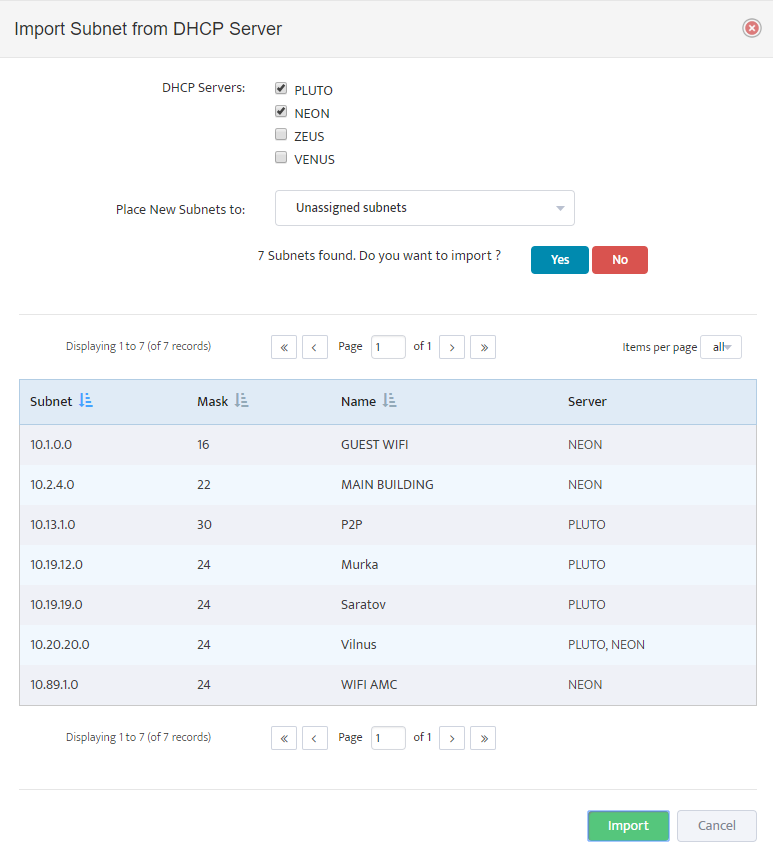
Select DHCP Servers from which you want to import subnets and select Destination container where you want discovered subnets to be placed.
Nectus will display all discovered subnets and will ask for confirmation before importing it into the Database.
Step 8: Importing Subnets from IGP Routing Table
And last Step in Nectus IPAM Initial configuration is to Import all of your existing subnets from your IGP Routing Table.
Go to Tools→ IPAM Tools
Press button “Import Subnets from routing Table”
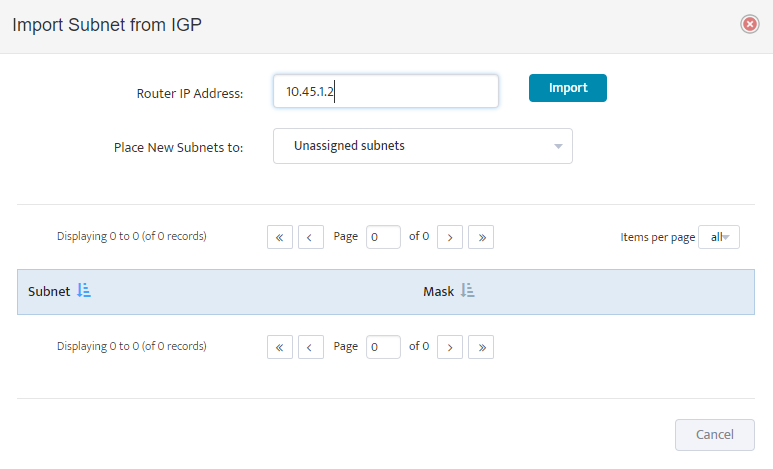
Provide IP Address of any of your backbone routers, select destination container for imported subnets and press “Import” button.
Nectus will import all the subnets from IGP Routing Table starting from smallest (/32).
Nectus will not import any subnets that are overlapping with any of the subnets that are already present in Database.
Nectus will not import any of the BGP Subnets.
This Step concludes initial IPAM Configuration.